
Manage user settings globally in Power Diary: allow practitioner profile access, editing availability, and more.
In this article:
- Managing User Settings
- Allowing Users To Access Their Default Practitioner Profiles
- Allowing Users To Edit The Availability For Their Default Practitioner Profile
- Allowing Users To Edit The Available Services For Their Default Practitioner Profile
- Allowing Practitioners Connect to Their Own Stripe Account
Managing User Settings for your Account Users:
The User Settings feature includes global settings that apply to all users within the account, allowing for easy activation or deactivation of included features for everyone. Here is how you can access and edit your account users settings:
1. Navigate to the Settings > Team > Users menu and select the 'User Settings' tab:
3. Turn the switch of a setting you wish to enable/disable for all users:

4. You can read the tool tip message (click the 'i' icon) to learn about the functionality of a feature:

5. Click 'Save Changes'
Allowing Users To Access Their Default Practitioner Profiles
When enabled, this setting allows users linked with a default practitioners profile to easily access and edit their default practitioner details.
To link a user profile with a default practitioner navigate to Settings > Team > Users > User Management: Open the user profile > Select their default practitioner profile > Save. The user will need to re-login to have the system update their settings.
Important: This will allow the user to access the clinical records for all clients linked to that practitioner if they are granted with clinical access level.
The users can update their practitioner details, manage insurers providers information, and set up their Power Diary calendar sync without needing to navigate the settings menu or rely on someone else with access permissions. Once enabled, users can access their practitioner profile via the following method:
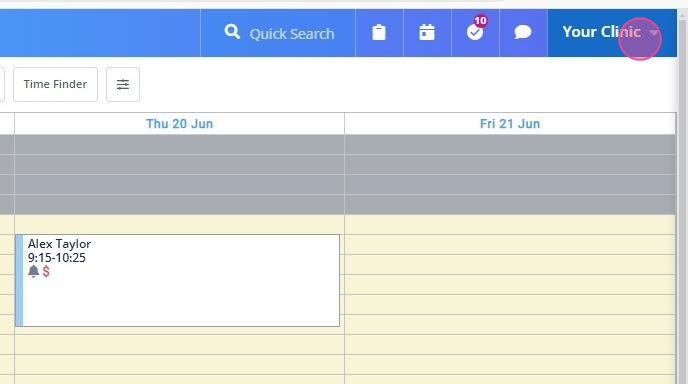
1. To access their practitioner settings, a user will need to login and click the account business name at the top-right:
2. Their profile menu will open.
3. They will select the 'Practitioner Profile' tab:

4. This will take the user to their default practitioner profile:

5. If they click the 'Details' tab, they will be able to edit their practitioner details and save those changes.

6. Clicking the 'Insurers' tab will allow the user to add or edit their insurer provider information:

7. Click the 'Calendar Sync' tab to access the Google Calendar and the Outlook Calendar sync settings.

Allowing Users to Edit The Availability For Their Default Practitioner Profile
When enabled, this setting allows users linked with a default practitioner's profile to easily access and edit their availability.
The user setting "Allow users to access their default practitioner profile" must be enabled for you to enable "Allow users to edit the availability for their default practitioner profile" as the access is dependent on the user having access to their practitioner profile.
The users can add and edit their availability without needing to navigate the settings menu or rely on someone else with the 'Setup and Configure Power Diary' permission. Once enabled, users can access their availability via the following method:
- To access their practitioner settings, a user will need to login and click the account business name at the top-right.
- Select the 'Practitioner Profile' menu item.
.png?width=688&height=384&name=Google%20chrome%20Workflow%20-%20Step%202%20(9).png)
- When the practitioner profile loads, they will need to click "Availability".
.png?width=688&height=464&name=Google%20chrome%20Workflow%20-%20Step%203%20(9).png)
- From here, the user can add, edit, or delete availability for their practitioner.
Users accessing the availability via the practitioner profile will only be able to clone availability to that practitioner, not to all practitioners.
Allowing Users to Edit The Available Services For Their Default Practitioner Profile
When enabled, this setting allows users linked with a default practitioners profile to easily access and edit their available services to control what services can be booked with them online via the portal.
The user setting "Allow users to access their default practitioner profile" must be enabled for you to enable "Allow users to edit the available services for their default practitioner profile" as the access is dependent on the user having access to their practitioner profile.
The users can control what services are available for online bookings with them without needing to navigate the settings menu or rely on someone else with the 'Setup and Configure Power Diary' permission. Once enabled, users can access their available services via the following method:
- To access their practitioner settings, a user will need to login and click the account business name at the top-right.
- Select the 'Practitioner Profile' menu item.
- When the practitioner profile loads, they will need to click "Available Services".
.png?width=688&height=393&name=Google%20chrome%20Workflow%20-%20Step%201%20(25).png)
- From here, the user can enable or disable available services for online bookings for their practitioner.
.png?width=688&height=445&name=Google%20chrome%20Workflow%20-%20Step%202%20(10).png)
Allowing Practitioners Connect to Their Own Stripe Account
It is possible to set other user accounts with permission to see, connect, and disconnect their own practitioners with their Stripe accounts.- First, navigate to Settings > Team > Users > User Management, open the user account and enable 'Connect to own Stripe account' permission.

- Make sure this user is linked with their Default Practitioner Profile.

- To access their practitioner profile, the user must have access to their practitioner profile via the user profile. To allow practitioners to access their default practitioner's profiles navigate to Settings > Team > Users > User Settings, enable 'Allow users to access their default practitioner profile'

- Once all the user permissions and settings are configured, the relevant users will be able to access their practitioner profiles by clicking the account business name at the top-right and selecting “Practitioner Profile”:
.png?width=688&height=384&name=Google%20chrome%20Workflow%20-%20Step%206%20(4).png)
2. On the Practitioner Profile menu, they will select Online Payments:
3. They will click the blue “Connect to Stripe” button and follow the prompts.
- If they already have an existing Stripe account, they will be able to log in to it using their Stripe login details.
- If they do not have a Stripe account yet, they will be able to register a new one.

4. Once the connection is established, they will be returned to the Practitioner Profile > Online Payments page. There, they will see confirmation of the successful connection and the buttons to either access your Stripe Dashboard or disconnect from Stripe.
