Starting a Trial Account
In today's fast-paced business environment, finding the perfect tools to streamline your operations is more than a mere convenience—it's a necessity. We understand that the journey to optimizing your practice operations can often feel overwhelming. With a myriad of options available, how do you choose the right client management software that not only meets your unique needs, but also seamlessly integrates into your current workflow?
This is where the power of trial accounts comes into play. Signing up for a 14-day free Power Diary trial account offers a risk-free exploration of its features, functionalities, and fit. In this article, we will explore how to sign up for a free trial account and go through the basic setup.
In this article:
Starting a Trial Account
- Navigate to https://my.powerdiary.com/Instant-Account.
- Sign up for the 14-day free trial account. You only need to enter the basic information, such as your name, email address, business name, select your practice type, and set up a password. You can start a trial as a sole practitioner, or add more practitioners to your trial account at this stage. Do not worry, you will be able to add or remove practitioners at any day later. Also, no credit card is required to start a trial.
- Click "Start for free now" button to finish creating your trial account.


Note💡
Your full-access trial account is valid for a 14-day period from the date of creation. To keep your account active beyond this time you will need to convert your account.
- You can convert your account at any time during your trial period and will not be charged until after your free trial has ended.
- With Power Diary there are no lock-in contracts and can therefore cancel at any time.
Power Diary Setup Wizard Overview
- The Power Diary Setup Wizard will meet you at your first step into your Power Diary account. Watch the heartfelt welcome video from Danielle, the Power Diary Marketing Manager.
- Click the 'Next' button to proceed to the next step.

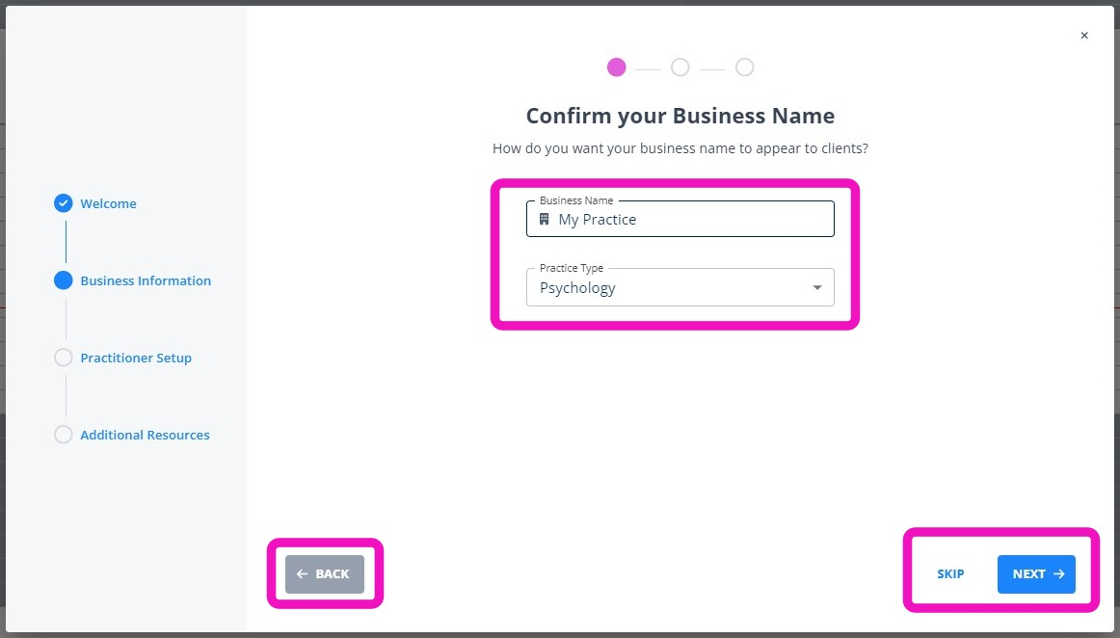
- In the next step, you will be able to edit or confirm your business name and practice type. Use the navigation buttons at the bottom of the Setup Wizard window, to go back to the previous step, to skip this step, or to go to the next step after you entered or confirmed the required information.
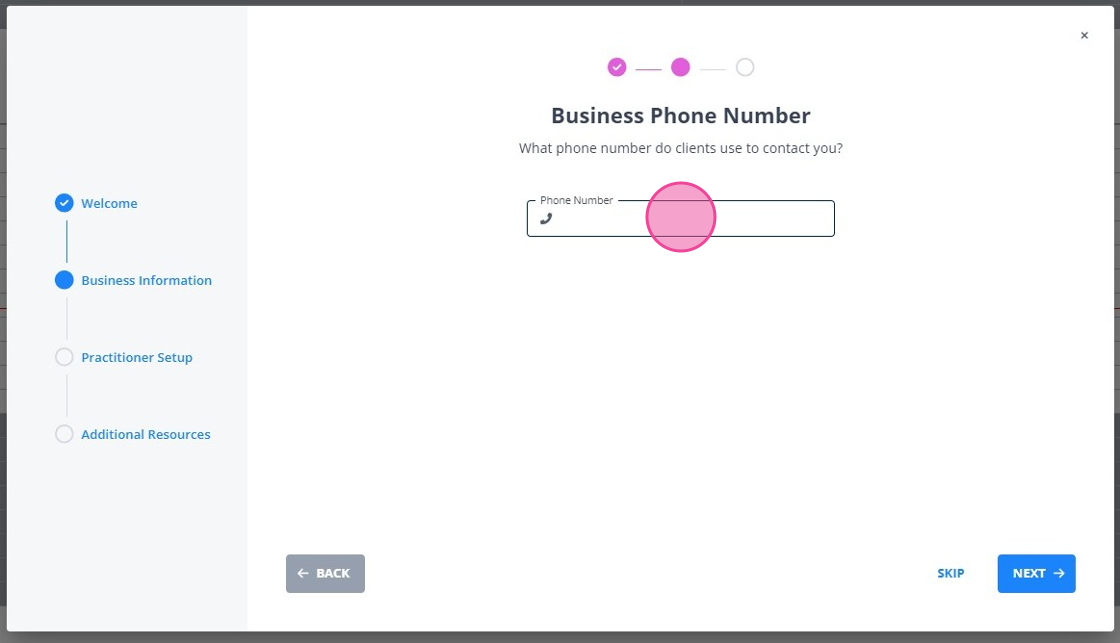
- In the business phone number field, enter the phone number your clients will use to contact you. Click ' Next' to proceed.
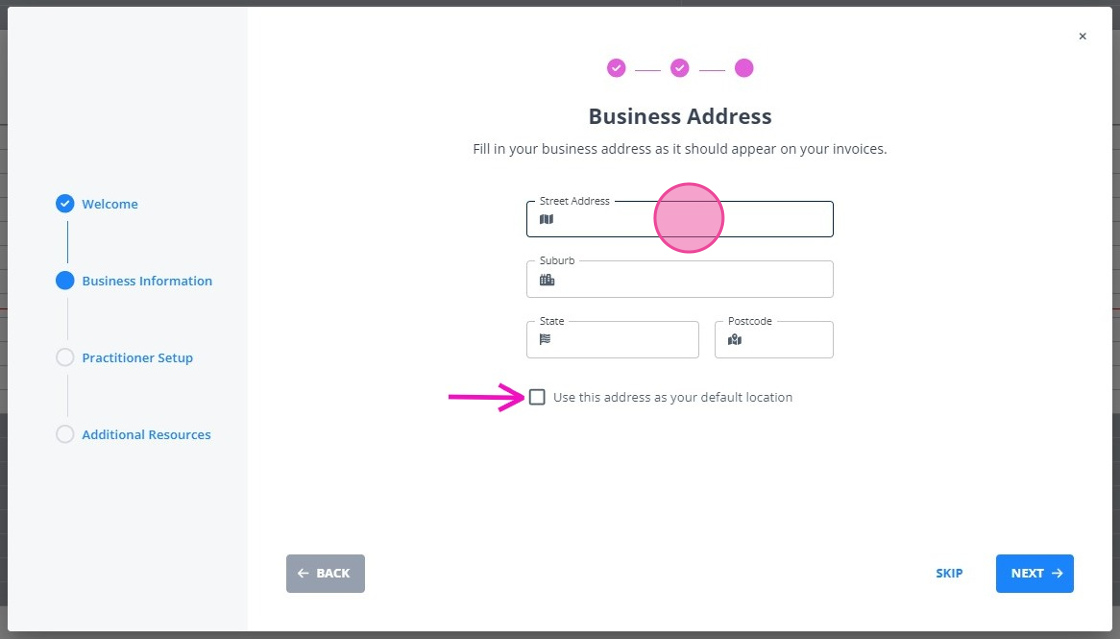
- In this step, enter your business postal address. Check the 'Use this address as your default location' to automatically populate your default location details.
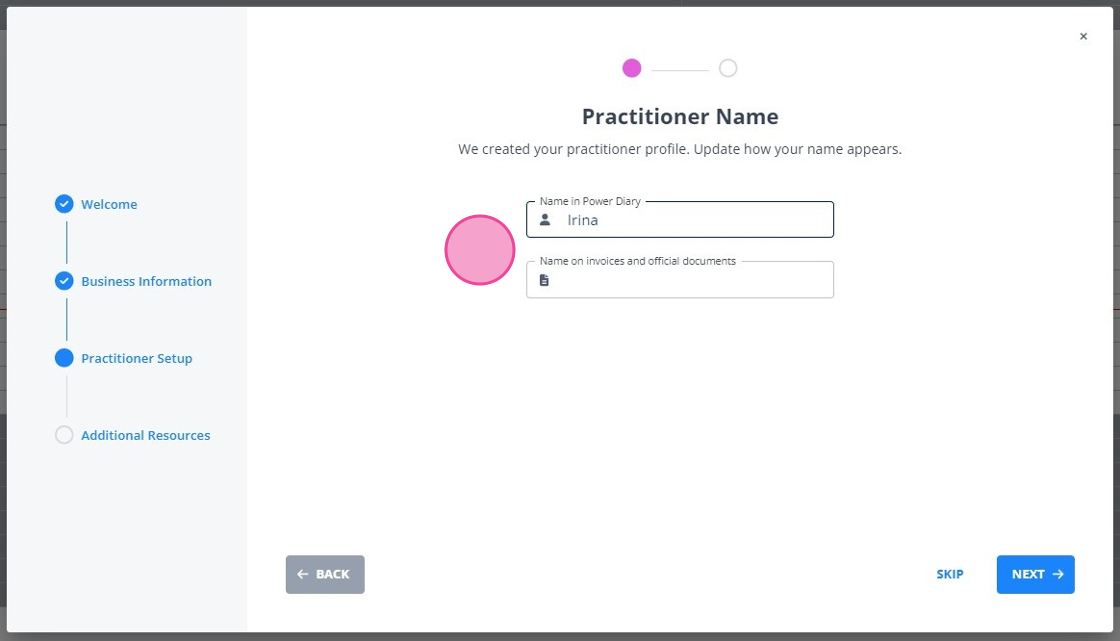
- The ' Practitioner Setup' step will help you enter your name for your Power Diary calendar, invoices and official documents. Click the 'Next' button once you are done.
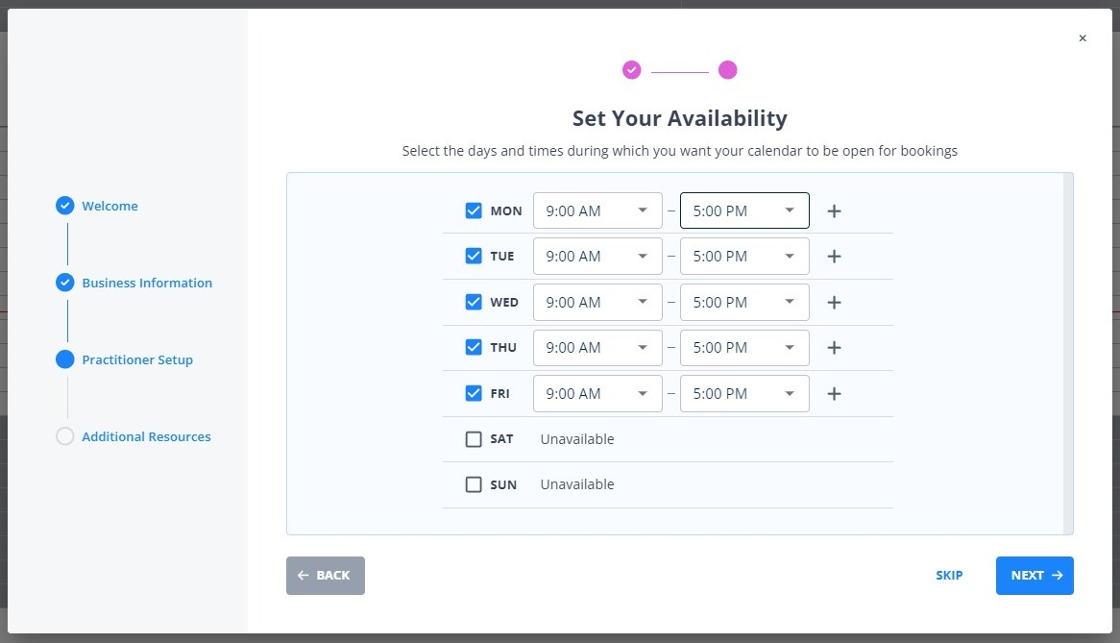
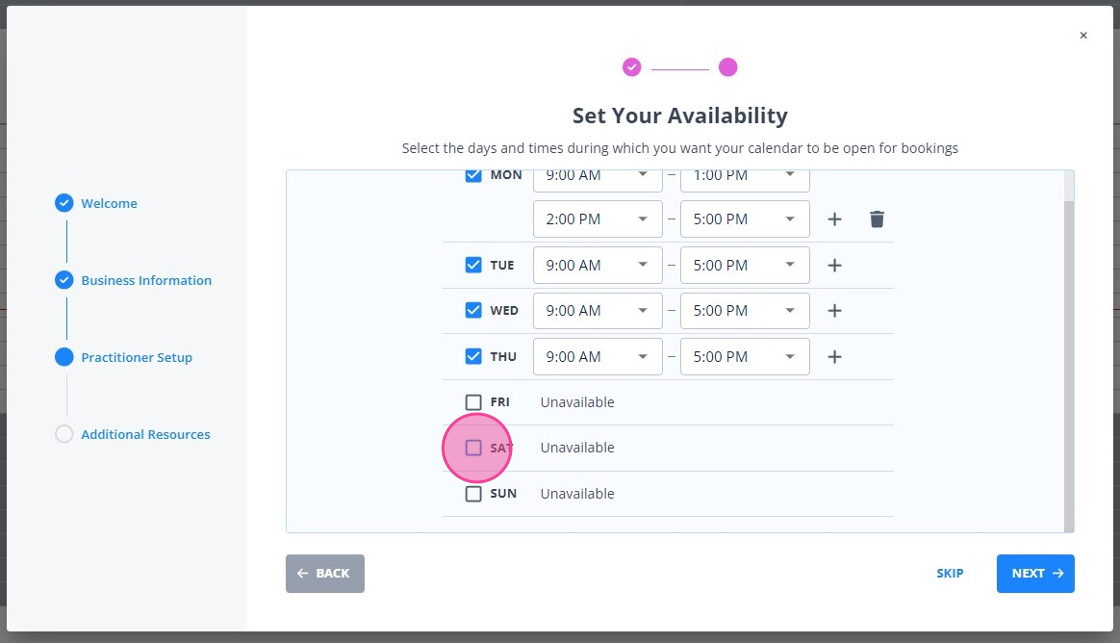
- The ' Set Your Availability' tool will help you to define your weekly work hours, including breaks if you take any.
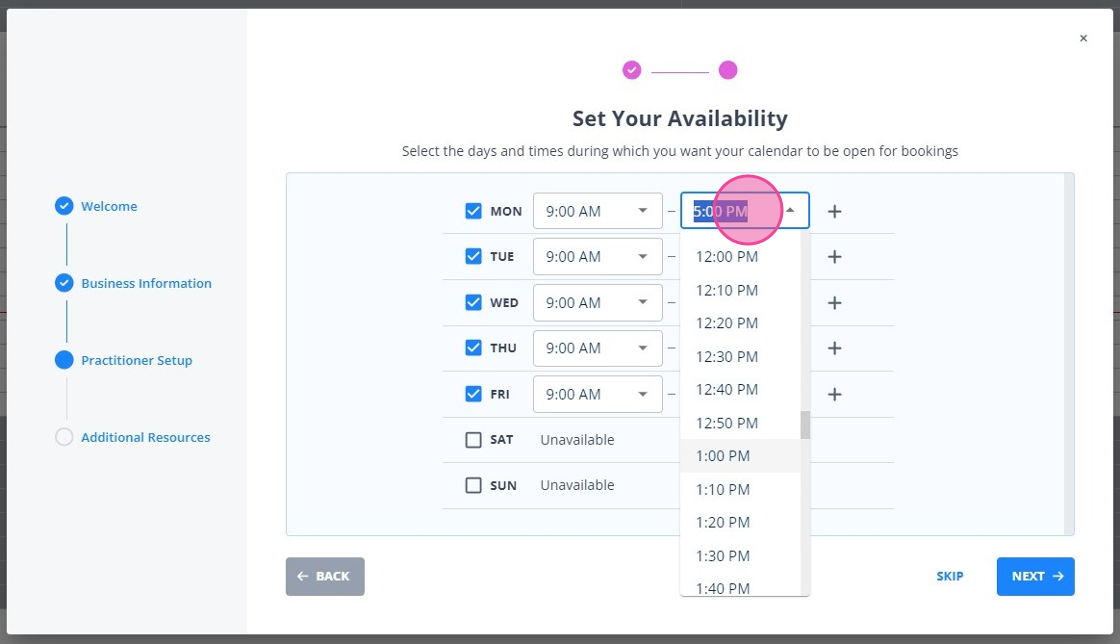
- You can click into any time slot to pick the start and end time of an availability range.
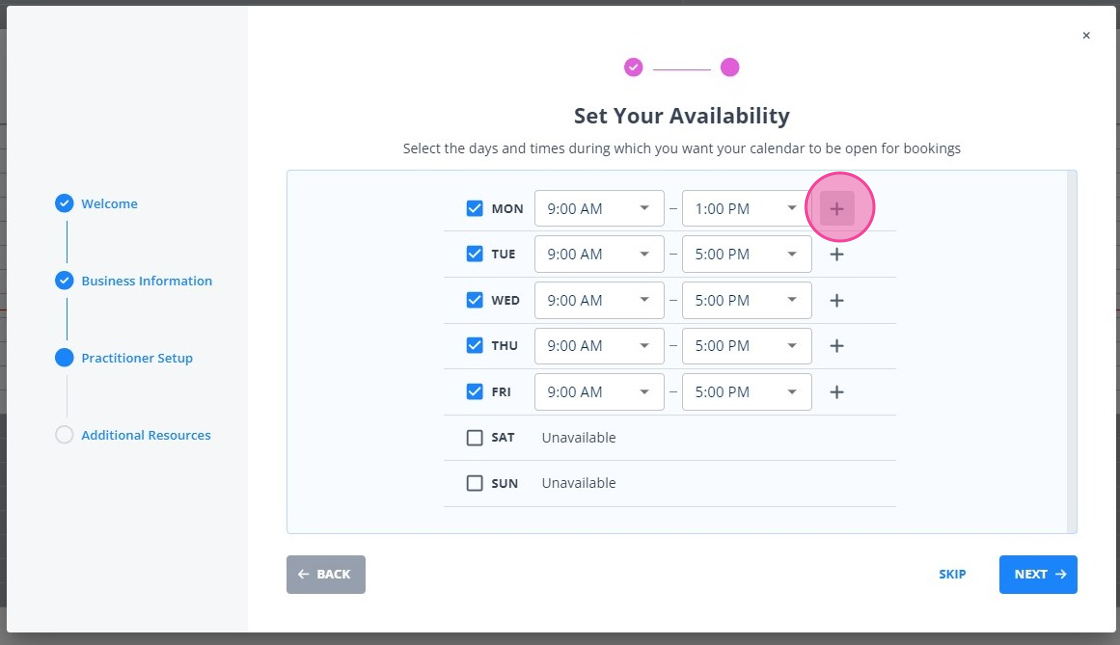
- Click on the ' +' icon to add more lines to a daily availability, to add break times.
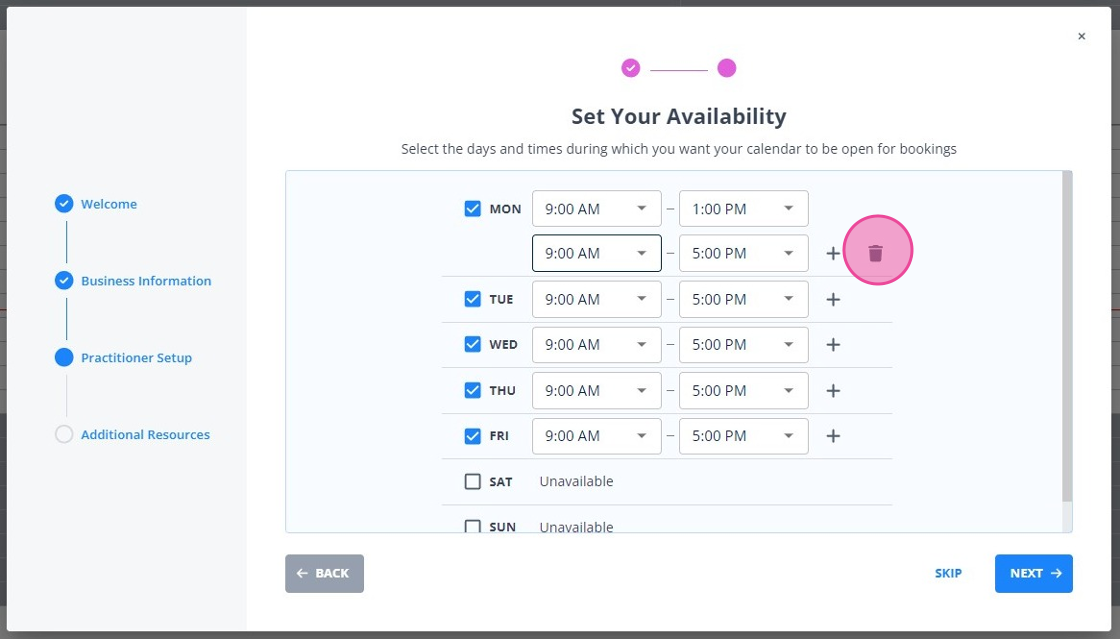
- Set the start and end times of the next time slot in the day, or click on the trash bin icon to delete the time slot.
- Check the box next to each day to make this day available or unavailable.
After the Practitioner step, you will go to set up your services for invoicing clients:

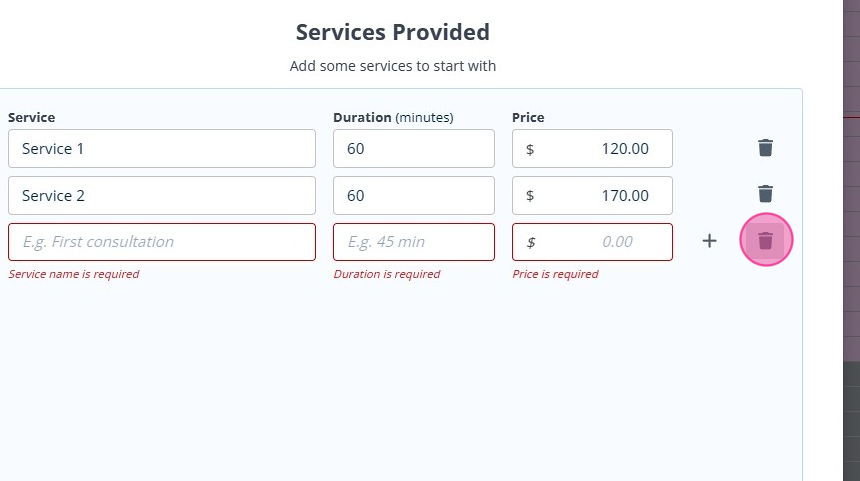
13. You can edit the default services and add more:
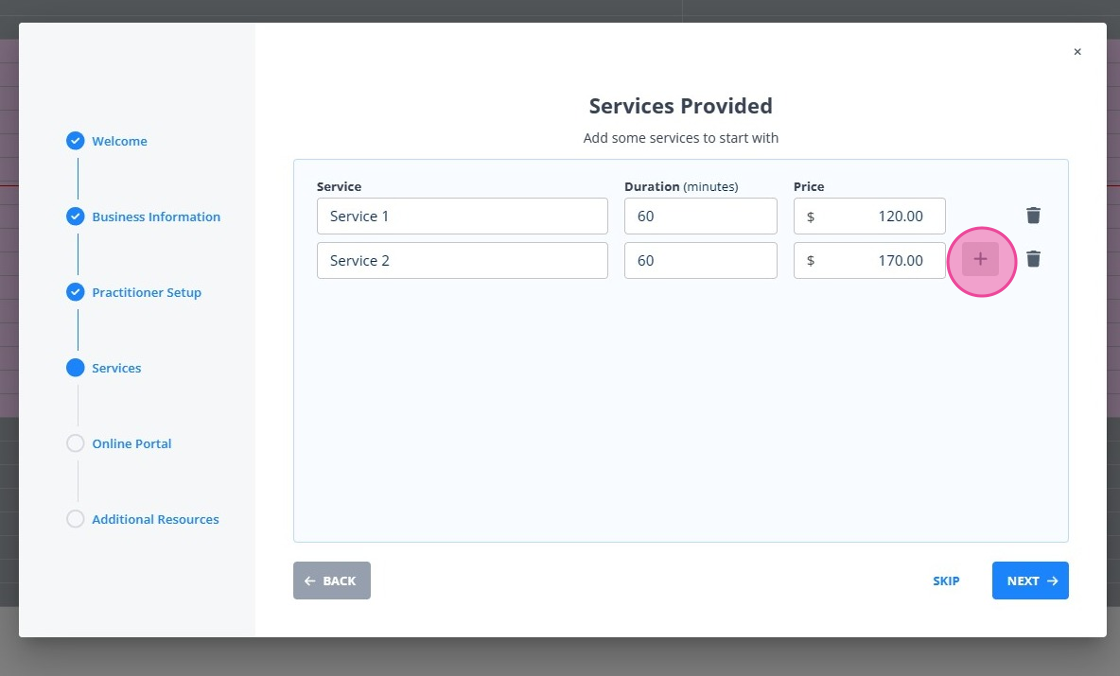
14. Click on the trash bin icon to delete unnecessary services:
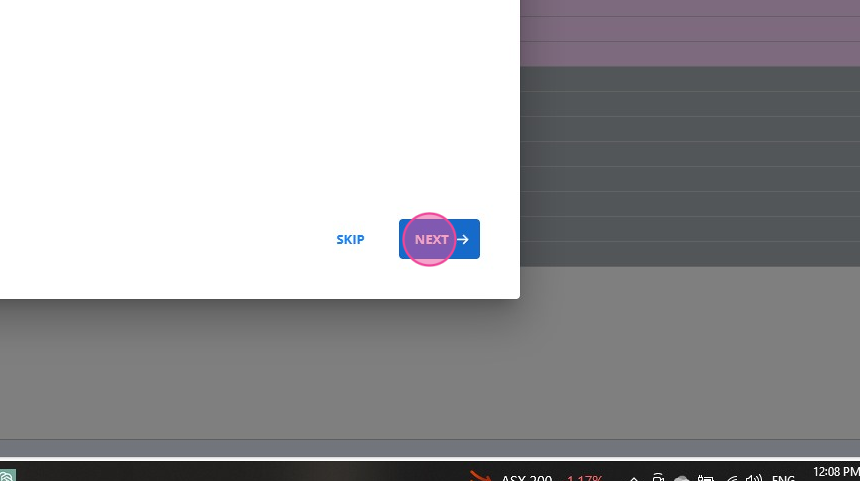
15. Click "NEXT" to move to the next step in the setup wizard:
16. Now you can enable your online booking portal, click 'YES':
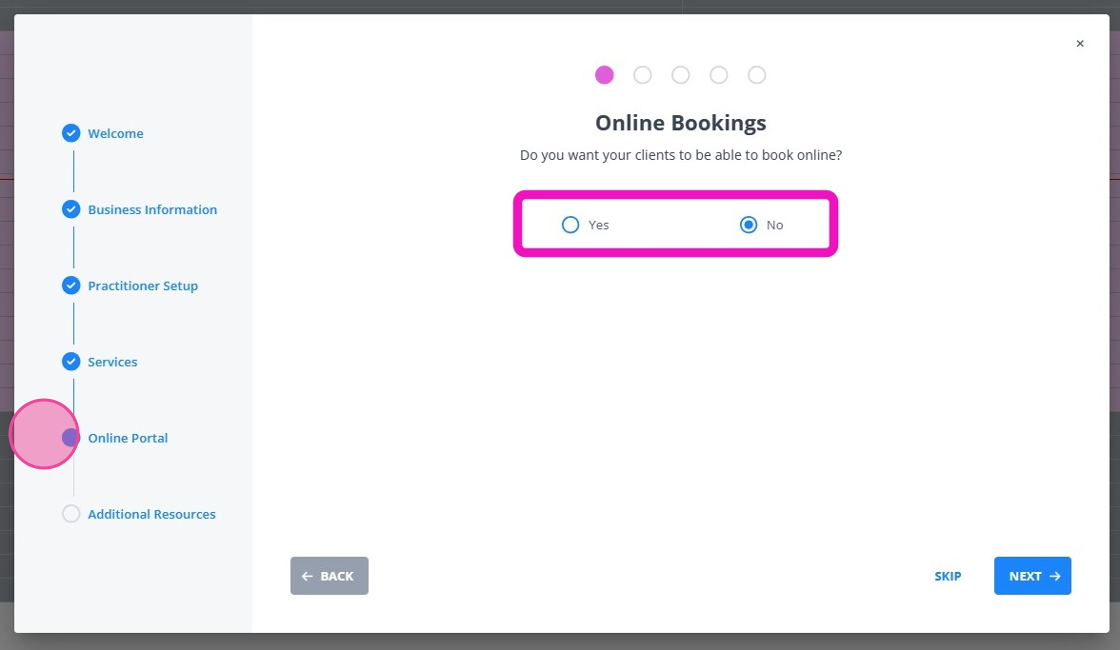
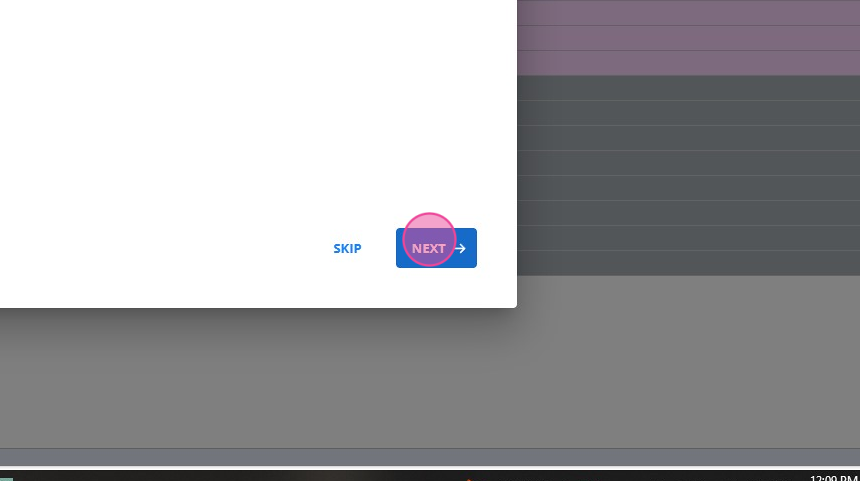
17. Click "NEXT"
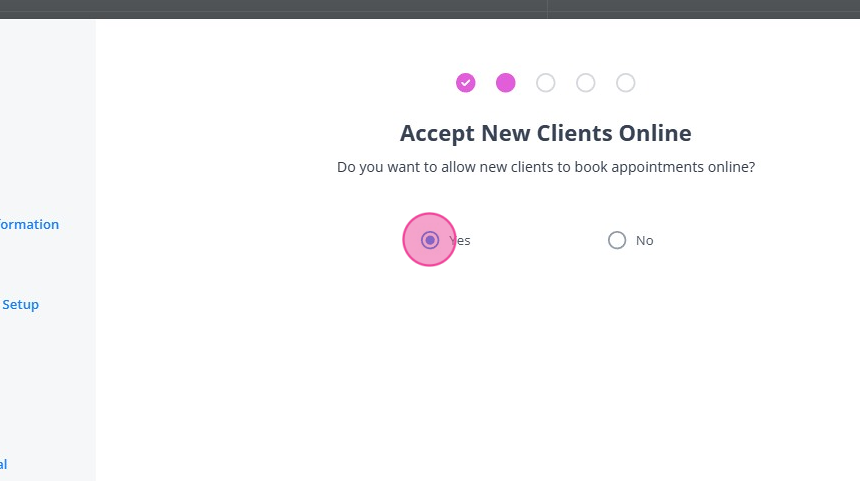
18. Click "Yes" if you wish to allow new clients to book appointment online:
19. Click "NEXT"
20. Click the dropdown to select the notice time you need for online bookings:
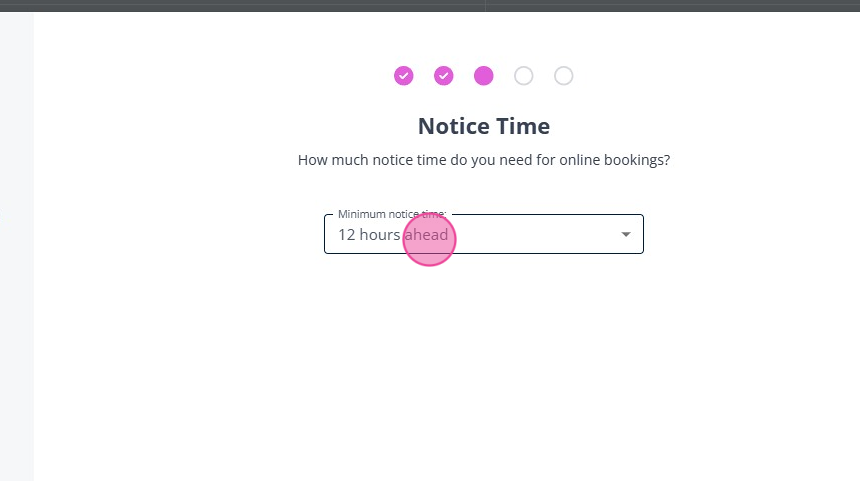
21. For example, you can Click "One day ahead":
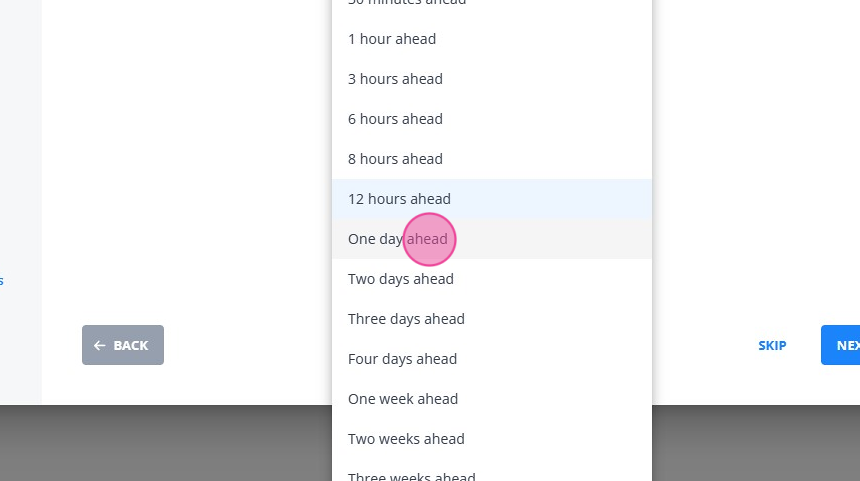
22. Click "NEXT"

23. Now click into the cancellation policy dropdown:
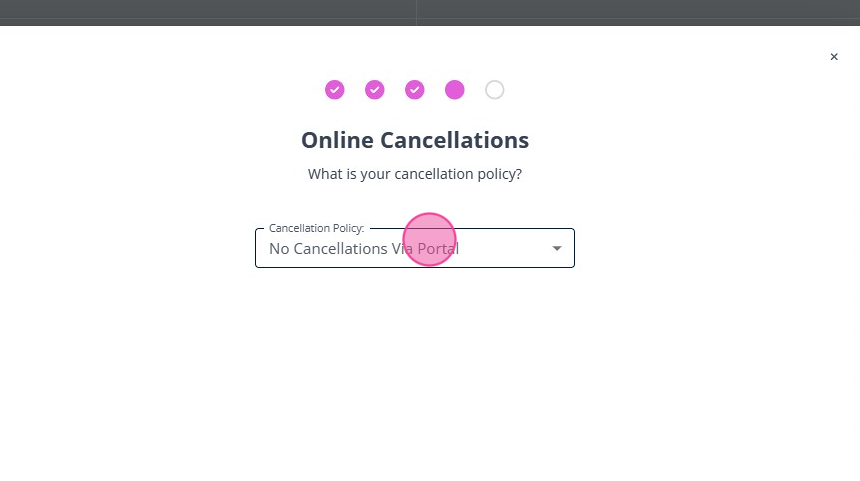
24. Click on the cancellation policy you wish to set for your online bookings:

25. Click 'NEXT':
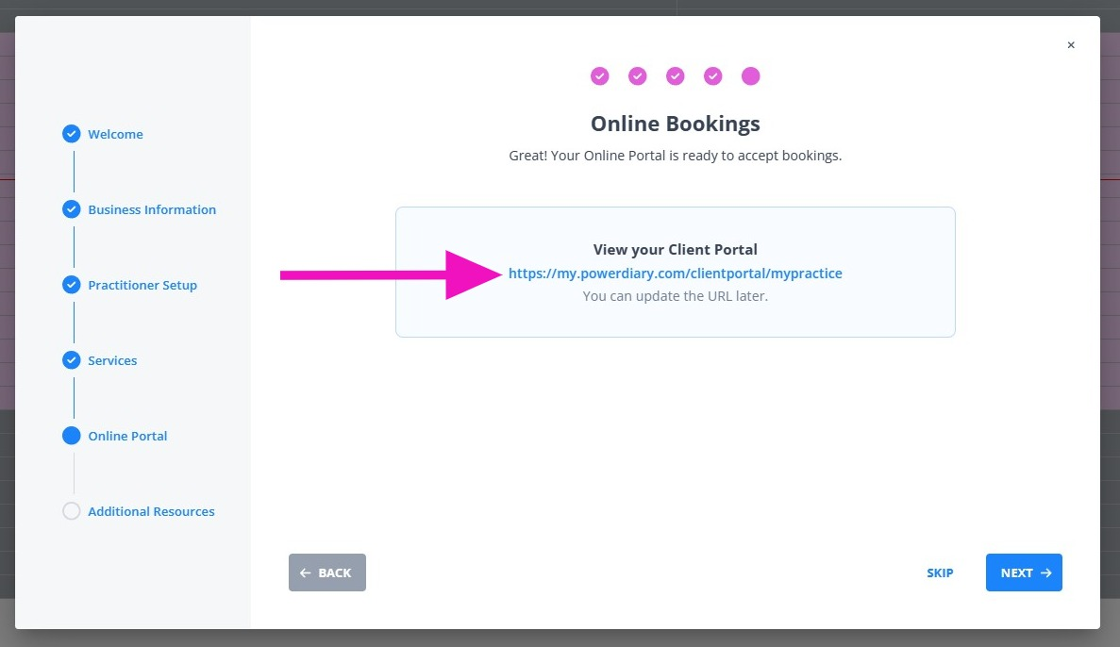
26. Click on the provided link to view your online portal that you have just set up:
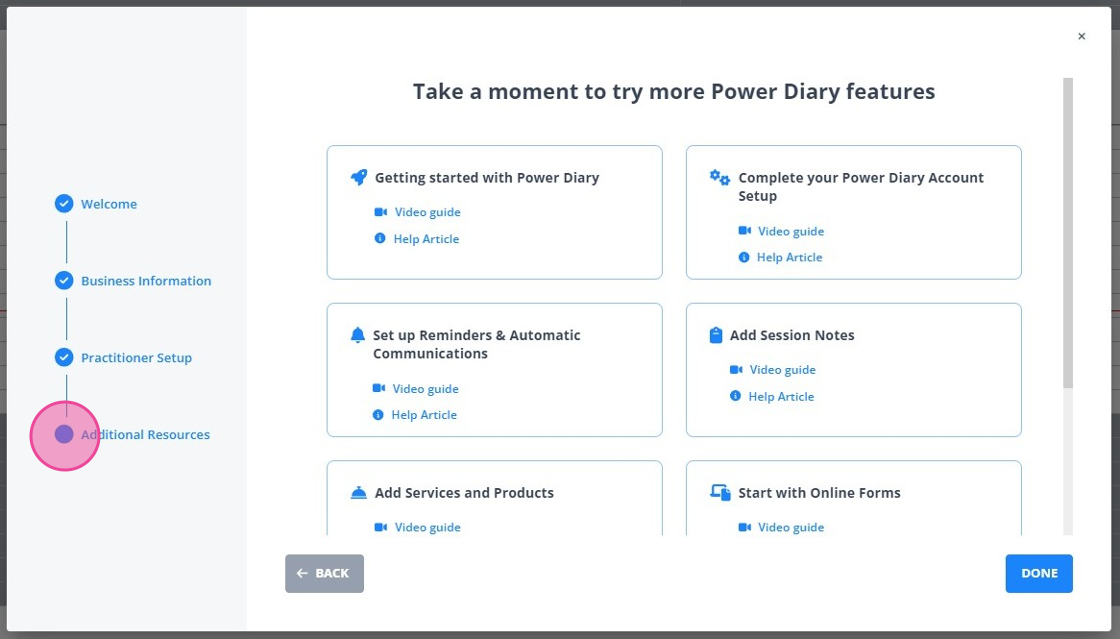
27. The ' Additional Resources' section of the setup wizard offers you video tutorials and knowledge base articles about the key Power Diary features. Make the time to watch and read to learn about how you can make your practice operations even more efficient with your new Power Diary account.

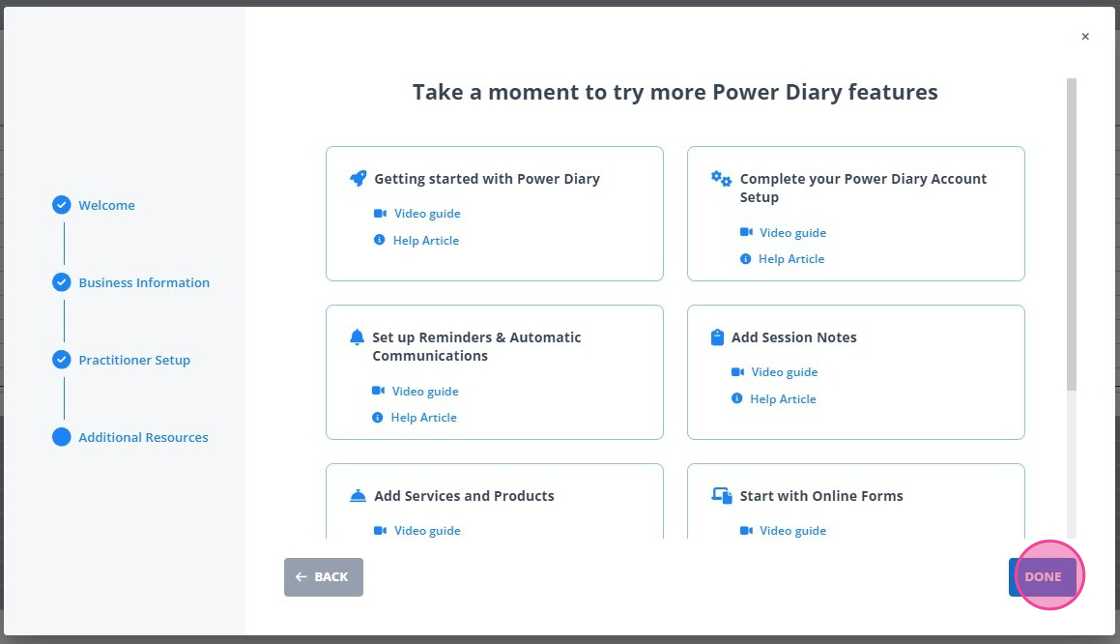
 28. Click "
Done" to close the Setup Wizard.
28. Click "
Done" to close the Setup Wizard.
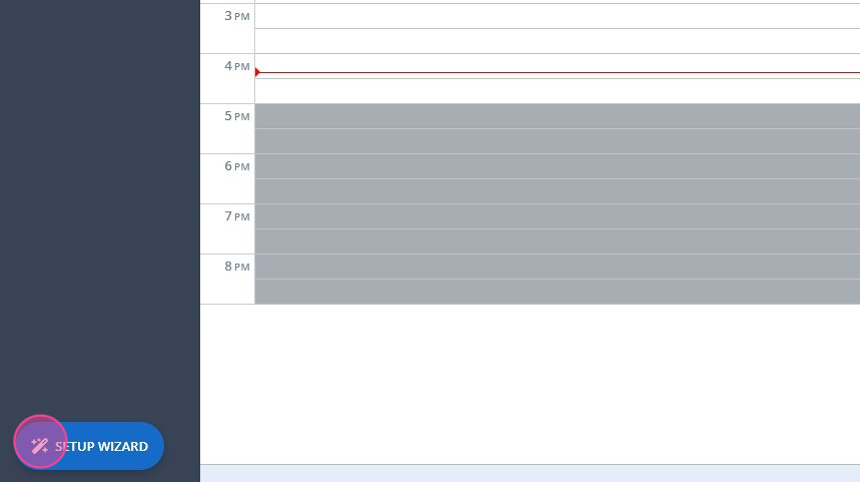
 29. You can open the Setup Wizard at any time during your trial period to revisit the settings or access the video tutorials and articles with instructions.
Hint 💡
The Power Diary Setup Wizard is a work in progress and more functionality will be added to it soon. Should you have any questions, please reach out to support@powerdiary.com.
More Power Diary Support
We have over 100+ features to support your business and as you are still getting to know the software, we just want to let you know we are here to support you.
Here are some of the ways we can help get you started!
- Walk-Through Webinars: Sign up for a Webinar (at a time suitable to you) to walk-through Power Diary with one of our Customer Success Members here.
- Support Calls: Book a call with one of our Customer Success Members here.
- Knowledge Base & Training Videos: Access our digital resources that include videos, support articles and tutorials here.
If you need anything further, we’d love for you to get in touch via email at support@powerdiary.com or a Live Chat, and we'll do our best to help out!