
Learn how to manage tangible products in your Power Diary account. Easily add, edit, or deactivate products like medicines or ebooks to keep your invoicing organized and efficient.
Products are the tangible items you sell to your clients in your health practice. You can add a product to your Power Diary account to invoice it to your clients. A medicine for removing acne, a video course on assertiveness training, and an ebook on effective dieting, are all examples of products you can add to your Power Diary account.
Note:
Don’t add your services in the product section. Instead, add your services to the services section to keep the two separate.
In this article:
- How to Add a New Product
- How to Edit a Product
- How to Deactivate a Product
- Understanding the Fields in the ‘Add Product’ Form
Adding a New Product
1. Navigate to Settings → Products in the left-hand menu of your dashboard.
2. Click the +Add Product button.

3. Type in the details of the product you’d like to add to the form.

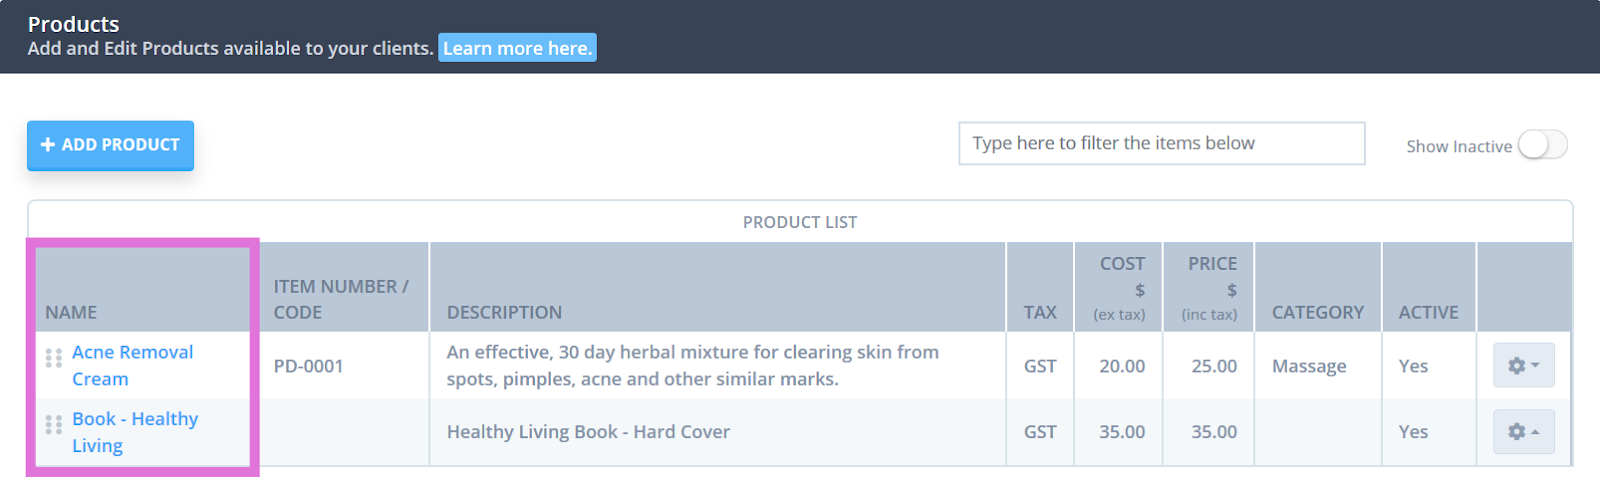
4. Click Save after you’ve completed the form. Your new product will show up in the Product List on the Products page.
Editing a Product’s Details
1. Navigate to Settings → Products in the left-hand menu of your dashboard.
2. Click on the name of the product whose details you want to edit.
3. Edit the form with any new detail you want.
4. Click Save after you’re done editing the form. This will save any changes you’ve made to the product’s details.
Deactivating and Reactivating a Product
1. Navigate to Settings → Products in the left-hand menu of your dashboard.
2. Click on the gear icon on the extreme right of the product you want to deactivate.

3. Click the Deactivate button and then click OK to confirm.

4. This will remove it from the products page - and you won’t be able to add it to an invoice or an appointment’s detail.
If you’d like to reactivate the product(s) you’ve deactivated:
1. Toggle the Show Inactive switch on. This will show you all the products you’ve deactivated.

2. Click on the gear icon on the extreme right of the product you want to reactivate.

3. Click the Activate button.

4. This will put the product back into the products page - and you’ll be able to add it to client invoices and appointment details again.
Understanding the Fields in the ‘Add Product’ Form
Name: What’s your product called? Type in its name here. And make sure all your products have a different name so it’s easier to find one when adding it to an invoice.Item Number/Code: Add in a unique code for your product.
Description: What purpose does this product serve? Add the answer to this question in this field.
Tax: Would you like to add a tax to this product? Or this is product tax-exempt/tax-free?
Cost: How much did it cost you to create this product? Type in the amount here. (Only you’ll see this)
Price: How much are you charging for this product, including tax and profit margin? Enter the total price here. (This is the amount clients will see in their invoice).
Category: Have you created different categories to sort your products? If so, choose a category to add this product in.
Active: If you want to start selling this product, toggle the active switch on. If not, turn it off. You can activate it later when you’re ready to sell it.