Adding an NDIS Insurer Type
You can enter NDIS participant numbers of your clients into Power Diary. To prepare for this, let us add the NDIS insurer type to your account settings.
Watch the video:
In this article:
Adding a New NDIS Insurer
If you have not used the NDIS insurer setting to enter the NDIS participant numbers to your account, you will need to create one.
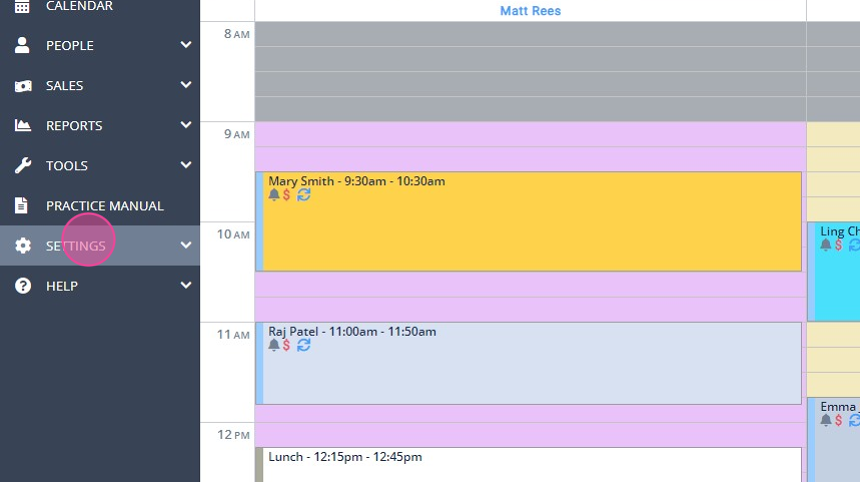
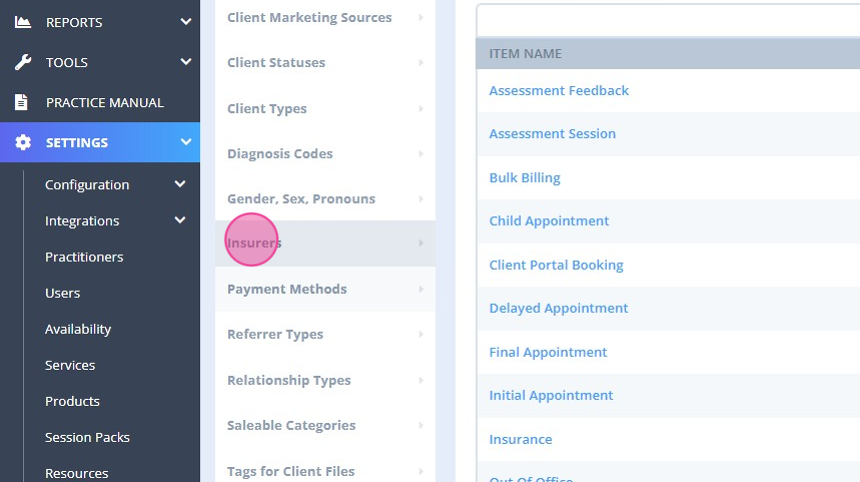
1. Click SETTINGS:

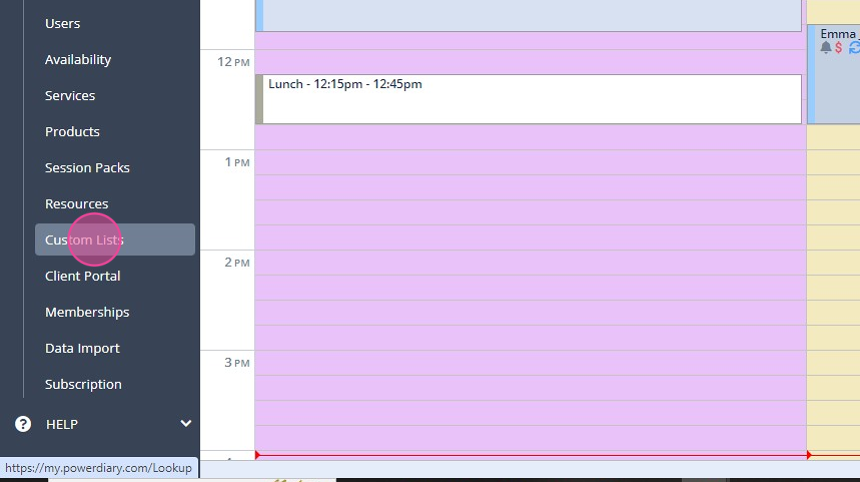
2. Select 'Custom Lists':
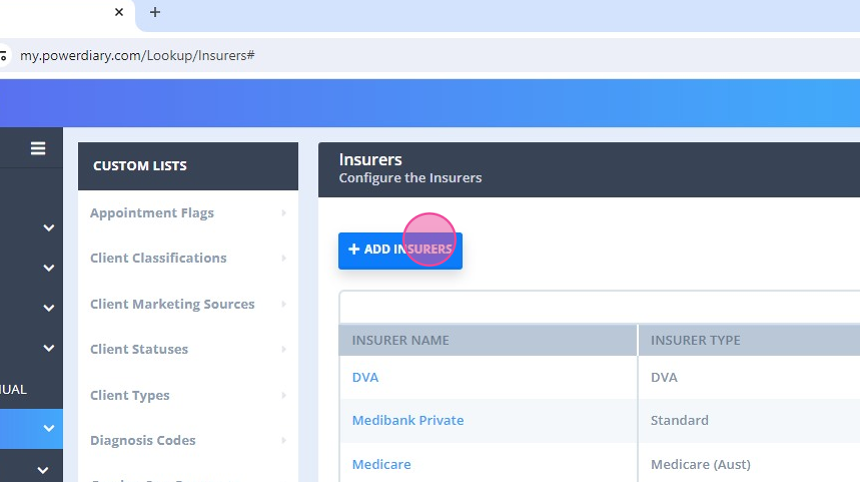
3. Select 'Insurers':

4. Click '+ ADD INSURERS'
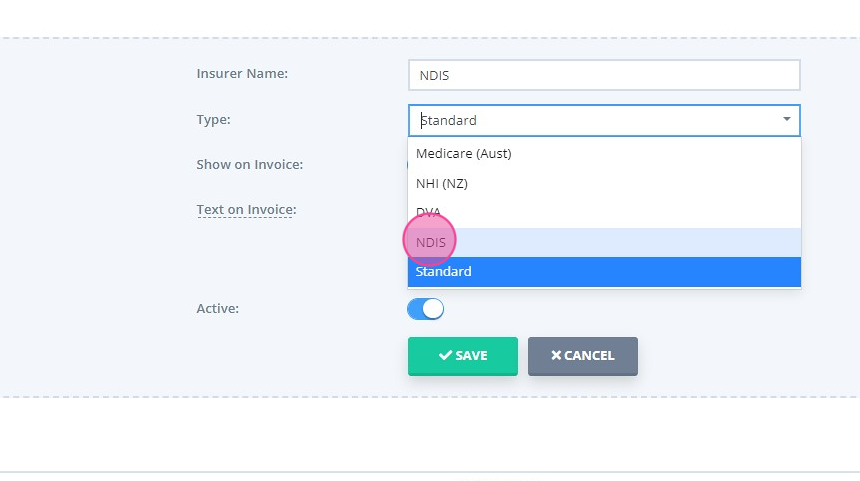
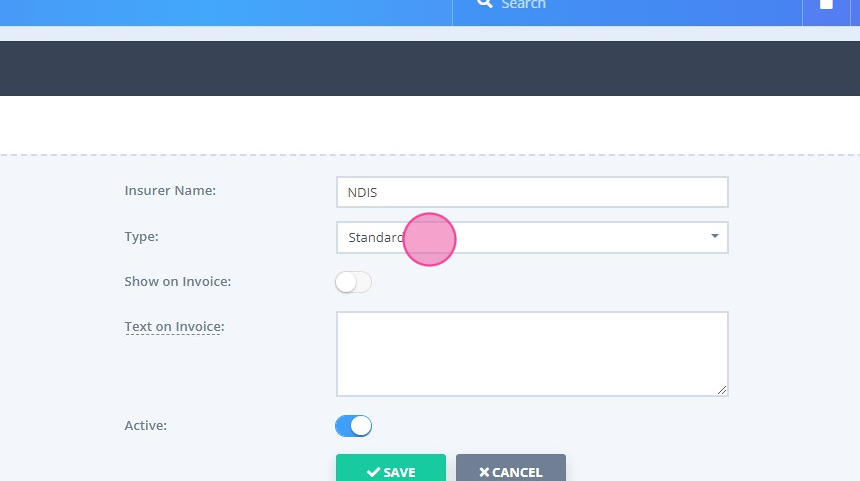
5. Type in the insurer name: 'NDIS'
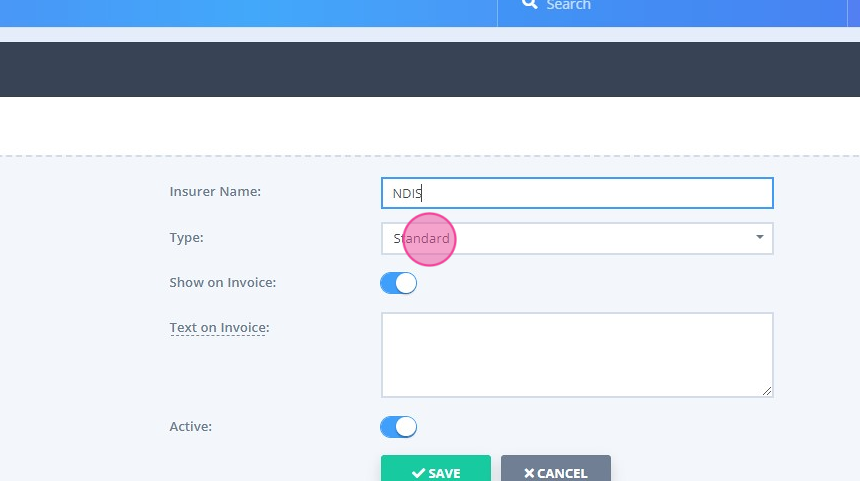
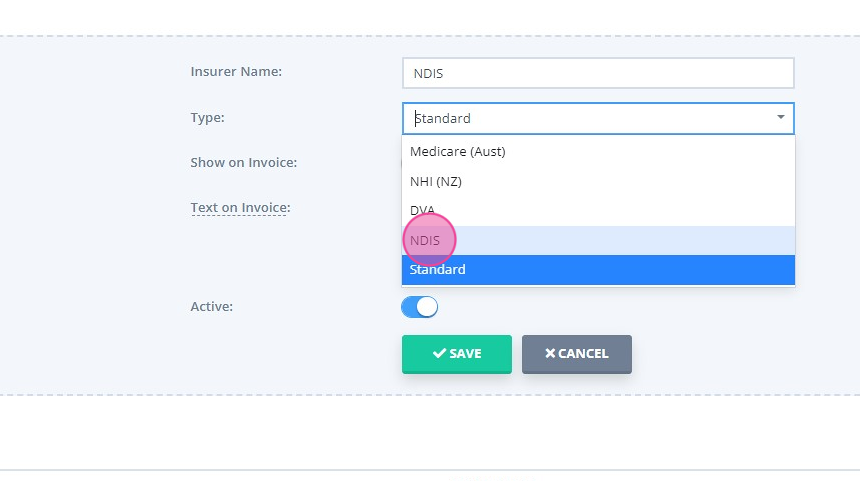
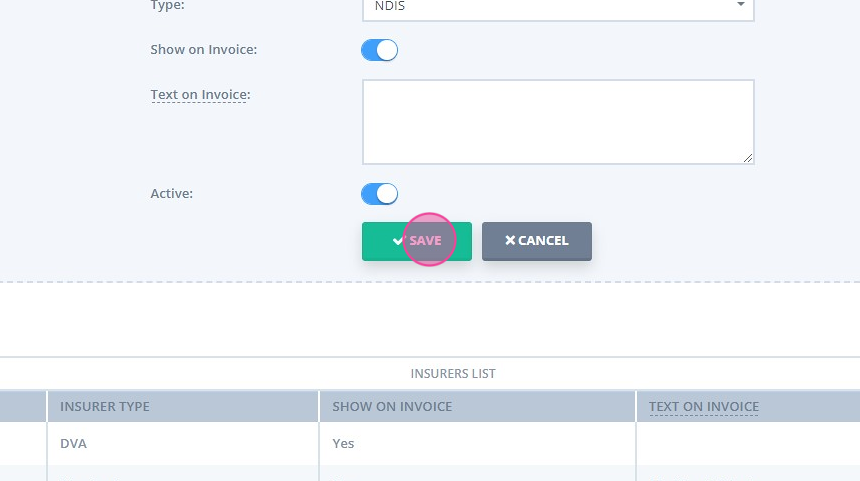
6. Click in the 'Type' dropdown and select 'NDIS':
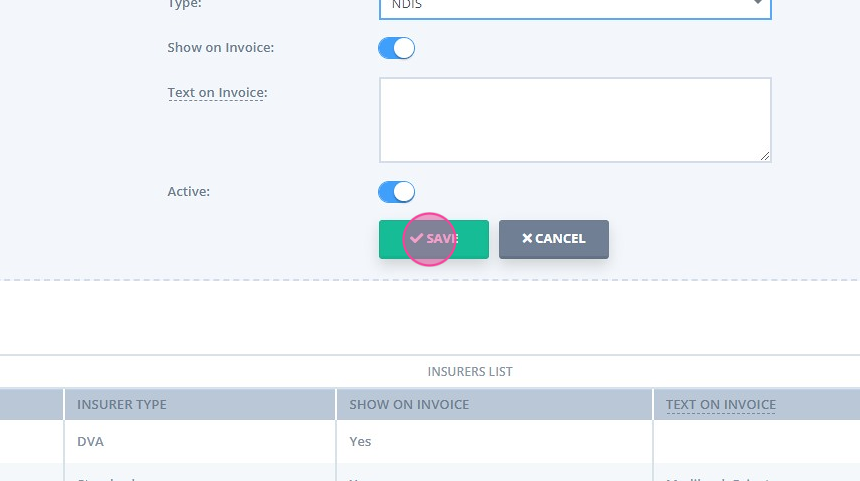
7. Slide the 'Show on invoice' switch to show the NDIS participant number of all clients on their invoices, and 'Save' to save the insurer:
Updating the Existing NDIS Insurer
If your NDIS insurer has been set as 'Standard' insurer type, please update its insurer type to 'NDIS'. Here is how:
1. Click SETTINGS:
2. Select 'Custom Lists':

3. Select 'Insurers':

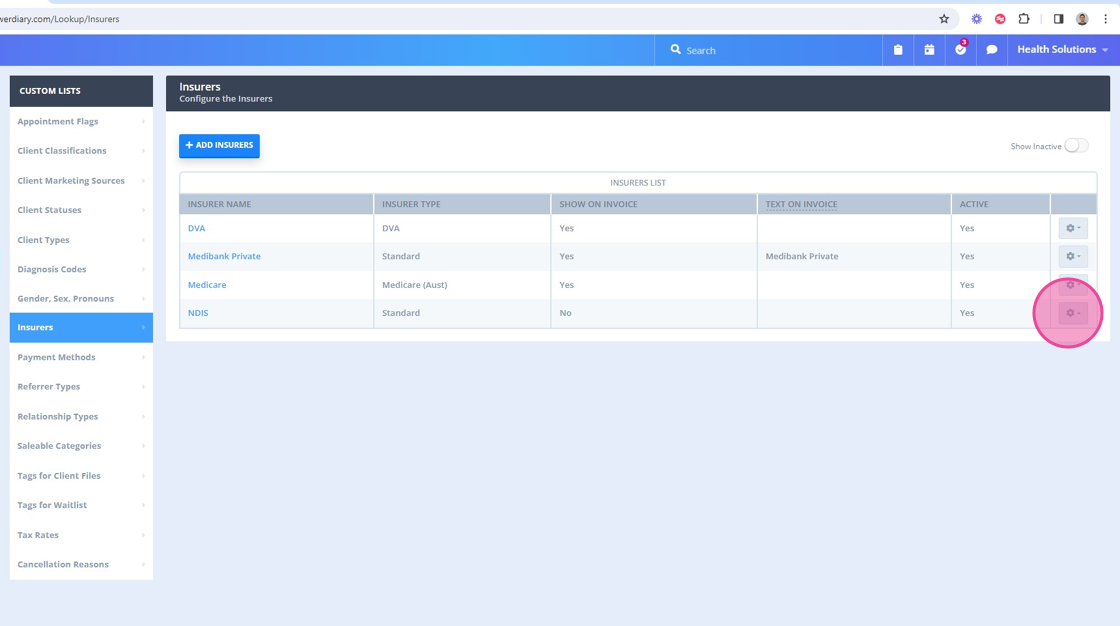
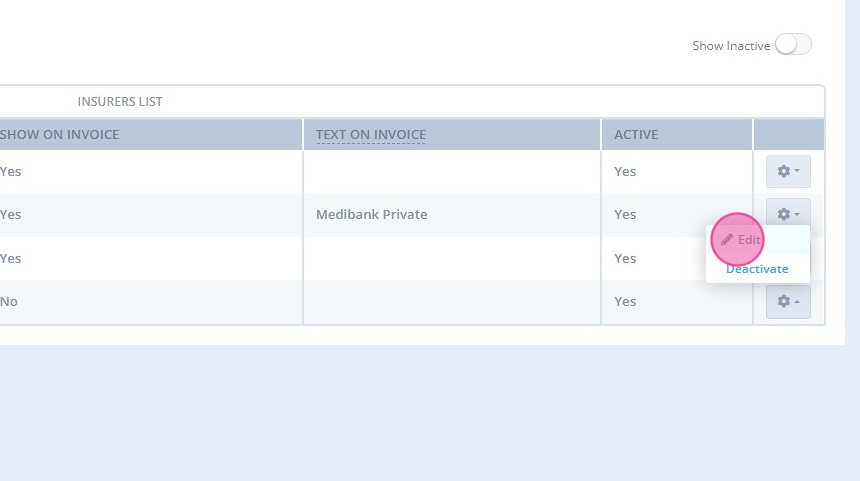
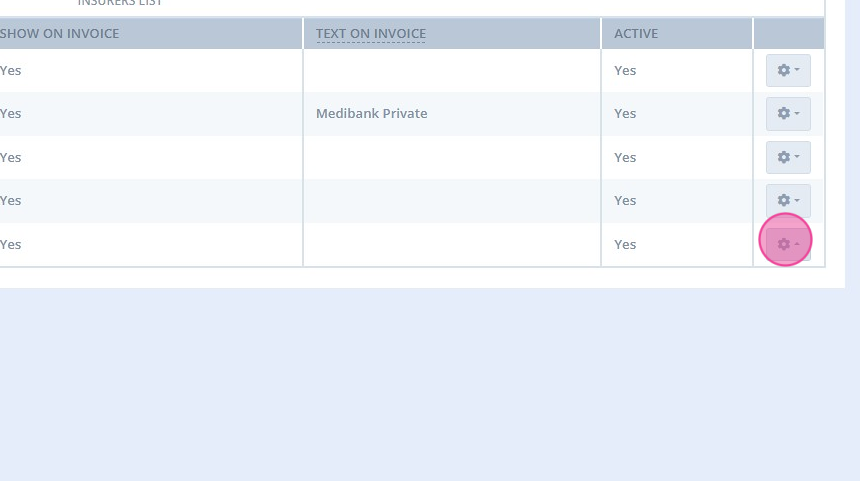
4. The list of already set insurers will open. Locate the NDIS insurer and click on the gear icon in the last column:
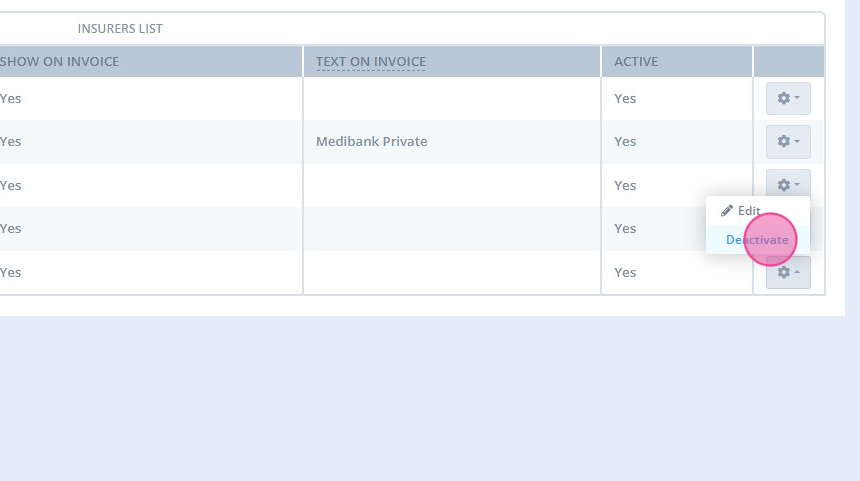
5. Select 'Edit'
6. Click on the 'Type' dropdown:
7. Select 'NDIS' type:
8. Slide the 'Show on invoice' switch to show the NDIS participant number of all clients on their invoices:
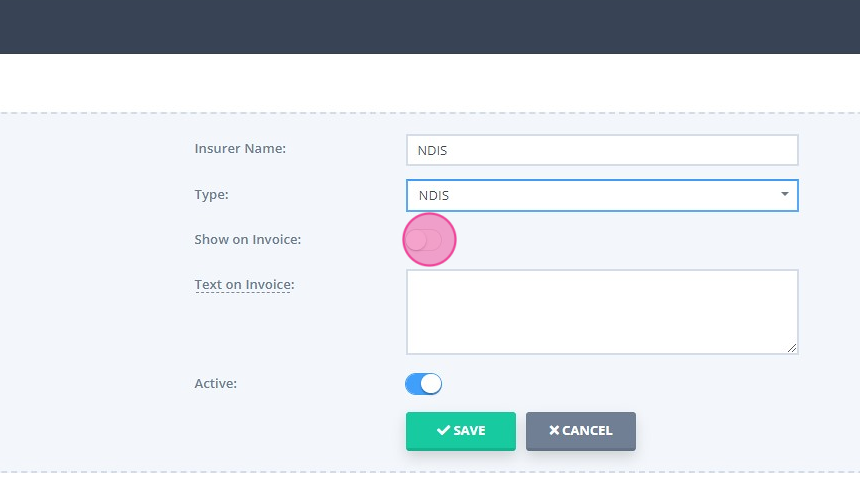
9. Click 'Save' to save the changes:
10. Click 'Close' to close the NDIS insurer settings:

Deactivating an Insurer
You can always deactivate an insurer whenever necessary.
1. Click SETTINGS:

2. Select 'Custom Lists':

3. Select 'Insurers':
4. Locate the insurer you need to deactivate and click on the gear icon in the last column:
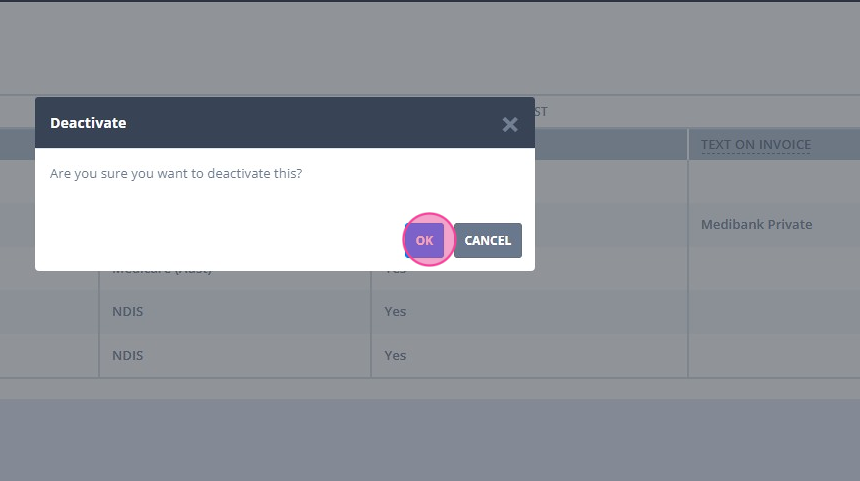
5. Select 'Deactivate':
6. Click 'OK' to confirm