Easily categorize and manage clients in Power Diary by setting up client types. Enhance billing accuracy, marketing effectiveness, and reporting with custom client classifications.
In your clinic, you deal with many different types of clients. Categorizing them based on their type would help you serve them more effectively. For example, if you’re a health provider, you might want to sort your clients into the following client types: ‘Medicare’, ‘Worker’s Insurance’, ‘Private Health Insurance' and more.
In Power Diary, you can easily do this by creating Client Types. Doing so will help you bill your clients more accurately, improve the effectiveness of your marketing campaigns and generate reports based on client types.
In this article:
- Setting Up Client Types
- Allocating a Client Type to a Client
- Using the Client Type in the System
- Searching for a Client Based on Their Client Type
Setting Up Client Types
Here's how you can easily create new client types in Power Diary:
- Go to Settings > Clients > Client Types.
- Click on Add Client Types.
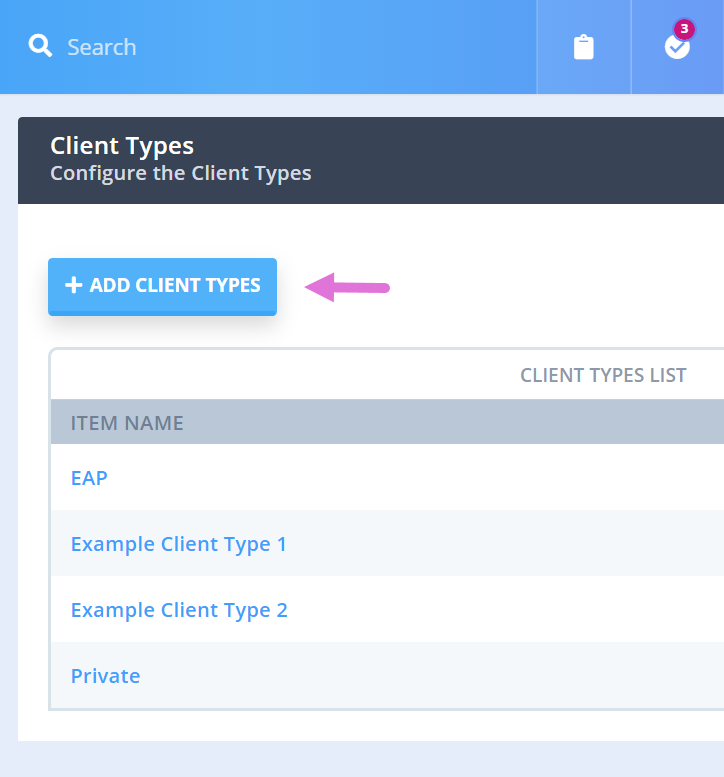
- Enter the name of the client type and click Save.

Allocating a Client Type to a Client
The new client types you created will be visible inside a client's profile.
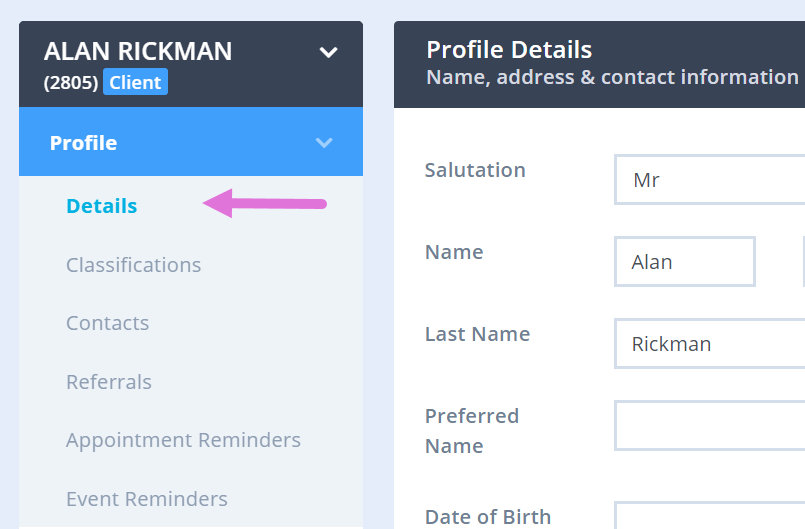
- Go to the client's profile and navigate to Profile → Details.
- Select the Client Type from the dropdown box.
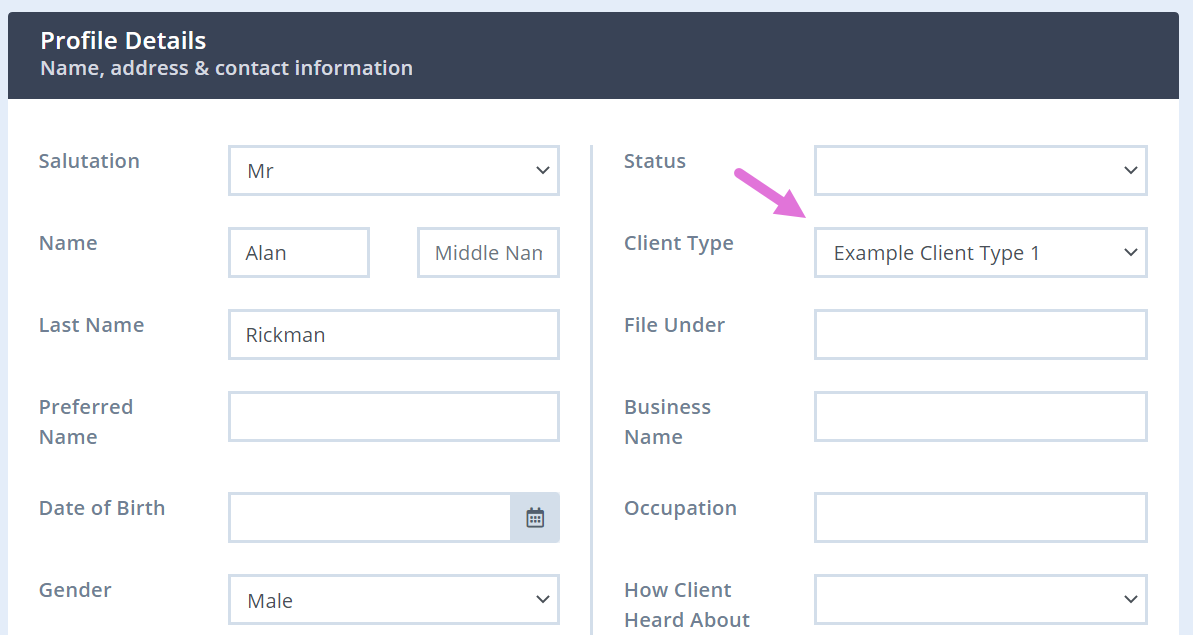
- Click on Save Changes at the bottom of the page.
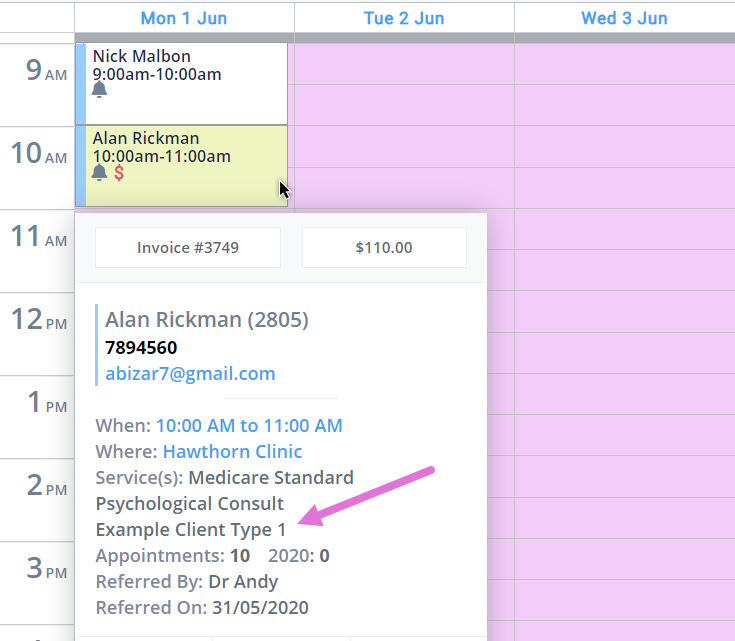
Checking a Client's Type in Your Power Diary Calendar

Searching for a Client Based on Their Client Type
When searching for clients, you can filter them based on their client type. This will give you a list of clients who fall under that client type only. Here's how you can do that:
- Go to People → Clients.
- On the Search page, click on Advanced Search.
- Click on the dropdown menu under Client Types and select your preferred client type.
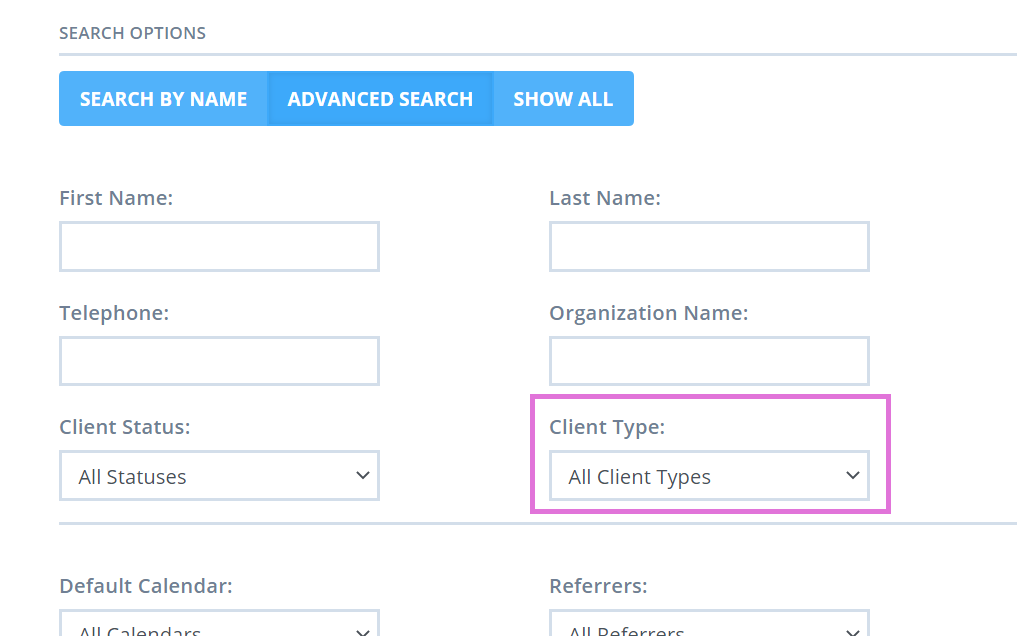
- Add other filters if you want and click on Show Filtered List at the bottom-right corner of the page to bring up the list of clients with your preferred client type.
