
Learn how to correct Stripe or Tyro payments recorded on the wrong invoice in Power Diary. Steps for correct client, related clients, and unrelated clients.
Note💡
In case of a manually added payment (like Cash, Direct Deposit, EFTPOS, and so on), this payment can be just deleted from the invoice where it was applied incorrectly.
Please go to the relevant section for your scenario:
- The payment is for the correct client, but you've recorded it against the wrong invoice
- The payment is for the incorrect invoice and client, but the clients are related
- The payment is for the incorrect invoice and the incorrect client
- A contact booked an appointment and paid it online under their own name
The payment is for the correct client, but you've recorded it against the wrong invoice
In this case, it is just a matter of unallocating the payment from the incorrect invoice and re-allocating it to the correct one.
Please refer to this knowledge base article about Adding and Managing Payments to learn how to unallocate and then re-allocate the payment to the correct invoice. 
The payment is for the incorrect invoice and client, but the clients are related
If your clients are related (e.g. husband and wife, or siblings, or parent and child), then follow these steps:
- You can contacts for each other.
- Once that is done, unallocate the payment from the incorrect invoice.
- Go to the correct invoice, and select the Contact in the "Payable By" field.
- Save the invoice.
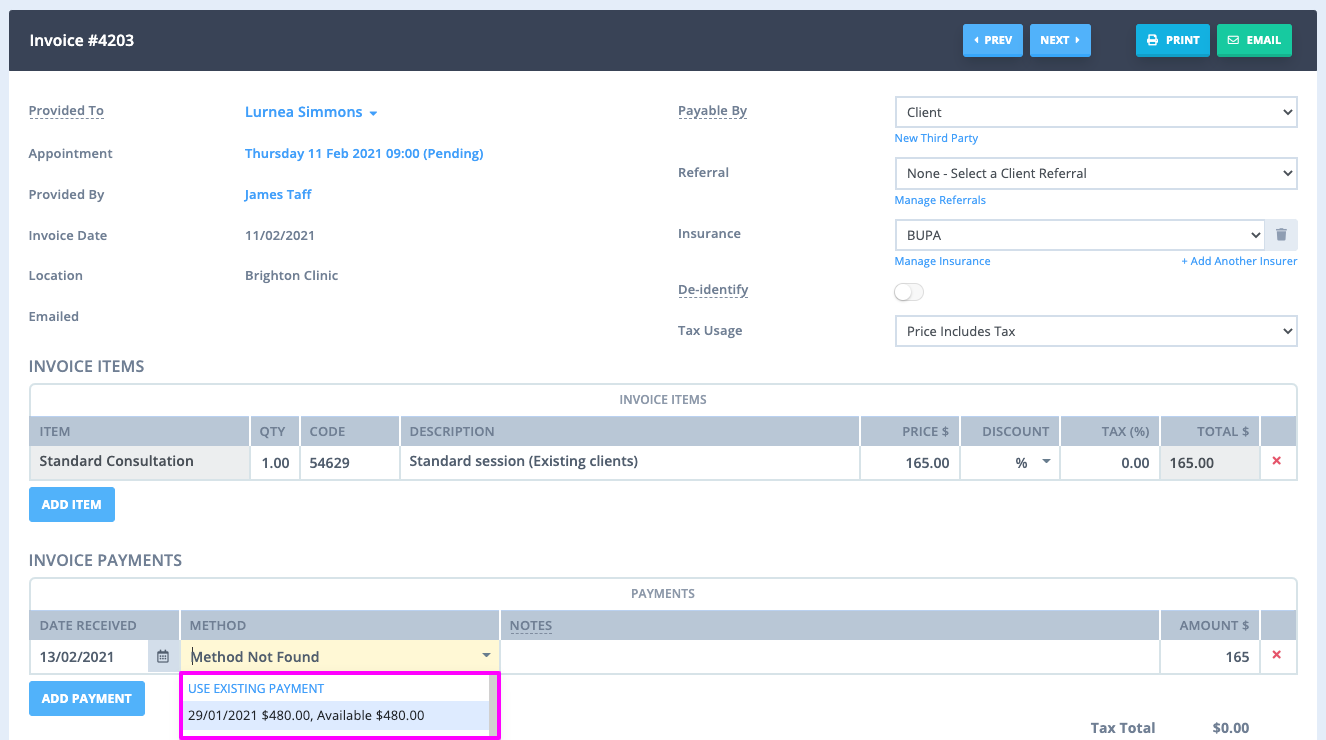
- You now will be able to click on Add Payment and select the Existing Payment
- Save the invoice again.
The payment is for the incorrect invoice and the incorrect client
When the clients aren't related, you can make use of an unrelated payment to transfer the credit between the two invoices. You might choose to use the "Cash" payment method, or you might prefer to create a new Payment Method just for this purpose. You will create a positive payment and a negative payment for the same amount, so they effectively cancel each other out.
1. Create a new payment method:
- Go to Settings > Payments > Payment Methods
- Click on Add Payment Method
- Give your new payment method a name, eg "Credit Transfer",
- and Save.
2. Now on the first invoice (with the incorrect payment) add a new payment:
- Click on Add Payment > select "Credit Transfer"
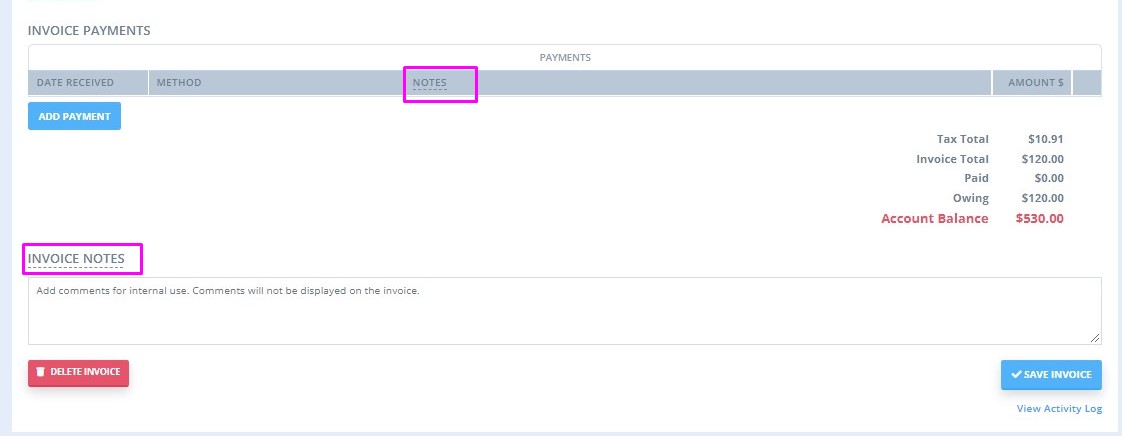
- Add a Payment Note or an internal Invoice Note to make a record of how you've transferred the payment to the other invoice. Eg you might say "Payment incorrectly recorded here, and transferred to invoice 123 for client A"
- Set the Payment Amount to the negative of the amount to be transferred (usually the full amount of the payment already on the invoice)
- Set the Payment Amount to the negative of the amount to be transferred.
3. On the second invoice, add a new payment:
- Click on Add Payment > select "Credit Transfer"
- Add a Payment Note or an internal Invoice Note to make a record of how you are transferring payment from the other invoice
- Set the Payment Amount to the positive amount to be transferred.
- Save the changes.
A contact booked an appointment and paid it online under their own name
It may happen that a contact booked an appointment and paid it via your client portal using their own details. In this case, the system would create an appointment under the contact's name and record the invoice and payment for this appointment in the contact profile. The appointment and payment need to be transferred to the client's profile. Here is how this can be done:
-
Link the Parent as a Contact under the Child’s Profile:
- Navigate to the Child's Profile.
- Go to Contacts and link the parent’s profile as a contact if not already done.
-
Unlink the Payment from the Parent’s Invoice:
- Go to the Parent’s Profile.
- Navigate to Billing > Payments.
- Find the payment in question and click Edit.
- Uncheck the invoice that is currently linked to the parent’s appointment.
- Save the changes.
-
Delete the Appointment Under the Parent's Name:
- Go back to the Parent’s Profile.
- Delete the appointment that was incorrectly booked under the parent's name.
-
Rebook the Appointment Under the Child's Name:
- Navigate to the main calendar screen.
- Book the appointment correctly under the child’s name.
-
Set the Parent as the Payee in the Child’s Billing Setup:
- In the Child’s Profile, go to Billing > Billing Setup.
- Under Bill To, select the Parent as the payee.
- Save the changes.
-
Reassign the Payment to the Child’s Invoice:
- On the child's appointment panel, add the service you will provide to the child.
- Click on Add Payment. You should see the existing payment that was previously associated with the parent.
- Select this payment to link it to the child’s new invoice.
If you don’t see the payment:
- Go back to the Parent’s Profile.
- Navigate to Billing > Payments.
- Edit the payment in question and select the new invoice linked to the child.
- Save the changes.
Hint 💡
Please note that when you email/print the receipt invoice, your clients do not see whatever you write in the "Notes" column of the payment. So you are welcome to write full information in there without concern for breach of confidentiality.