
Learn how to send appointment reminders via SMS or email in Power Diary. Set up automatic or manual reminders, customize templates, and ensure clients confirm or cancel appointments efficiently.
You can send your clients appointment reminders to remind them of upcoming appointments. This will help you maximize appointment attendance and reduce no-shows. Appointment reminders can be sent via SMS, email, or using a combination of both. In addition, you can send reminders manually or automatically - depending on the situation.
Important
A dedicated Toll-Free Number (TFN) is required to send/receive SMS messages in the USA, Canada, Puerto Rico, Bahamas, Jamaica, Costa Rica, and Barbados. For more details, please click here.
Watch The Video:
In this article, we’ll show you how to do all this. Let’s get started.
In this article:
- Setting Up Automatic Appointment Reminders
- Setting Up Manual Appointment Reminders
- Setting Up Appointment Reminders For Specific Clients
- Adding or Editing Appointment Reminder Templates
- Setting Up Automatic Appointment Confirmation/Cancellation
- Keywords for Confirming and Cancelling
- Disabling/Enabling Appointment Reminders for Specific Appointments
Setting Up Automatic Appointment Reminders
Automatic appointment reminders are turned on by default. But if it is turned off - or if you’d like to change a setting for automatic appointment reminders, here’s what you need to do:
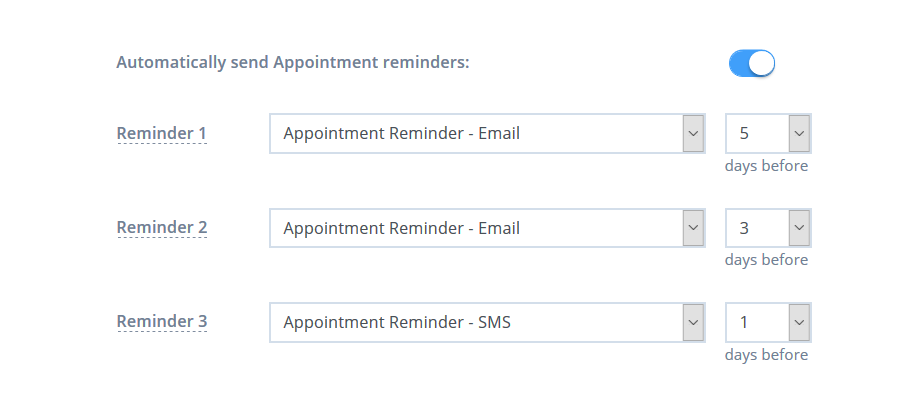
1. Go to Settings > Communication > Reminders
2. Turn on the switch next to the label 'Automatically send Appointment Reminders to Clients' on the top-left corner of your screen. 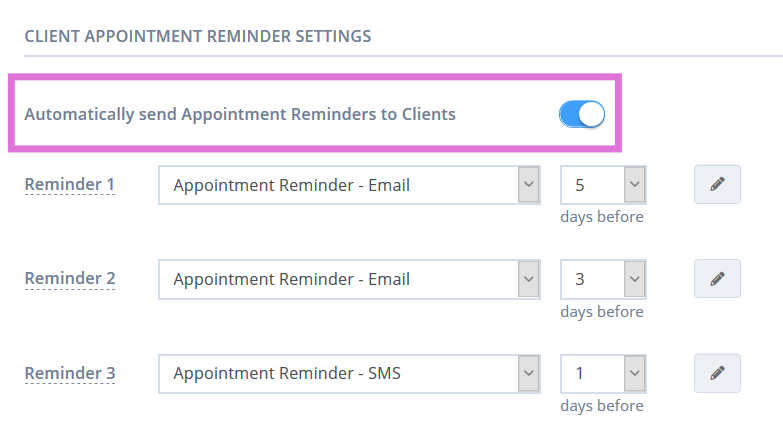 3. Click on 'Save Changes' at the bottom of the page.
Note:
You can send a maximum of three reminders to your clients for each appointment.
- To enable a reminder, you need to do two things:
- Select a template for that reminder.
- Choose how many days before the appointment you want to send the reminder.

- If you wish to turn off a reminder, simply click on Choose Template when selecting a template from the drop-down menu.
- Once you’ve added the settings you want, simply click on Save Changes at the bottom of the page to activate Automatic Appointment Reminders.
Important:
Power Diary automatically sends these reminders every day from 9 am to 10 am and from 4 pm to 5 pm based on the local timezone you set in Business Info.
Setting Up Manual Appointment Reminders
In addition to the automatic appointment reminders, you can also manually send appointment reminders whenever you want.
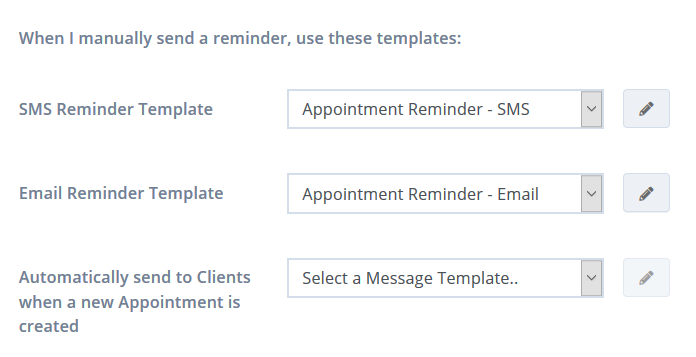
By default, SMS and Email reminder templates will already be selected, but you can change these if desired. Here’s how:
1. Go to Settings > Communication > Reminders.
2. Under Client Appointment Reminder Settings, you’ll see a section on the right side labelled 'When I manually send a reminder, use these templates'.
3. In this section, you can choose a template for SMS and email reminders using the drop-down menu
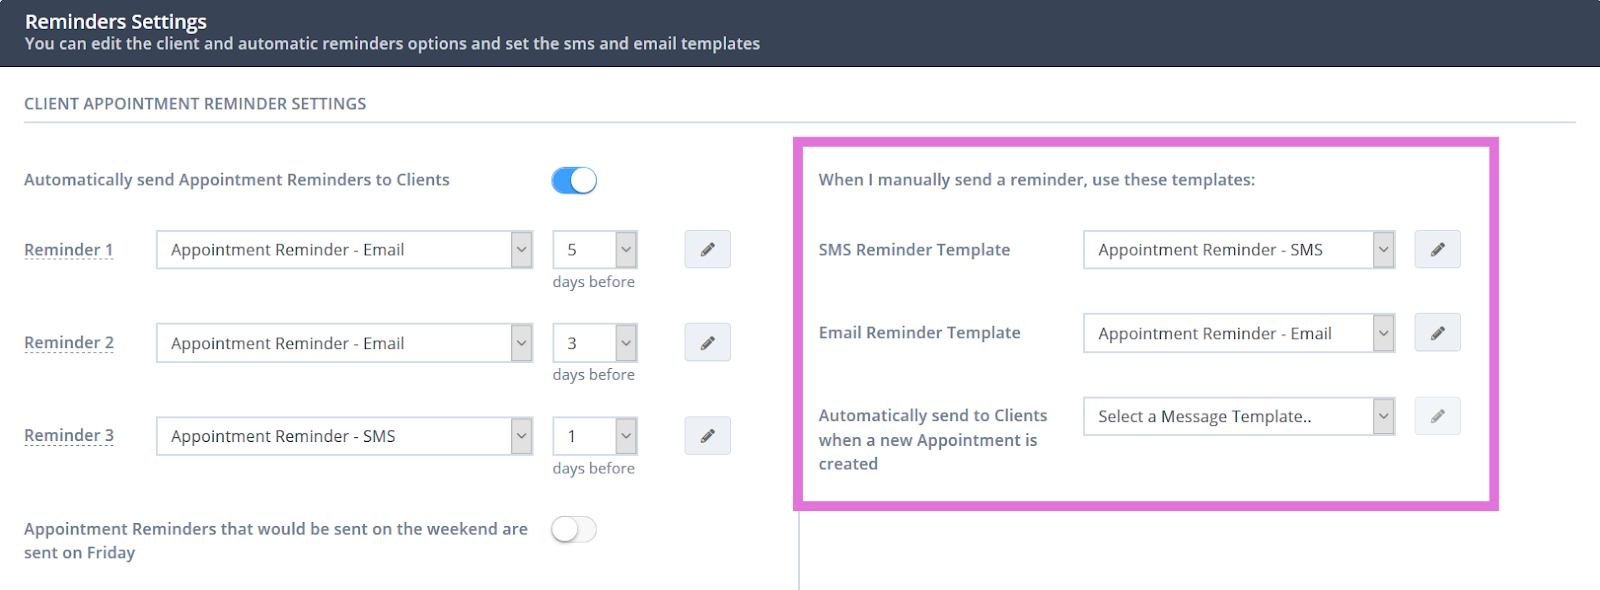
4. After you set the templates, click on the Save Changes button at the bottom of the page.
Once this is done, you can manually send an appointment reminder in two ways, as described in the following article Sending Appointment Reminders Manually.
Setting Up Appointment Reminders For Specific Clients
The instructions for setting up Appointment Reminders discussed above apply system-wide and for all clients.
But you can also set up custom appointment reminders for a specific client.
Here’s how:
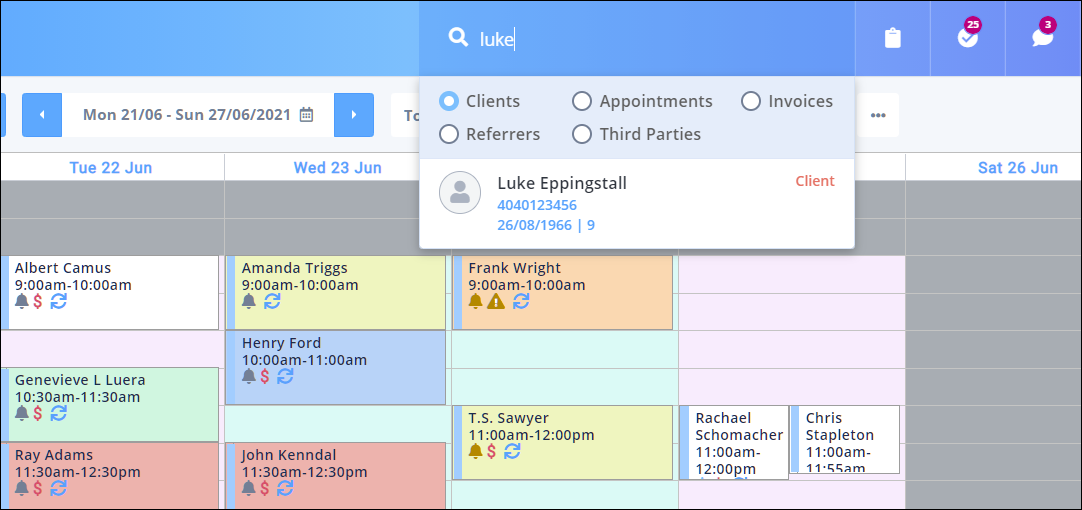
1. Use the search bar on top of the Power Diary dashboard to search for the client for whom you want to set up appointment reminders.
 2. Once you’re in the profile of your client, go to Profile → Appointment Reminders.
 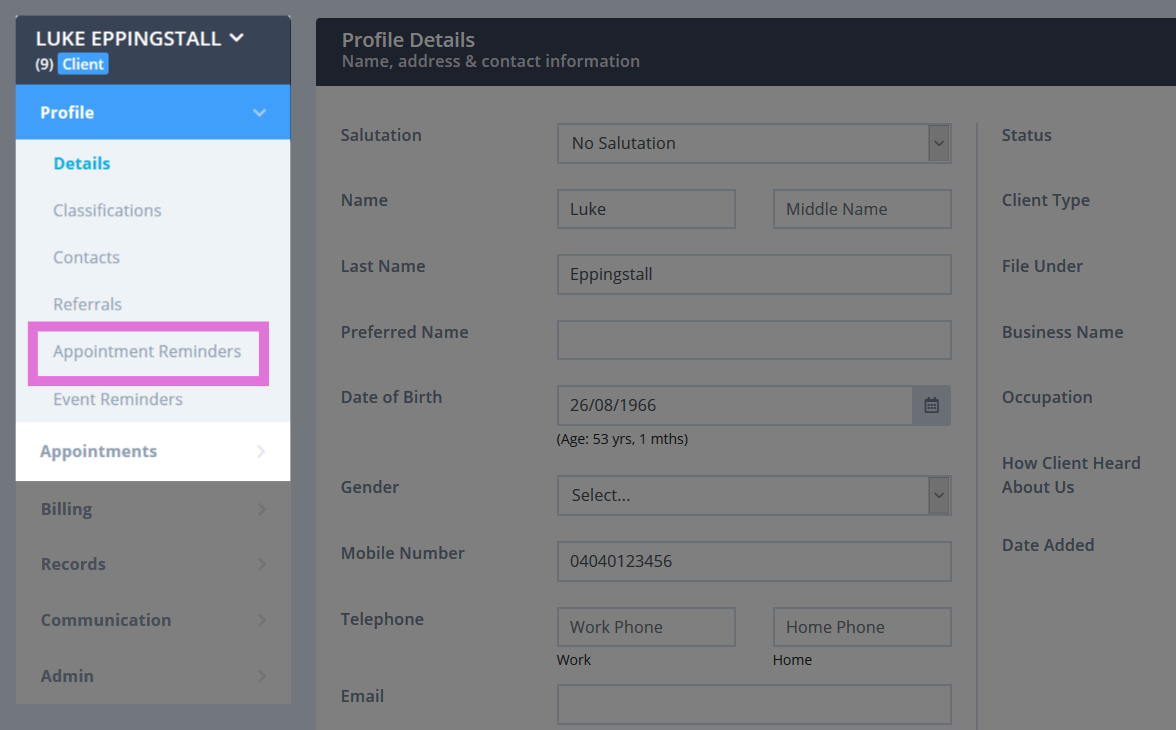 3. Once you’re in the profile of your client, go to Profile → Appointment Reminders.
 4. Once you’ve added these settings, click on the Save Changes button at the bottom-right corner of your screen.
These reminder settings will override the settings you made in Settings > Communication > Reminders, and will be used any time you create a new appointment for this specific client.
Adding or Editing Appointment Reminder Templates
By default, your account will have an email and an SMS appointment reminder template setup.
If you want to change that template - or create a new one altogether, here’s what you do:
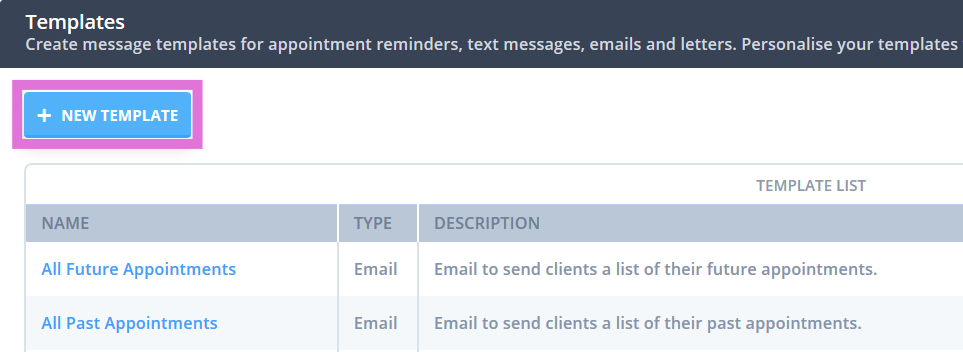
1. Go to Tools → Communication → Templates.
2. Here, you will see the '+ New Template' button at the top of the page. Click on it to create a new template from scratch.
 3. Start by choosing the 'Message Type' i.e. is this new template an email, SMS or a letter? Then, name the template and describe its purpose in the description box. If you’ve chosen the 'Message Type as Email', enter your name and email address (or of the person who will be using this email template) and finally type in the email subject i.e. title of the email.
 4. Once done, scroll down until you see the content text editor. Here, type in your template and click Save.
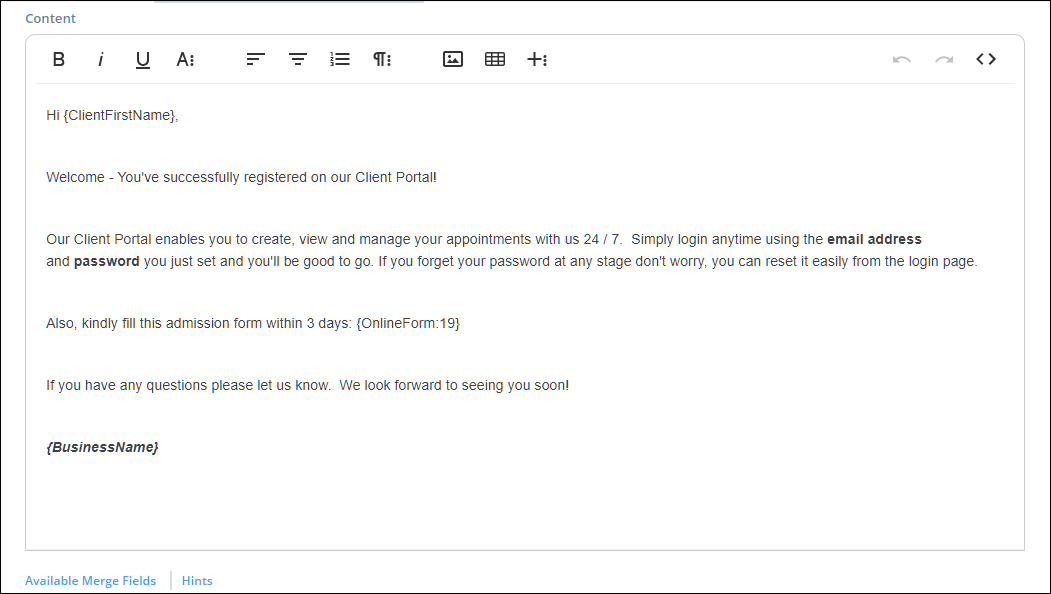
Hint 💡
Use the Available Merge Fields and Hints buttons at the bottom of the text editor to see ways to personalize your template.
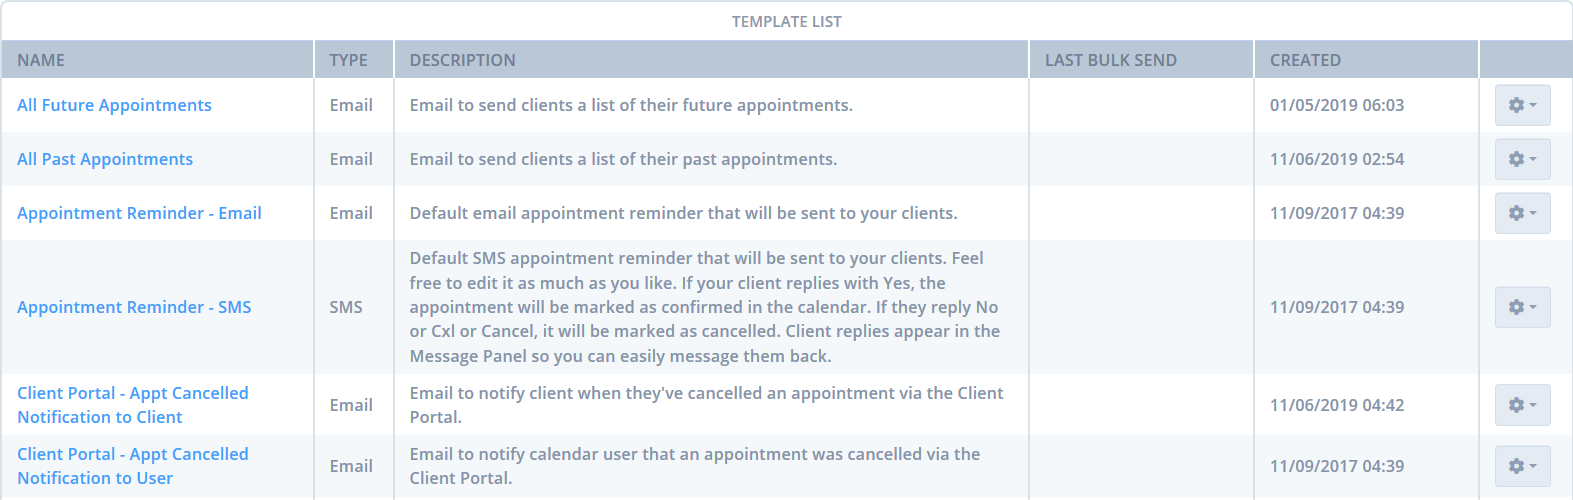
5. After saving your template, go back to Tools → Communication → Templates. Here, you’ll find your newly created template under the Template List.
6. If you’d like to edit a template, just click on its name.
7. To delete it, click on the gear icon on the right and click Delete.
Setting Up Automatic Appointment Confirmation/Cancelation
- If you use SMS appointment reminders, Power Diary will process the replies clients give and use them to update their appointment status.
- By looking for certain keywords within the client replies, Power Diary automatically sets their appointment status as either confirmed or cancelled*.
Hint 💡
You can see the client replies by opening the Messaging Panel on the Power Diary dashboard. Anytime you receive a new client reply, you’ll see a small notification bubble showing you the number of unread replies.

* When clients reply to your SMS reminder to cancel an appointment, and if such cancellation mode it permitted in your account settings, any existing appointment invoices will not be removed automatically. This is to cater for cases where a cancellation fee is applicable or a practice needs to keep track of cancelled appointments that have been invoiced and/or paid prior to cancellation.
- Here is the list of keywords Power Diary looks for in a client’s reply after sending them an SMS appointment reminder.
Key Words to Confirm and Cancel:

Important
- Please be aware that CANCEL is a keyword for automatic unsubscribing according to regulatory USA/Canada requirements. If your account is based in the USA or Canada, please recommend your clients reply with N or No when they wish to cancel their appointment.
- When clients reply to SMS reminder to cancel, it must be N on it's own, otherwise if it's part of a string (such as N. ) it won't be detected and the appointment status will not be updated to canceled
Enabling/Disabling Appointment Reminders For Specific Appointments
You can enable/disable appointment reminders for specific appointments in Power Diary.
1. To do that, go to your Appointments Calendar on the Power Diary dashboard. Here, click on the appointment whose reminder you want to enable/disable.
2. Once the Appointment Settings Panel opens up on the right side of your screen, click on the Reminder will be sent or the Reminder will not be sent switch to toggle appointment reminders on or off for that appointment.

Note 💡
If there were any future-dated appointments in the inactive practitioner's calendar, their automatic reminders will not go out after the practitioner is made inactive.