Learn how to backup your Power Diary appointments for offline access. Sync with Google or Outlook Calendar, print appointment lists, run reports, or export data for seamless scheduling.
This article provides guidance on how to preemptively back up your appointments for times when you're unable to access your Power Diary account, such as situations where you can't log in or lack internet connectivity.
In this article:
- Sync Power Diary Calendar to Google Calendar
- Sync Power Diary Calendar to Outlook Calendar
- Print Appointments List
- Run Appointments Report
- Export Appointments via Data Export
Sync Power Diary Calendar to Google Calendar
Each practitioner's Power Diary calendar can be synced with a Google Calendar to see their schedule on a mobile device or a computer while not logging in to a Power Diary account.
Each Google Calendar can also be shared with multiple people from within a Google Account. When synced, all appointments created in Power Diary, and any updates made to them will automatically be populated in the Google Calendar.
- To sync the calendars,
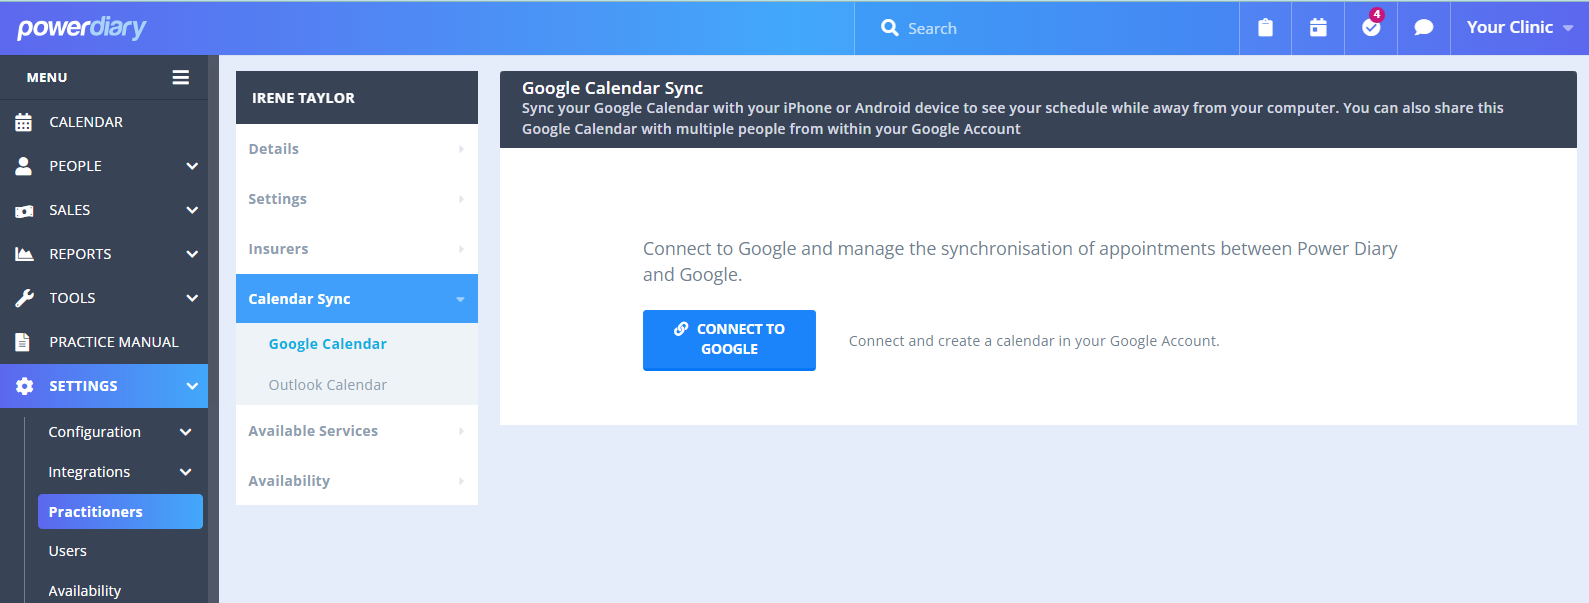
- Navigate to Settings → Practitioners → open a practitioner's profile.
- In the practitioner profile menu, select Calendar Sync → Google Calendar.
- Click on the 'CONNECT TO GOOGLE' button and follow the prompts.
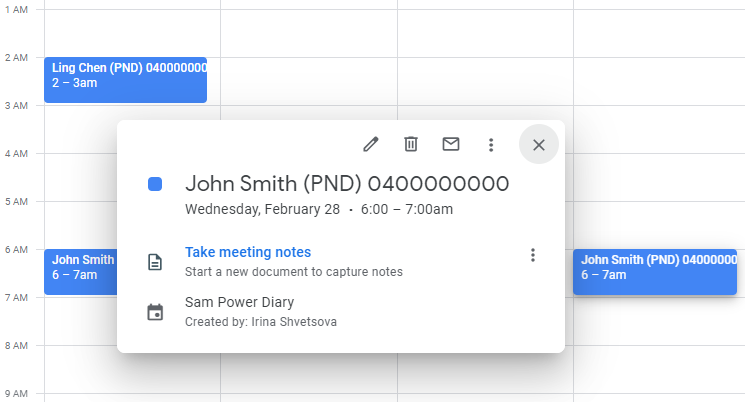
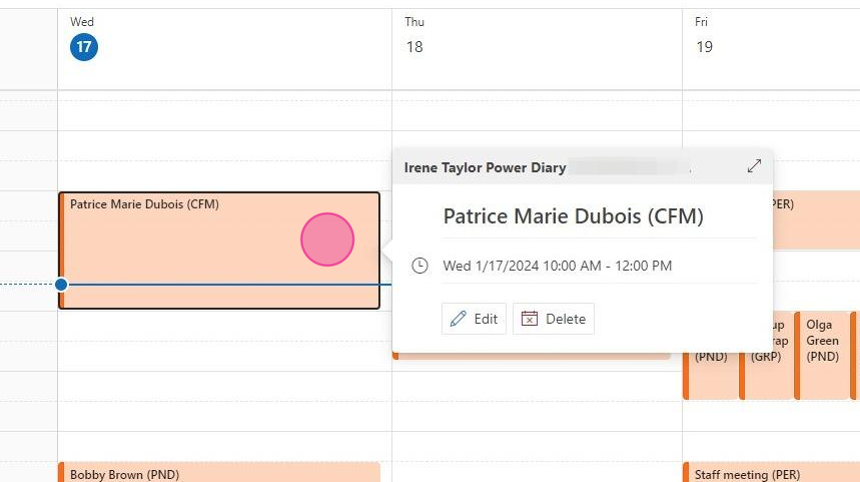
- When an appointment is exported from your Power Diary account to your Google account, the created Google Calendar event will include clients names and mobile numbers, appointment statuses, appointment start and end times, as you can see below:
Note
See the complete and detailed information about Power Diary and Google Calendar integration here.
Sync Power Diary Calendar to Outlook Calendar
Similarly to the Google Calendar, you can sync a Power Diary calendar with an Outlook Calendar, to be able to quickly see all your events and appointments in one place, without the need to log in to Power Diary.
- To sync the calendars,
- Log in to your Power Diary account.
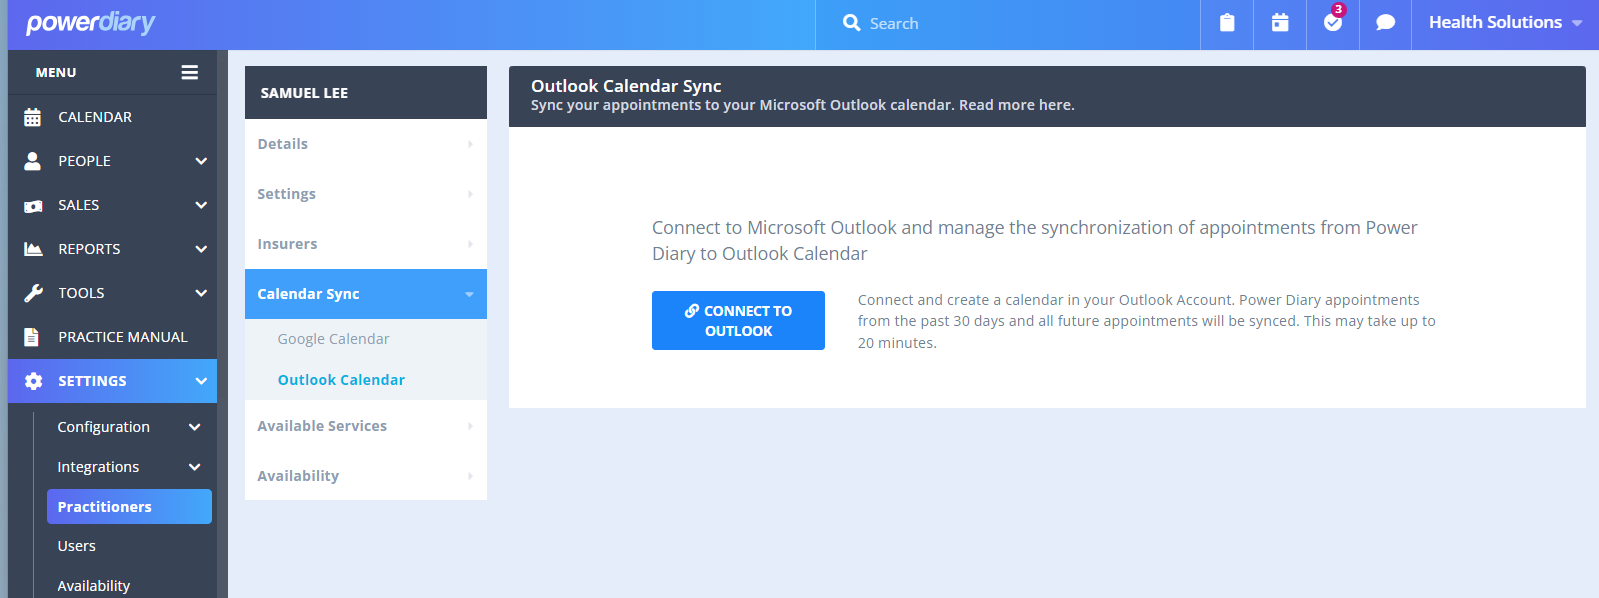
- Navigate to Settings → Practitioners → open a practitioner's profile.
- In the practitioner profile menu, select Calendar Sync → Outlook Calendar.
- Click on the 'CONNECT TO OUTLOOK' button and follow the prompts.
- Power Diary will sync the client's full name and appointment status for the client appointment, or the name of a group or personal appointment, as well as the date and start and end time or each type of appointment.
Note
See the complete and detailed information about Power Diary and Outlook Calendar integration here.
Print Appointments List
In Power Diary, you can print out or download a PDF file with the list of the scheduled appointments. Here is how:
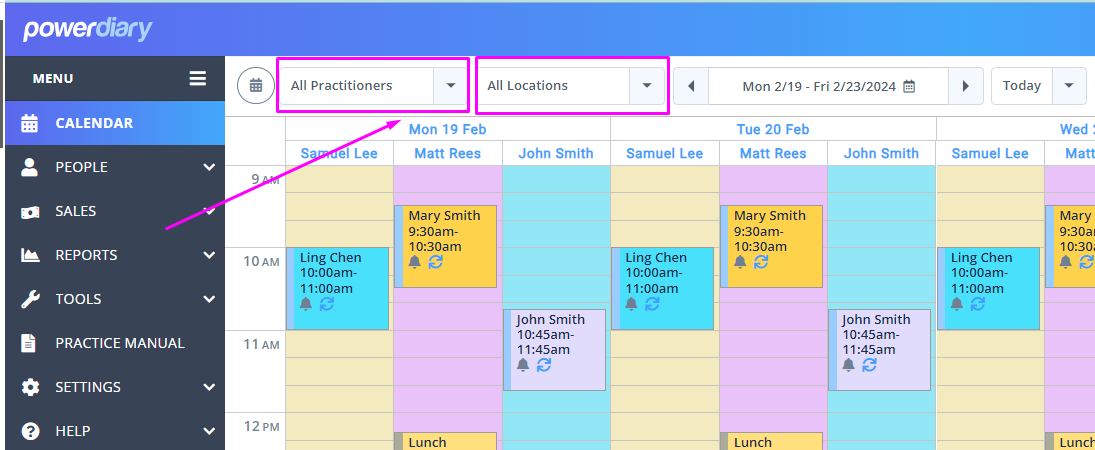
- Use the Calendar toolbar filters to view the scheduled appointments as needed.
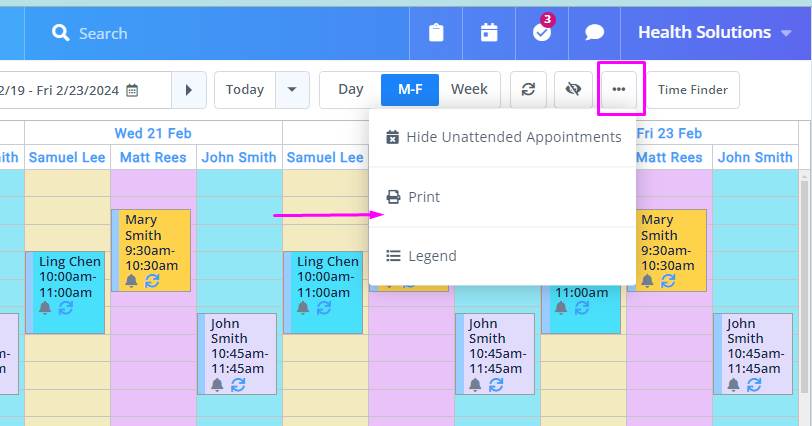
- Click on the three dots on the main menu toolbar and select Print.
- An Appointments List will be created for you to print out or download as a PDF file on your computer.
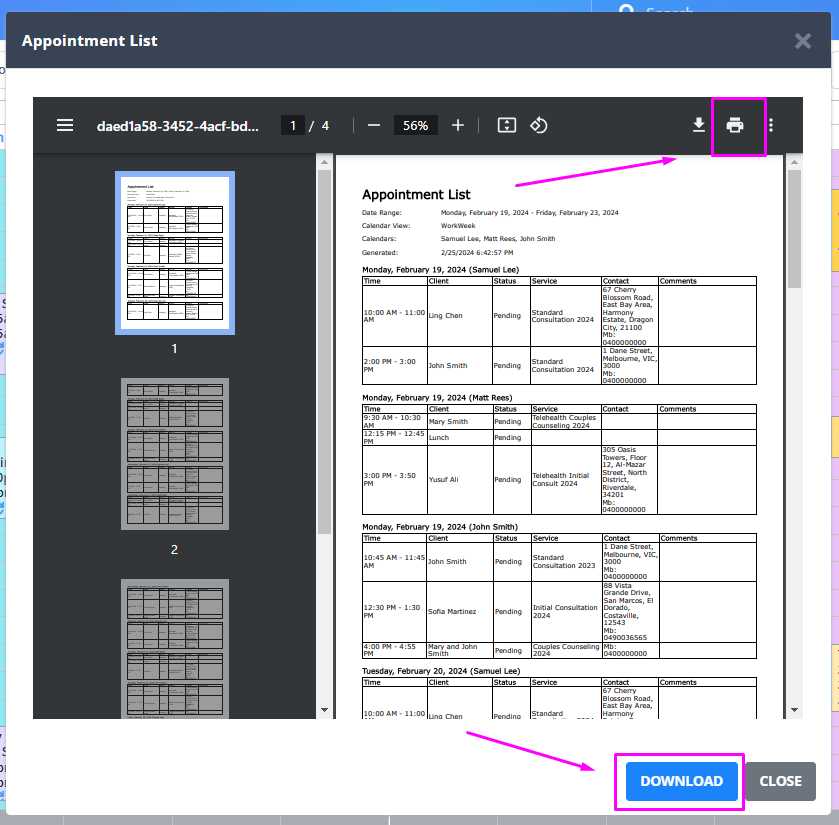
-
The appointment list will include the following appointment information: date, start and end time of appointment, a client name, an appointment status, an appointment service, client contact information and appointment comments.
Run Appointments Report
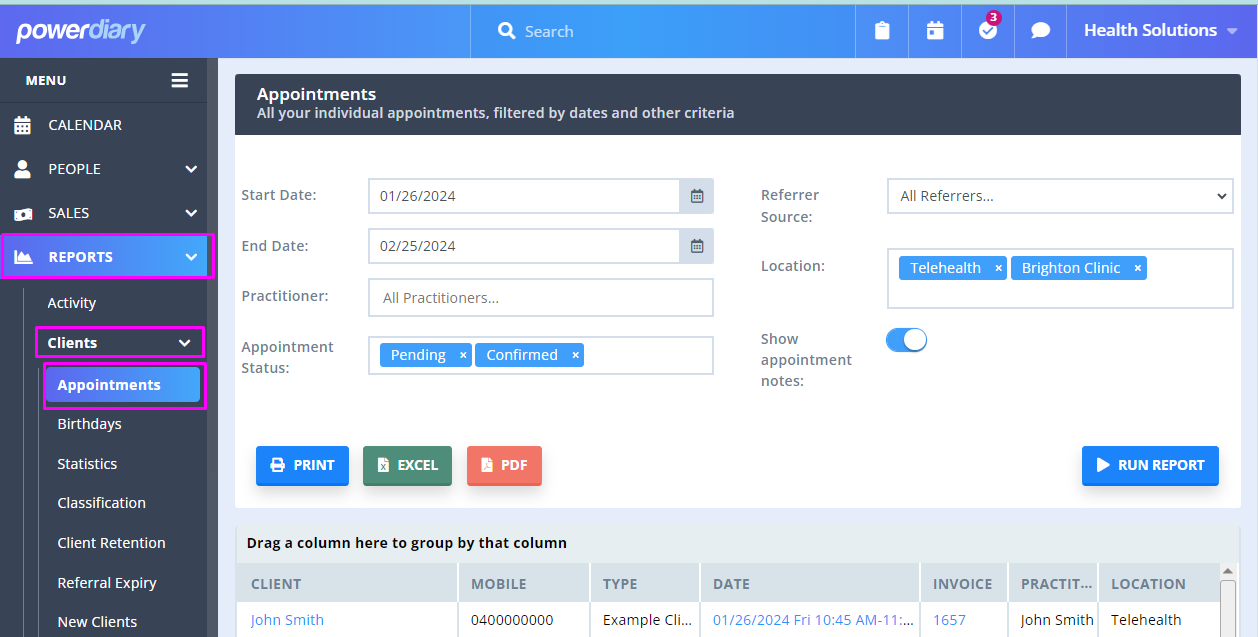
lf you have access to Power Diary reports, you can generate a list of client appointments to print out or download as a PDF file or Excel spreadsheet.
- Navigate to Reports → Clients → Client Reports.
- Set up the report filters as necessary.
- Run the report.
- Use the available buttons at the top-left of the generated report to print or download the report as a PDF or Excel file.
Export Appointments via Data Export
Power Diary Data Export feature allows users with access to export a .csv spreadsheet of all appointments in a Power Diary account and download it on your device. Here's how you can export your appointments:
1. Navigate to Tools → Data Export.2. Select the data export type.
3. Check 'Appointments' in the 'SELECT THE DATA YOU WANT TO EXPORT' section.
Hint
You can also check the Client Profiles box to export a .csv file with your client details, in case you'll need to contact them via phone or email.
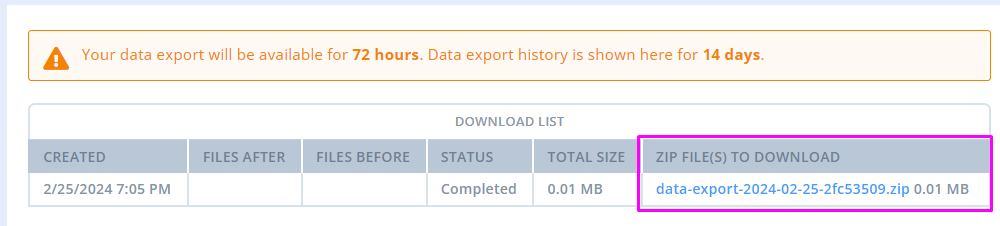
4. Click 'EXPORT'. The exporting process may take up some time, from a few minutes to a few hours depending on the amount of data you are exporting. 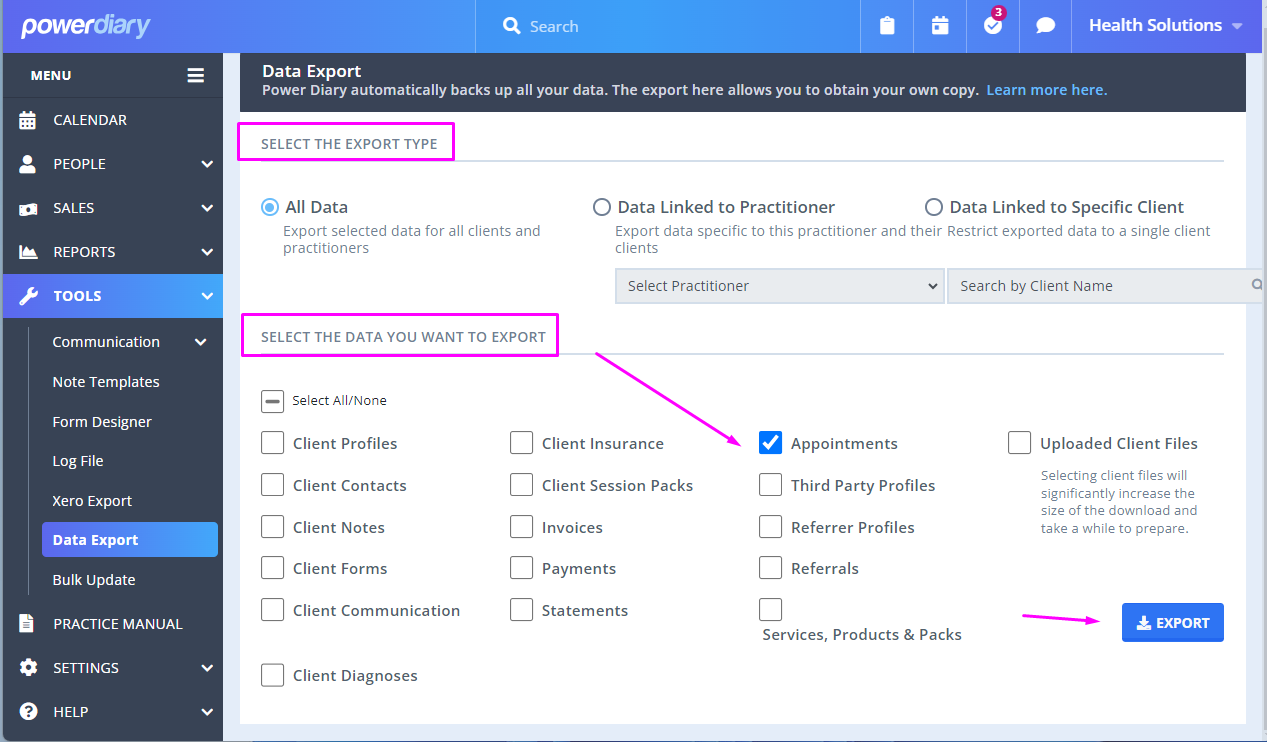
5. Once the export is finished, you will be able to download the .zip folder with the exported file(s) to your device.