
Learn how to set and update expiry dates for online forms in Power Diary. Manage form templates and individual client forms for seamless practice operations.
By default new form templates have no set expiry, however you haveith the ability to set the expiry date for each specific online form template and an individual client online form. This article will provide you with further instructions about how to set up and update the expiry dates of online forms.
In this article:
- Setting Up or Updating Online Form Template Expiry Date
- Updating Individual Online Form Draft Expiry Date
How to Set Up or Update Online Form Template Expiry Date
You can specify the expiry date for each form template when
- you create a new form template in Tools > Form Designer > New Form Template. In the 'Default Expiry Date' field,
- enter the days after which the form will expire,
- or leave blank for no expiry: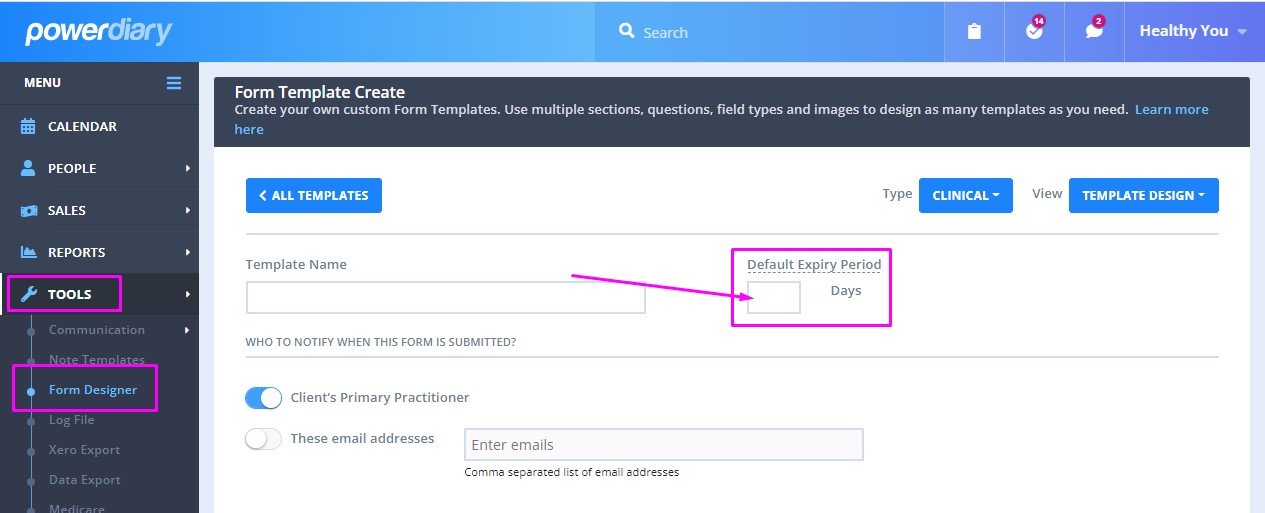
-
you update the expiry date of an existing online form template. To do so,
- navigate to Tools > Form Designer > Select the existing form template and open it for editing.
- enter the new expiry date or leave blank for no expiry.
How to Update Individual Online Form Expiry Date
Once a created Online Form draft crosses its default expiry date as set in the form template, the link you have sent to your client will expire. To reactivate the form link for your client you will need to extend the expiry date of the form. You can also make the expiry period shorter, or remove it completely. Here's how you can do this:
- Go to the profile of the client whose Online Form expiry needs to be updated.
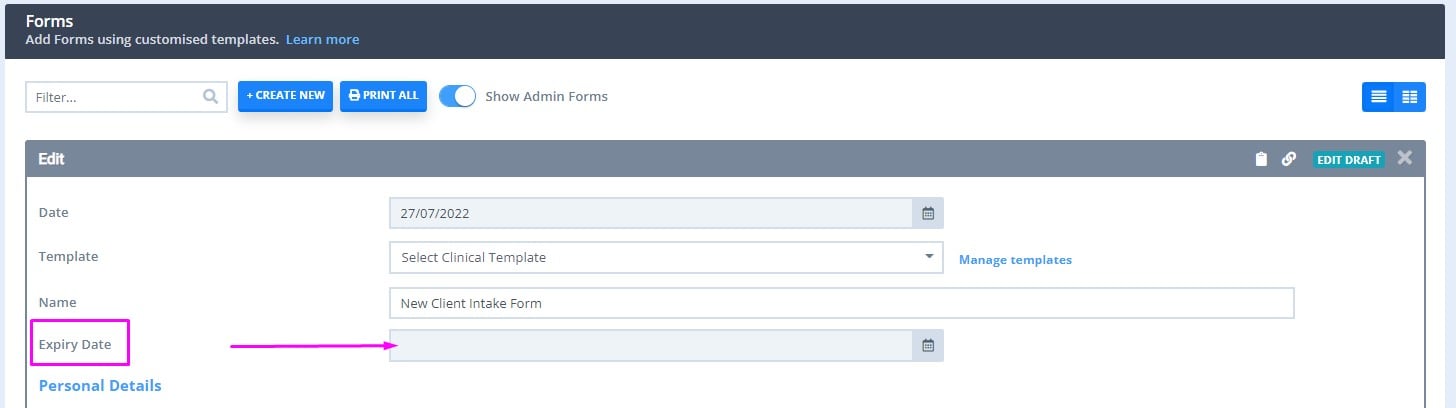
- Navigate to Records > Forms or Admin > Admin Forms and find the form that needs expiry updated.
- Click on the Pencil icon on the top-right corner to go into Edit Mode.
- In the Expiry Date box, change the date as per your requirements.
- Scroll down and click Save.
Your client will now be able to access the form using the link again if it has expired. With the above example, there is no expiry date which means they can complete it any time.
