
Discover Power Diary's new text editor to create customized emails, SMS, and letter templates. Learn toolbar functions, text/paragraph editing, and inserting media easily.
This guide will give you a tour of the new text editor in Power Diary. You will learn how the editor works, what features it comes with, and how you can use it effectively to create your very own customised emails, SMS, and letter templates.
In this article:
- A Quick Tour of the Toolbar
- Editing Text
- Editing Paragraphs
- Inserting Rich Media (Images & Tables)
- Adding Files, Attachments, and Links
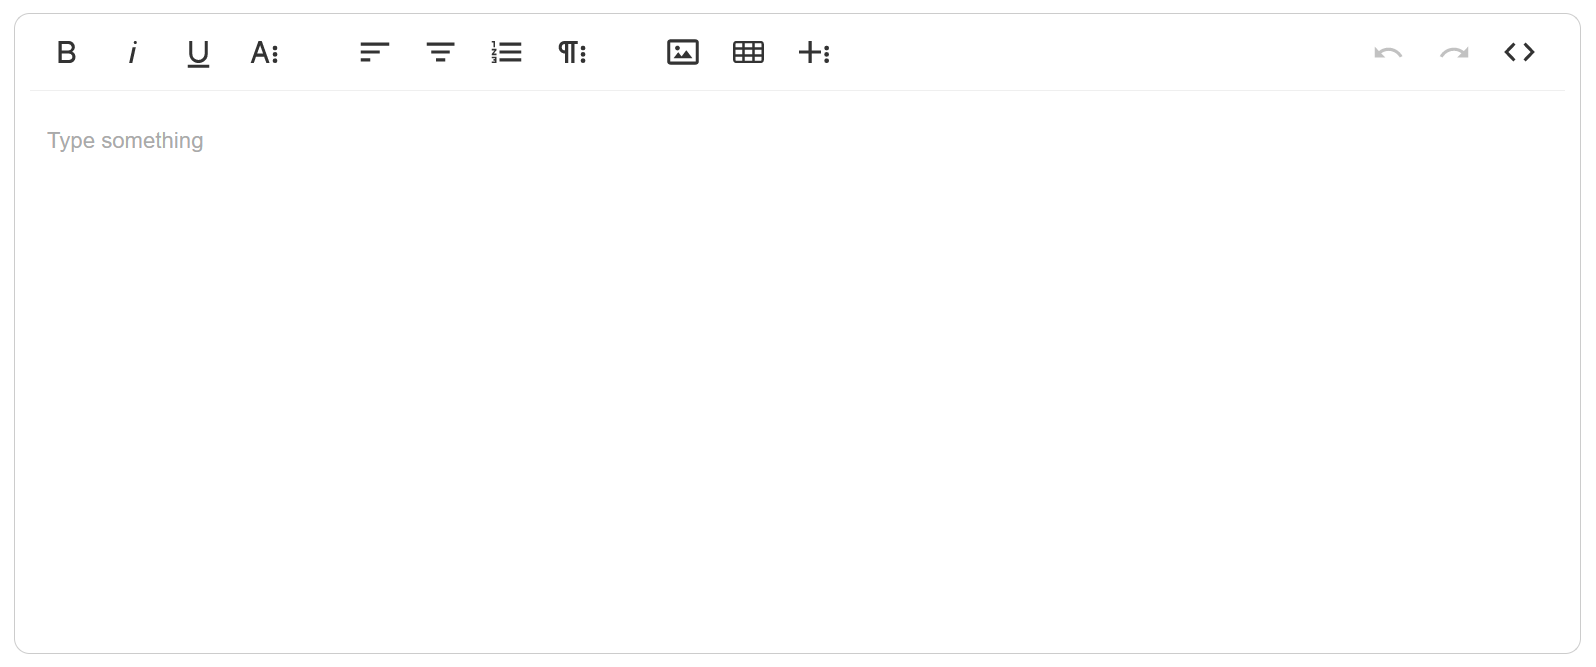
A Quick Tour of the Toolbar
There are four sets of options in the editor, each containing options to control and modify different types of content:
- The first set of options is for formatting text.
- The second set of options is for formatting paragraphs.
- The third set of options is for inserting rich content i.e. tables, images, links and files.
- The fourth set of options contains the undo and redo buttons, plus the option to view your content in HTML code.

On the far-right side of the first three option sets, there are icons with three dots next to them. Clicking on it will give you access to additional options for modifying text, paragraphs and media content. Now, let’s take a closer look at each option in the editor.
Editing Text
On the main toolbar page, you will get your standard buttons for customising text: bold, italics and underline. Clicking on the last option will give you access to additional text settings.
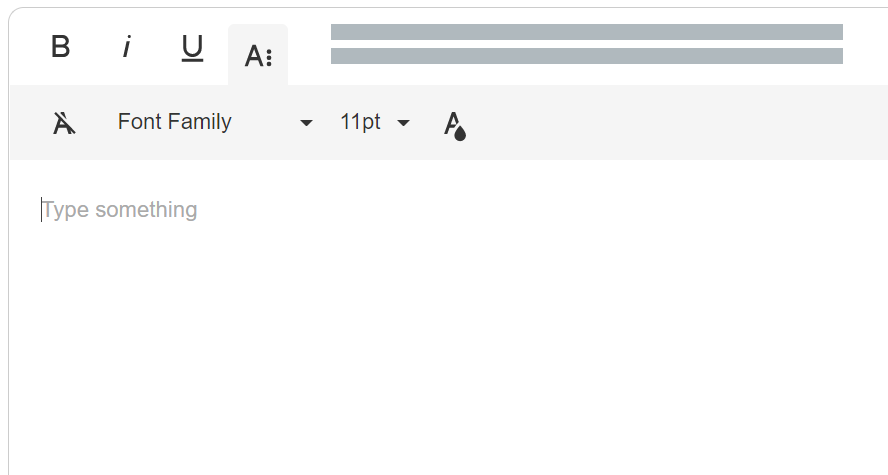
1) Removing fonts from the text:
The first option below will remove any custom-applied fonts from your text. To use this option, simply highlight your text and click on the ‘A’ icon on the left-hand side.
2) Changing font style:
The second option will give you the ability to choose a different font in which you can display your text. Highlight the text whose font you want to change and click on the ‘Font Family’ icon. A drop-down menu will open up with different text styles. Click on your desired font style and it will be applied to your highlighted text.
3) Changing font size:
With the third option, you can change the size of your text, making it bigger or smaller. Just highlight the text and choose the size number and your text will shrink/expand to your chosen size.
4) Changing font colour:
The fourth option on the far-right side allows you to change the colour of your text. Just highlight your text and click on the text colour icon. You will be able to choose from a range of colours or enter your colour as a hex code.
Changing line spacing:
Use the Enter key to start a new paragraph with double line spacing between the paragraphs.
To start a new line with single line spacing, use the combination of Shift + Enter keys.
Editing Paragraphs
On the main toolbar page, you will get your standard options for customising paragraphs: Left-align, centre-align and number lists. Clicking on the last option will give you access to additional text settings.
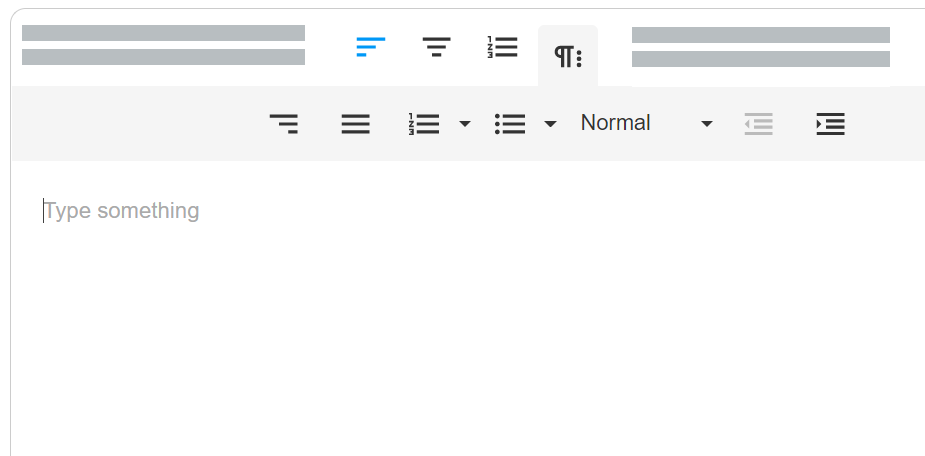
Changing paragraph alignment:
The first two options below are right-align and justify. In addition to the left-align and centre-align options above, these two options give you the ability to change which side of the page the paragraph is displayed i.e. right or justified.
Creating custom lists:
The next two options give you the ability to create number lists or bullet lists. Clicking the downward pointing arrows next to them will give you additional types of lists you can create.
Changing text style:
Next to custom lists, you can set your text style. The default state will be ‘Normal’. However, by clicking the downwards pointing arrow next to it, you will open a menu that includes different text styles you can choose from, such as heading 1 or code.
Changing paragraph indent:
The last two options let you change the indent of the paragraph. This will allow you to start a paragraph a few spaces forward from the main margins.
Inserting Rich Media
On the main toolbar page, you will get your standard buttons for inserting a table or an image. Clicking on the last option will give you access to additional media settings, which include the options for inserting links, uploading new files and selecting already uploaded files.
Adding an image
Click on the image icon to start adding an image. This will bring up a pop-up with three options:
- Drop (or click) to add an image: Clicking on the box or dragging and dropping an image with your mouse will add that image in the text editor and upload that particular image to your Power Diary account.
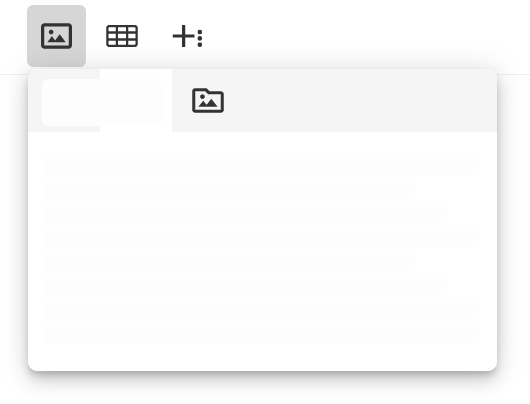
- Add an image by URL: If you know the web link to a particular image, you can paste it into the URL box and that image will be automatically added to the text editor.
- Browse uploaded images: The images you upload from your computer or using a link will be displayed here. This means instead of re-uploading an image you’ve already used, you can click on the browse menu and add the image from there.
Note: The recommended dimensions of images are: Width: no greater than 800px; Height: auto. To resize the image, click on it and choose the 'Change Size' icon from the image toolbar:

Enter the recommended dimensions and save by hitting 'Update':

This way you will make sure that the image is displayed properly in the individual letters created from this template when printing them / exporting them to PDF.
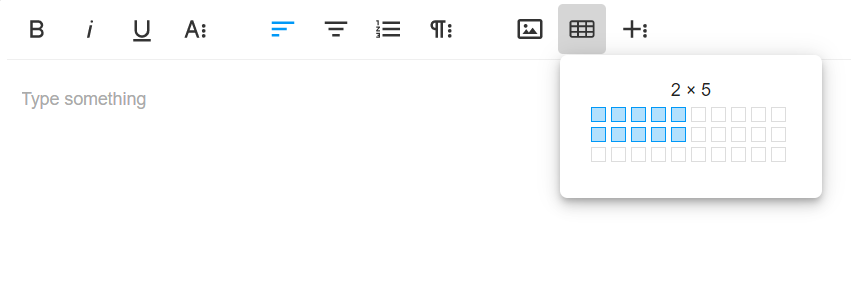
Adding a table
Click on the table icon to start adding a table. The boxes represent a block of the table, and you can choose how many rows and columns your table has based on the boxes you select.
Adding files, attachments, and links
On clicking the + icon, you will get three options:
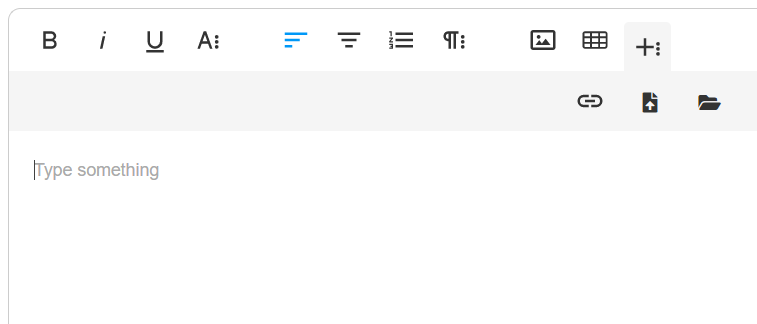
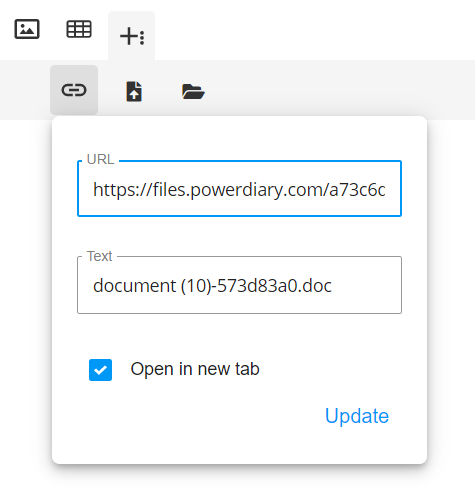
1) Add a link: Using this button, you can enter a link to a file or website of your choice, and choose what text to display instead of the link itself.
2) Upload a file: By clicking the upload file button, you can upload a document to your Power Diary account and add its direct link to your templates.
3) Add already uploaded files: Uploaded files can be accessed by clicking the folder icon on the right side. Clicking on the file will add its link to the template.
Important
The types of files that can be uploaded through the Text Editor are restricted to the following extensions only:
- .txt, .bmp, .gif, .jpeg, .jpg, .png, .tiff, .pdf, .doc, .docx, .xls, .xlsx, .ppt, .pptx, .keynote, .pages, .numbers, .odt, .ods, .odp
These are the most common types of files that we all use day-to-day, and this policy is part of our ongoing commitment to protect our customers and their data.
There is a limit of 5MB for files that can be uploaded to the text editor.