Create custom online forms with Power Diary. Collect and update client information seamlessly. Learn to add logos, set up notifications, and manage form templates.
You can now create custom forms and send them to clients to be completed and signed online. Online forms can be customized to include the sections and fields you want, allowing you to collect just about any type of information you need. You can even use Online Forms to automatically update fields in the Client Profile.
In this article:
- Add Your Business Logo to Online Forms
- How to Create a New Online Form Template
- Types of Fields Available
- Get Notified when an Online Form is Completed
- How to Edit Online Form Templates
- How to Send an Online Form to Clients
- Frequently Asked Questions
Practitioner Experience:
- There are two types of forms: Admin and Clinical (They work the same, but are accessible to different users in your account based on their permission level.)
- Create as many custom form templates as you like.
- Send them to clients via SMS or email.
- Get notified when a client completes a form by ensuring Notify Client’s Primary Practitioner is toggled on. This sends a notification email to the address set for the practitioner.
- Admin Forms are found in the Client Profile → Admin → Admin Forms. Clinical Forms are found in Client Profile → Records → Forms.
Patient Experience:
- Receives a link to the form via an email or SMS template.
- Clicks on the link and can complete and sign the form without needing to log in.
- Can complete the form in one go, or save it as a draft and return to later. Once ready, they can submit the form.
- Once submitted, the form is locked and the link is no longer accessible.
Here are a few examples of what kinds of online forms you can create:
- New Patient Intake - Collect all the information you need before a patient's first appointment
- COVID-19 Form - for contact tracing and compliance purposes
- Consent Forms - Obtain consent for actions such as the release of information
- Outcome Measures Assessment - Create and administer outcome measure assessment online.
Add Your Business Logo to Online Forms
Online Forms are a part of your Client Portal. By default, your Client Portal (and therefore your Online Forms) will display the Power Diary logo at the top of the screen. You can replace this with your own logo. Here how:
1. Go to Settings → Client Portal → Branding.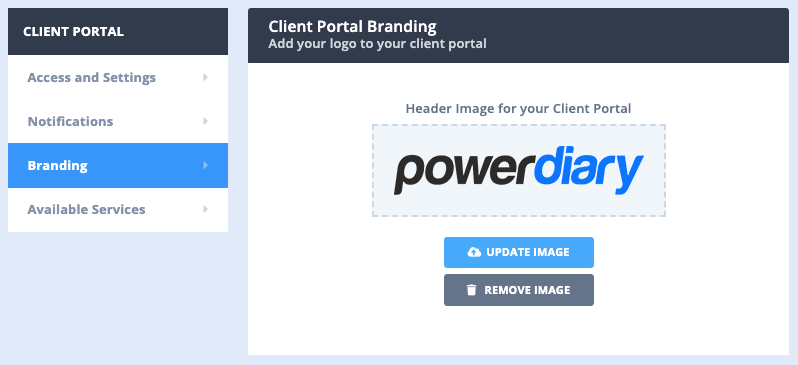 2. Click Update Image and upload your logo.
How to Create a new Online Form Template
You can create a custom online form on the Form Designer page. Here's how:
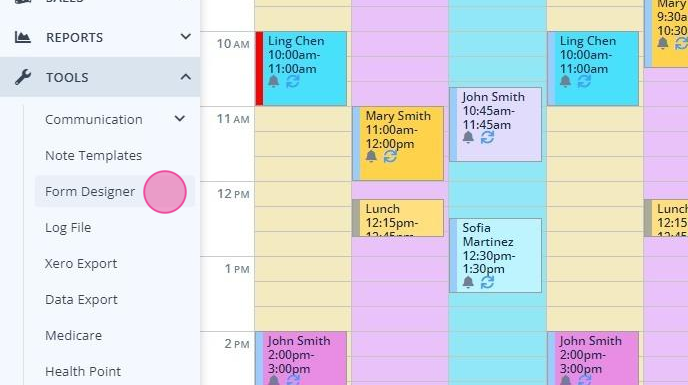
- Navigate to Tools → Form Designer from the left-hand menu on the Power Diary.
- On the Form Templates page, click + New Form Template.
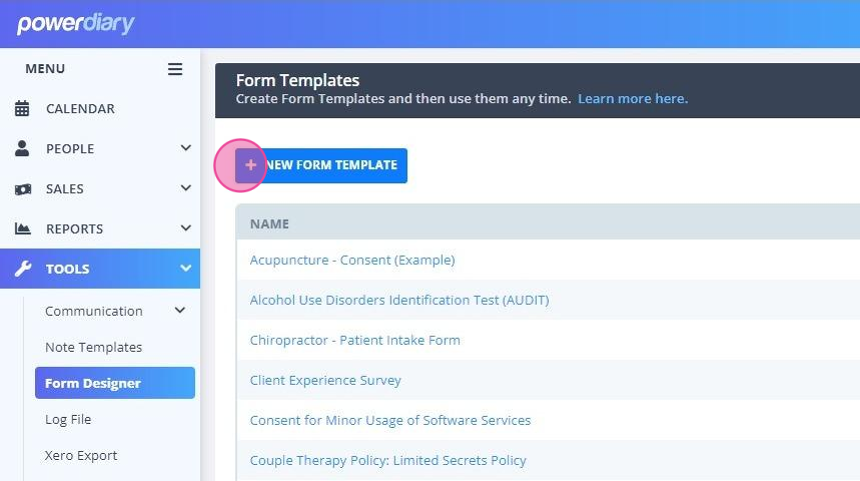
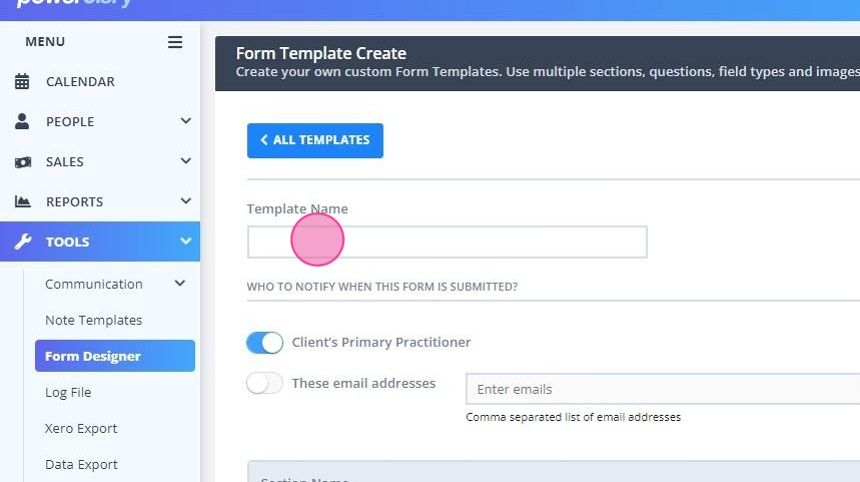
You should see the Form Template Create page.
- Begin by entering a name for your form in the Template Name field.
- On the top-right corner, choose the Type (Admin or Clinical) for your form. Also, make sure that the View is set to Template Design.

- Set up the Default Expiry Period by adding the number of days you want the form link to be valid. When left blank, the form will have no expiry.
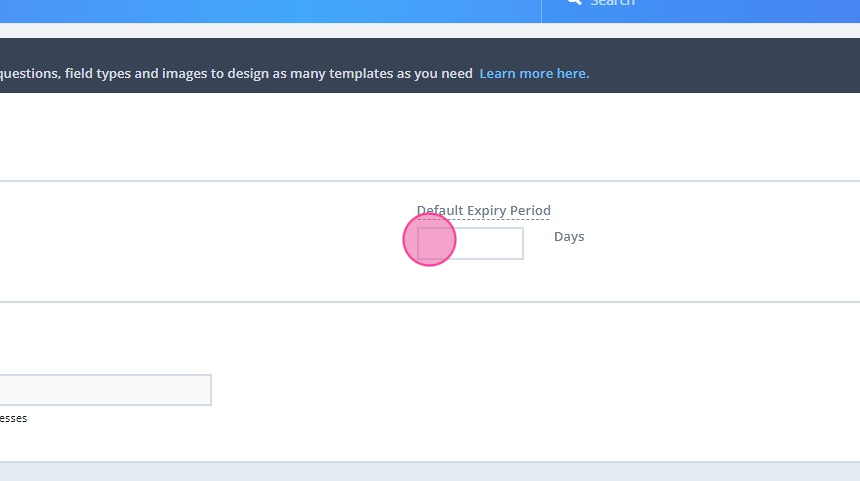
-
Define, who will receive email notifications when a client submits a form. It can be their primary practitioner, nominated email addresses, or no one:
- If your form will have multiple sections, enter the name of the first section of your form in the Section Name field (you can leave it blank as well).
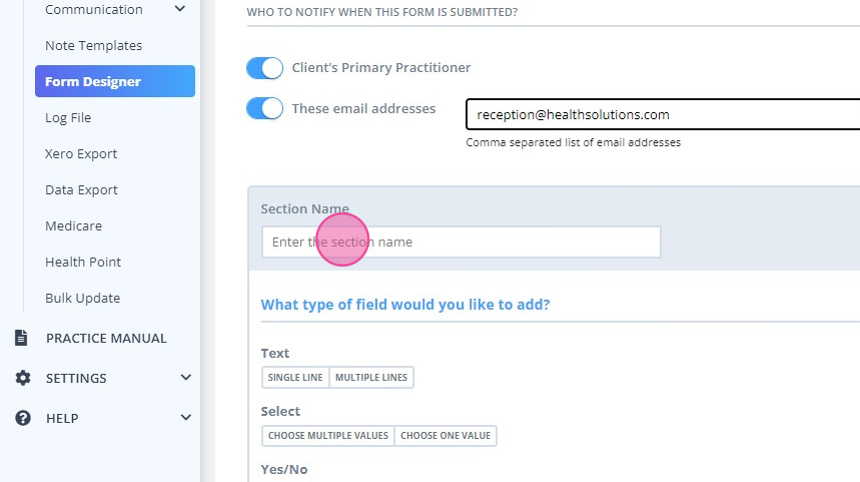
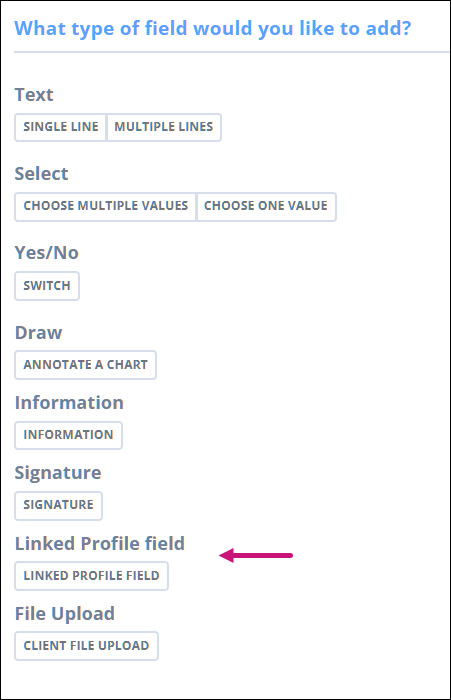
- Under What type of field would you like to add, choose a field you want your form to have. There are seven types of fields you can choose from (see below for details).
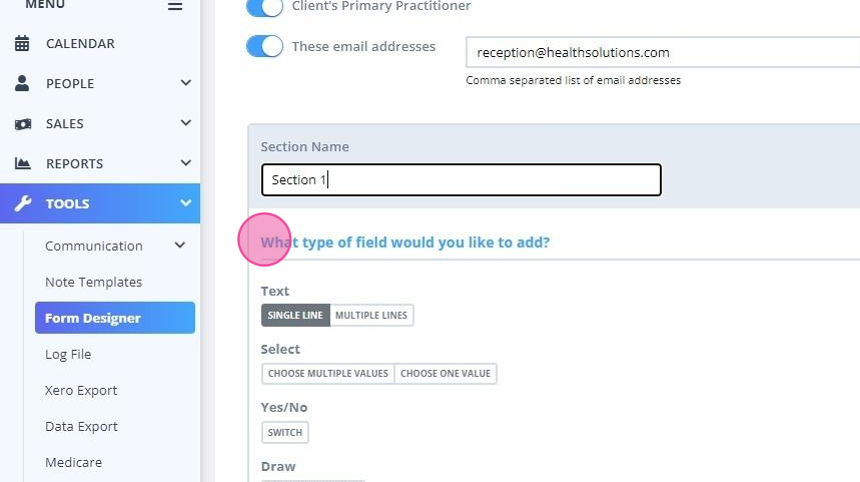
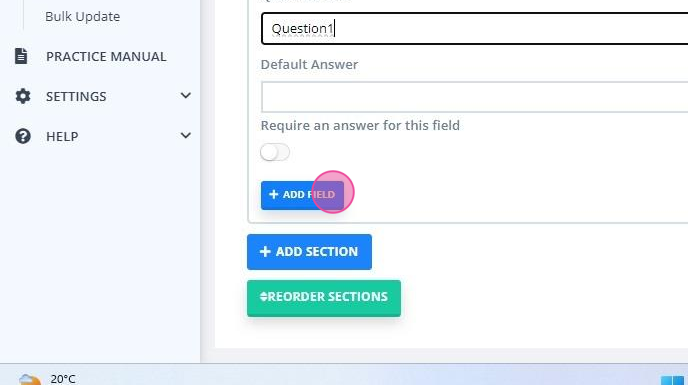
- Enter the title or question for your field, and if desired a prefilled answer or text. You can also set: Require an answer for this field as needed.
- To add another field, click + Add Field on the very bottom of the section.
-
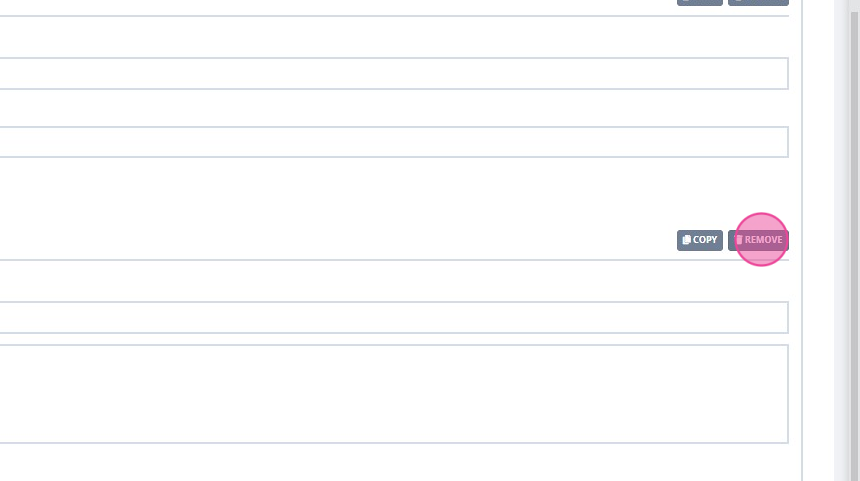
To remove a question from the template, click 'Remove' at the top-right above the question.
-
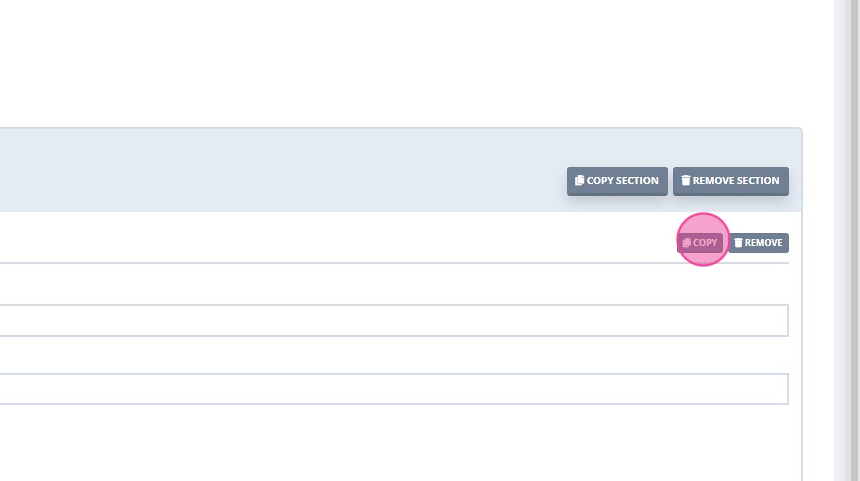
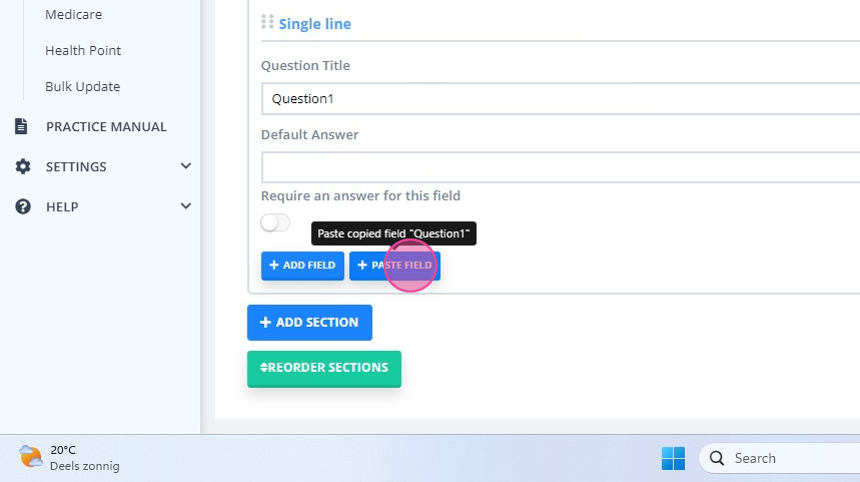
You can copy a question and paste it to the form, if you have a number of similar questions to add.
-
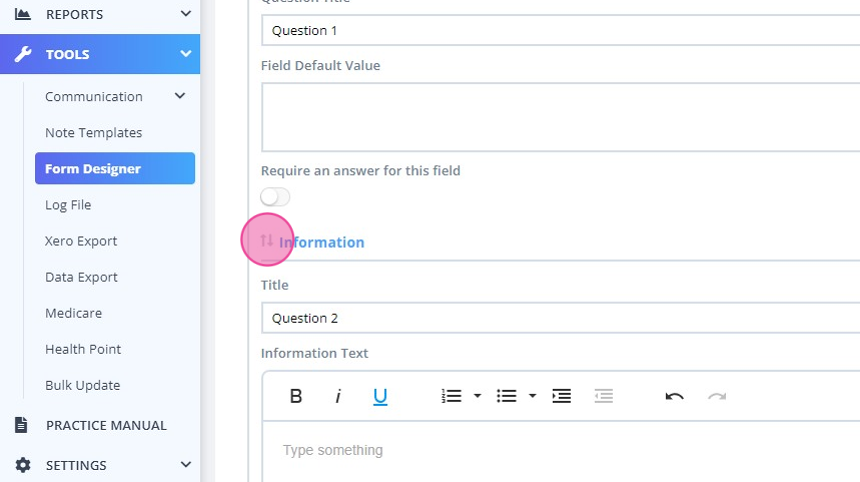
Grab the six dots in front of the question type above the question title to drag and drop the question to a different position, for reordering questions within the sam template.
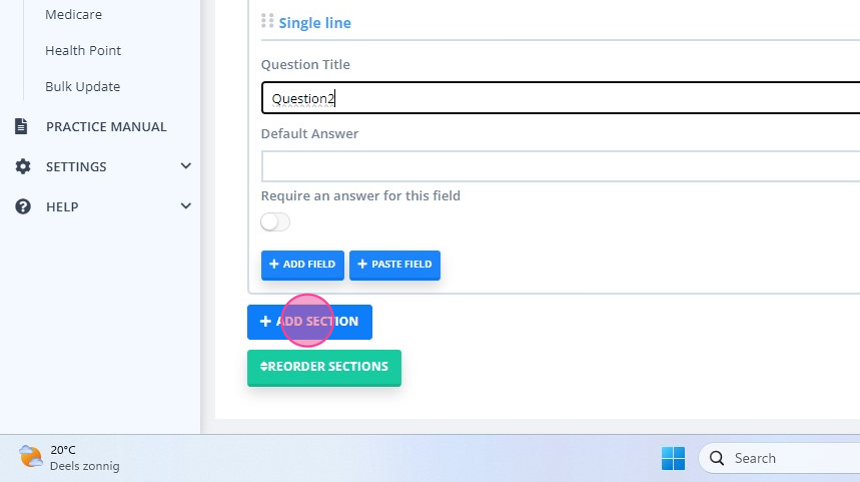
- To add another section to your form, click + Add Section below the +Add Field button - and add your desired fields inside it as well.
-
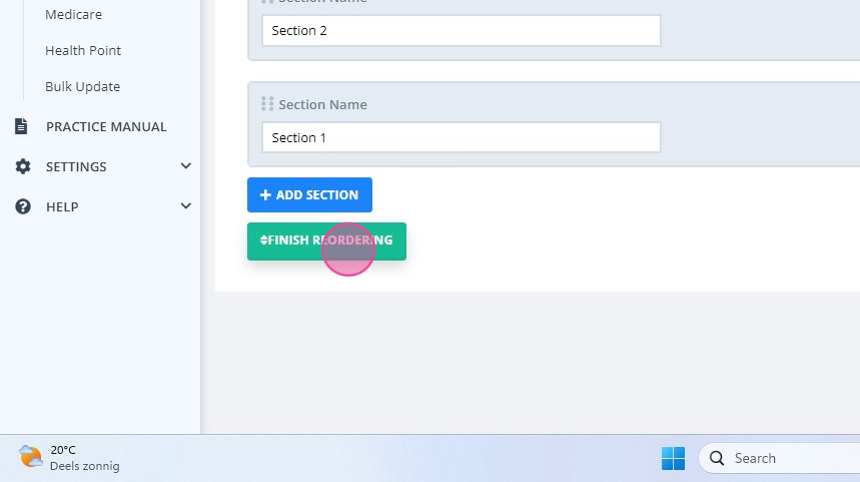
Click 'Reorder Sections' to move the sections around to arrange your template in the desired order of sections.

-
Click 'Finish Reordering' to end reordering the sections.
- Click Save.
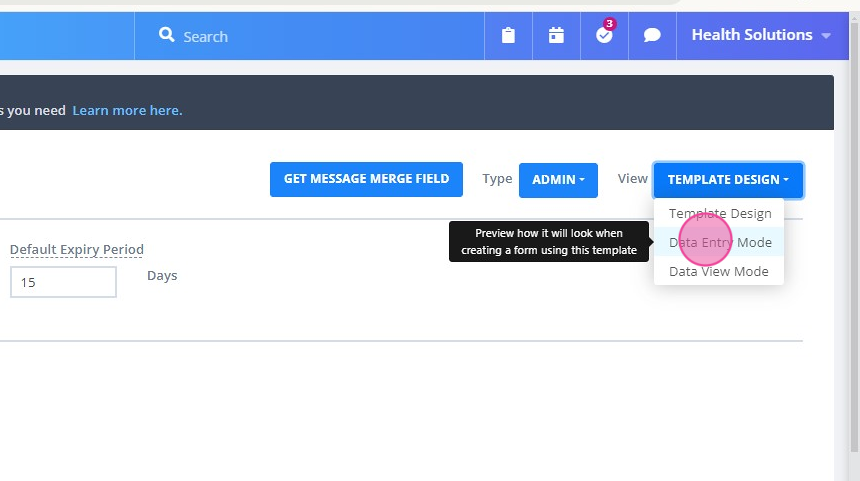
After you're finished creating your online form, scroll to the top of the page. On the top-right corner, click the drop-down menu next to View and select Data Entry Mode. You will now be able to see how your form will display to your client. This lets you easily check your form for any inconsistencies or errors.
Hint 💡
If you have multiple Power Diary accounts, you can export your forms from one Power Diary and then import them to another. However, you can not import forms from other programs like Word or Pages. Imported forms must have originally been created in Power Diary.


Types of Fields Available
There are 6 types of fields you can choose from.
- Linked Profile Field: These are fields from the Client Profile (e.g. phone, email, address, D.O.B). Information entered into these fields will be directly copied to the client's profile automatically. (Note: If the Client Profile field already contains information, the form will update the existing client details. The details of the changes will be included in the 'form complete' notification email you receive.)
- Text: With a text field, you can request specific information from your clients - which your clients can enter.
- Select: A select field allows you can add a multiple-choice question to your form. You decide whether your clients select one answer or many. You can also choose whether to display answers as radio buttons, or in a drop-down list.
- Yes/No Toggle: This yes/no field is ideal to ask yes or no type of questions. The field will display a switch underneath the question. Clients can toggle the switch on if they mean yes, or off if they mean no.
- Draw: The draw field lets you upload images, illustrations or charts to your form for your clients to see.
- Information: In the information field, you can display any kind of text you want, such as instructions, contact information, terms and conditions etc.
- Signature: With the signature field, you can get clients to sign the form by simply typing their name. You too can add your signature by default using this field.
- Client File Upload: With the client file upload field, your clients can directly upload files into the form before submitting it.
Linked Profile Fields
When creating or editing an online form template, you can add Linked Profile Fields. Simply open the template and click on the Linked Profile Field button.
This will give you the option to add:
- First Name
- Last Name
- Mobile Phone
- Home Phone
- Address
- City
- State
- Postcode
- Time Zone
- Date of Birth
- How Did You Hear About Us
- Preferred Name
- Gender*
- Sex
- Gender Identity
- Pronouns
- Occupation
- Salutation
- Subscribe to Marketing Communication
- Personal Data Consent
- Insurance Details
- Credit Card (Stripe)
*Important
If you created your Power Diary account after the 12th of July 2023, you will not see the Gender field on the Linked Profile Fields list as it was removed from the system. Accounts that were opened before that date will still have the option to use this field.
When you send clients a form that has Linked Profile Fields, the information your clients type in there will be auto-populated in the same respective field in their profile.
☝️ Note:
Linked Profile Fields will only work if the form is filled using the form link in a separate tab. If the form is filled in the client's profile under Records → Forms or Admin → Forms, the Linked Profile Fields in the form will not auto-update the client's profile information.

Get Notified when an Online Form is Completed
You can set up notifications so that practitioners (or practice administrators) are notified when a client has completed a form. Here's how:
- Go to Tools → Form Designer and open a template of your choice.
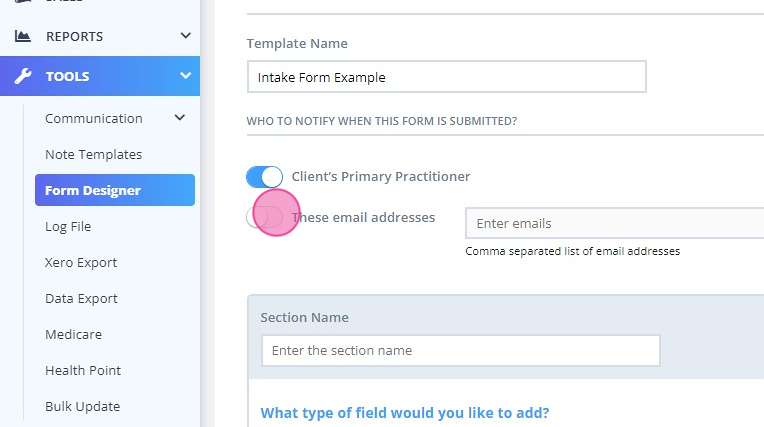
- At the top, you will see a section called Who to notify when this Form is submitted?
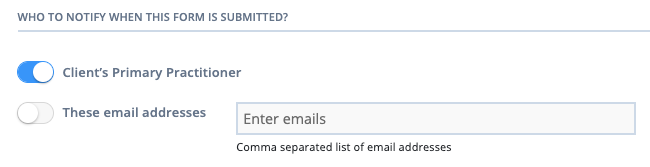
- If you want the client's practitioner to receive an email informing them that their client has filled the form, toggle the switch labelled Client’s Primary Practitioner ON.
- If you want additional people to receive an email informing them that the client has filled the form, toggle the switch labelled 'These email addresses' ON. This will allow you to enter the email addresses of those individuals.
3. Once done, click Save Template on the bottom-right corner of the page.
How to Edit Online Form Templates
This process is detailed in a separate support article.
How to Send an Online Form to Clients
This process is detailed in a separate support article.
Frequently Asked Questions
After you've saved your client's form, you can perform multiple functions on it. But first, follow these steps:
- Open the client's profile page.
- On their profile page, navigate to Records → Forms or Admin → Admin Forms (depending on your form type).

How to Edit a Client Form
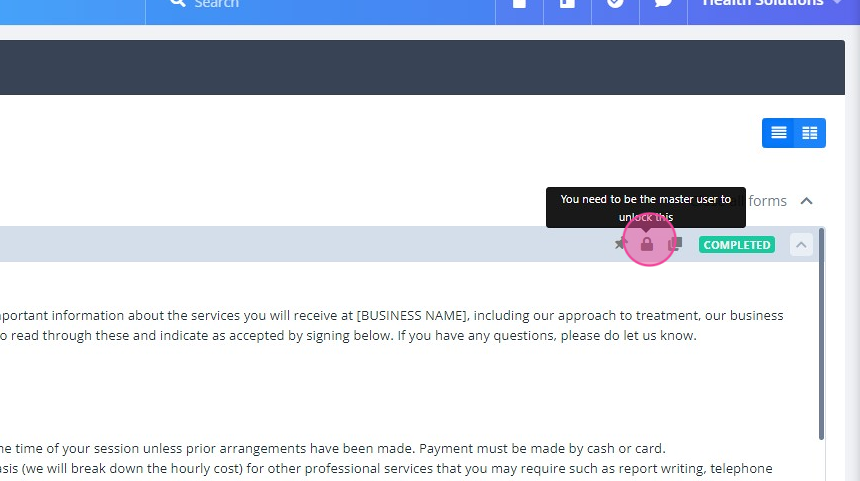
- On the Forms page, locate the form. If a form is already saved as completed, a master user of the account will be able to unlock it.
- When a form is in a draft mode, click on the Pencil icon on the top-right corner of a form window.
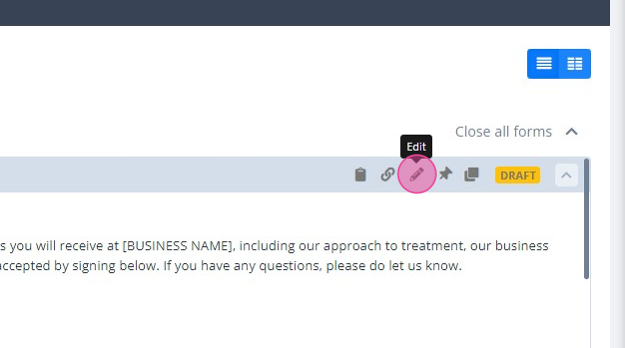
- This will open the form and its fields. Edit the information inside it.
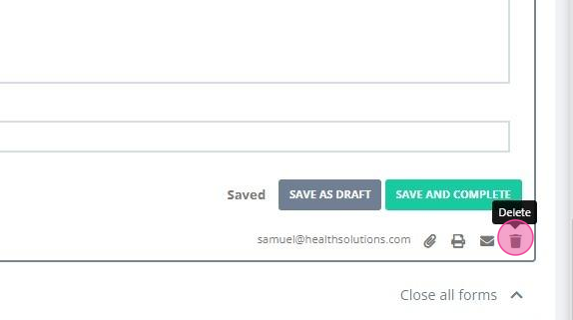
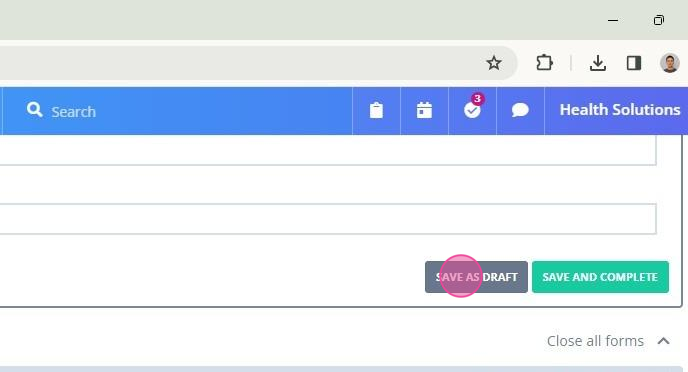
- Click Save As Draft if you want to make future changes to it. If it requires no future changes, click Save and Complete.
How to Import a Form Template
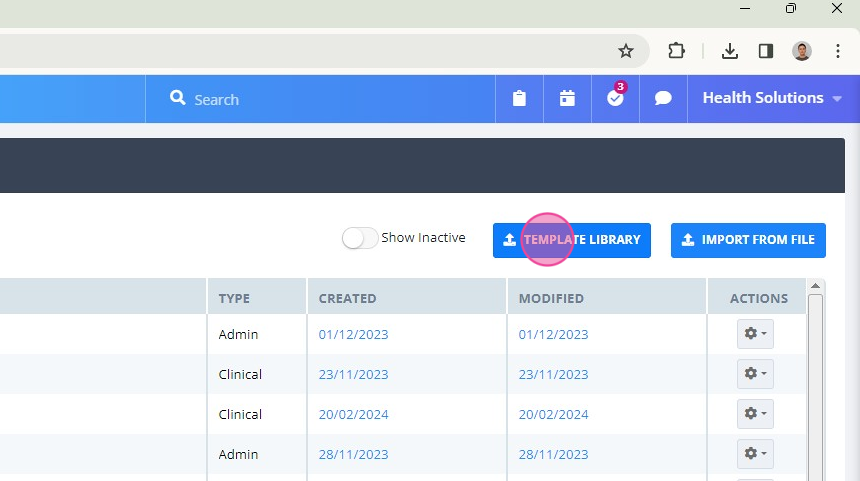
There are two ways to do this, from Tools > Form Designer:
- From Library: Click on Template Library, and select from our growing library of form templates.
Save the form you selected to your account.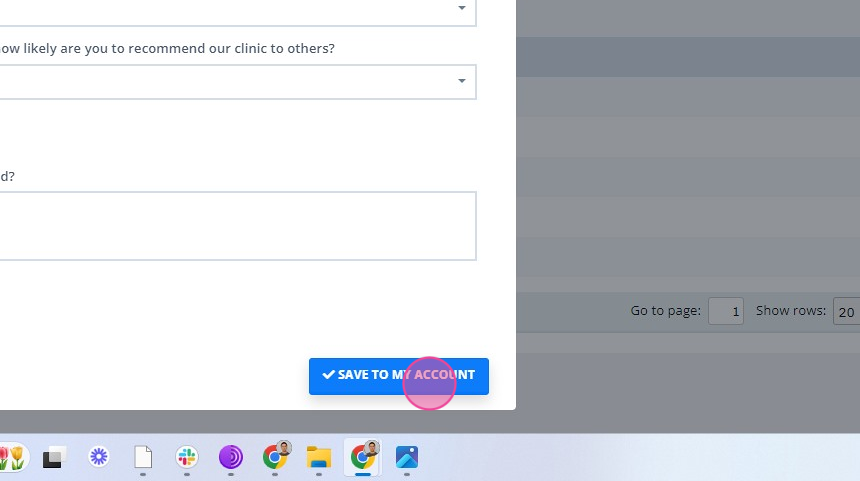
Important
Important note from our Legal Eagles: These templates are for reference only. It is your responsibility to configure the templates to ensure they meet the legal requirements of your country or state.
- From File: This is for importing templates from another Power Diary account. Click on Import from File
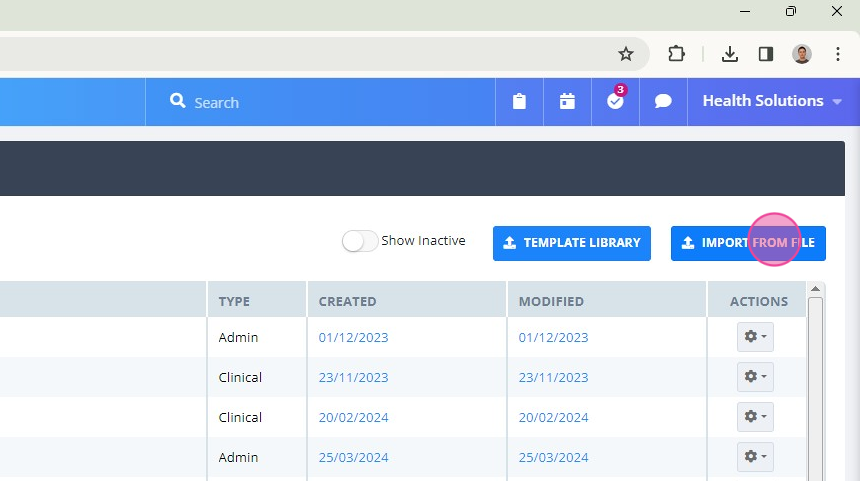
Select and import a template file you have previously exported from another Power Diary account. This will be in txt format. Please note you can not import templates created in other programs, i.e. Word, Google Forms, Typeform etc.
Important
Important note from our Legal Eagles: These templates are for reference only. It is your responsibility to configure the templates to ensure they meet the legal requirements of your country or state.
How to Duplicate a Client Form
If you want to send a fresh form to your client, you can duplicate it. Here's how:
- On the Client Profile > Records > Forms or Admin > Admin Form page, click on the 'Copy to new' icon on the top-right corner of a form window (represented by two squares overlapping).
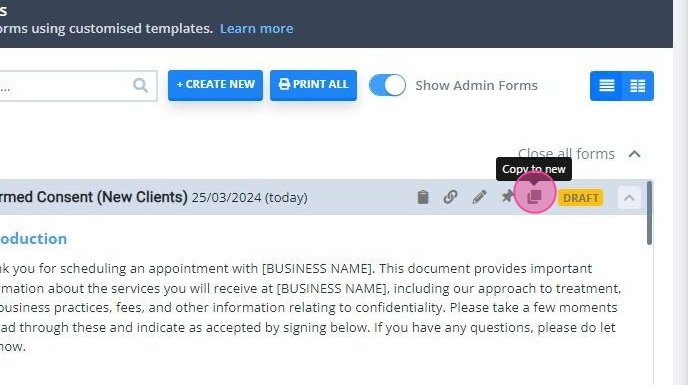
- This will create a copy of the form on the Forms page.
How to Print a Client Form or Download as PDF
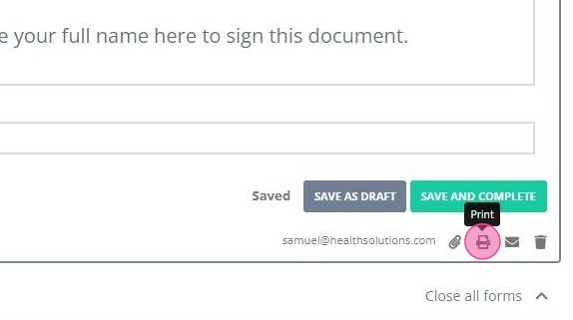
- On the Forms page, click on the Printer icon on the bottom-right corner of a form window.
- A PDF will open. Click on the download button or click on the printer icon inside the PDF to print it.
How to Delete a Form in Client Profile
- On the Forms page, click on the Trash can icon on the bottom-right corner of a form window.
- Click Yes to delete the form.