
Learn how to use Power Diary's Telehealth Lite for secure, encrypted video calls with clients.
Power Diary's built-in Telehealth Lite system allows you to conduct secure video calls with your clients inside your web browser. It's end-to-end encrypted and specifically designed for use in clinical settings. There are no additional fees to use this service. Your clients access their Telehealth Lite session via a secure link that requires no download by them.
In this article:
Hint 💡
Before using the Telehealth Lite feature for the first time with patients we recommend setting up a test patient in Power Diary and having a practice run. This will ensure you can make any browser setting changes at your end before your first 'real' telehealth session i.e. you will be prompted to allow your browser access to your camera and microphone.
Practitioner Access to Telehealth Lite
- Navigate to the client's appointment in your Calendar and click on it to open the Appointment Panel on the right-hand side.
- Next to their name at the top - next to the Messages icon - you'll see a camera icon that takes you to the Telehealth Lite session for that client.

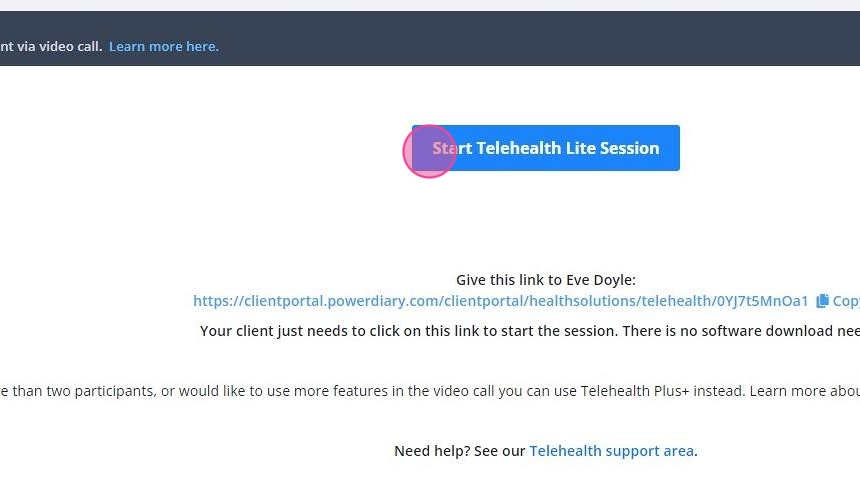
- Click Start Telehealth Lite Session and wait for your client to join the room.
- You'll receive a dialog while waiting that your client is attempting to join, and waits for you to click Yes when ready to begin and get connected.
Presenting your Computer Screen
You can share your computer screen with your clients during your Telehealth Lite session. This feature only works on desktop computers and laptops. In addition, only you can share your screen, not your client.
1. Once the connection between you and the client has been established and the call began, click on the monitor icon at the bottom of the Telehealth Lite video to start video sharing. 
2. If your browser prompts you to give access, choose Entire Screen, or a specific browser/application from the drop-down menu.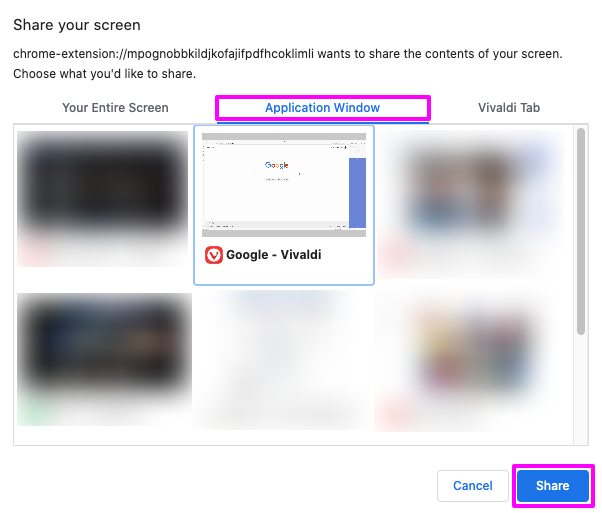
3. Your client should be able to view what you present to them.
Important:
When your browser asks permission for screen-sharing, you have multiple options regarding what you can share. If you choose Entire Screen, your entire computer and all its applications will be visible to your client. But if you choose a specific application you have open i.e. your web browser, your media player, etc., your clients will only be able to see that only instead of everything that's on your screen.
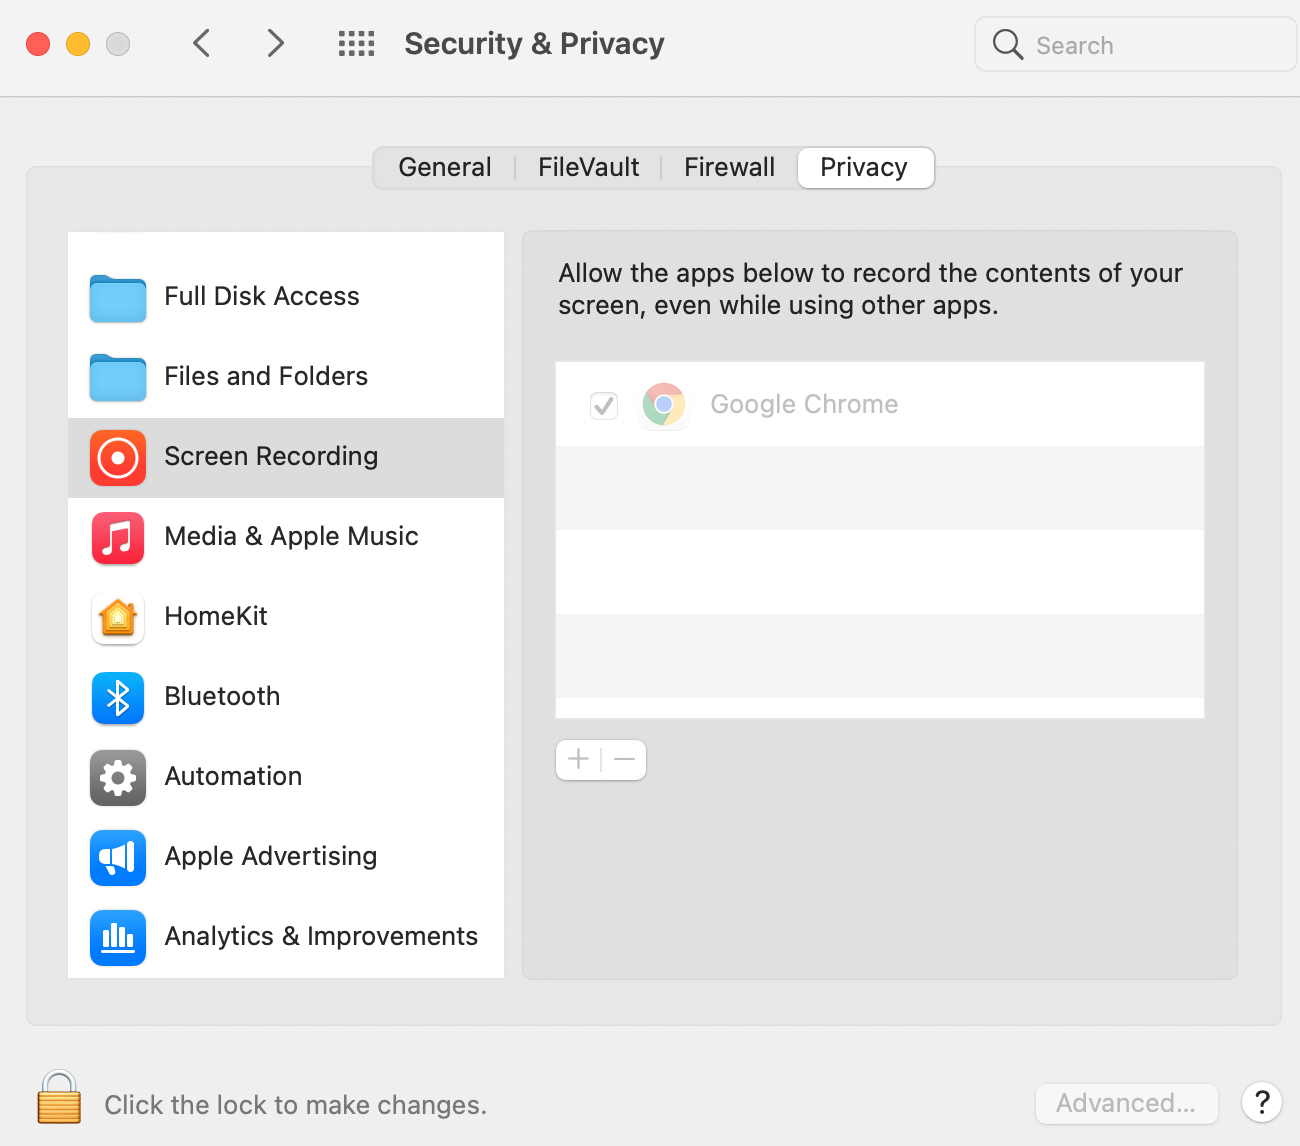
4. When using Google Chrome on a Mac device, you will need to allow screen recording via Security and Privacy > Screen Recording:
5. If anytime you want your client to stop seeing your screen, click on the monitor icon on your Telehealth Lite session window again to turn screen-sharing off. 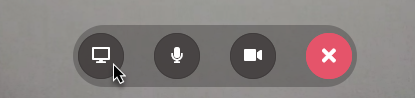
Client Access
1. You can find the client's link in their Profile under the Appointments → Telehealth menu and send this link to your client via email.
2. For more automation, you can add the merge field "{ClientTelehealthUrl}" to an email template you create and send this before a Telehealth Lite session;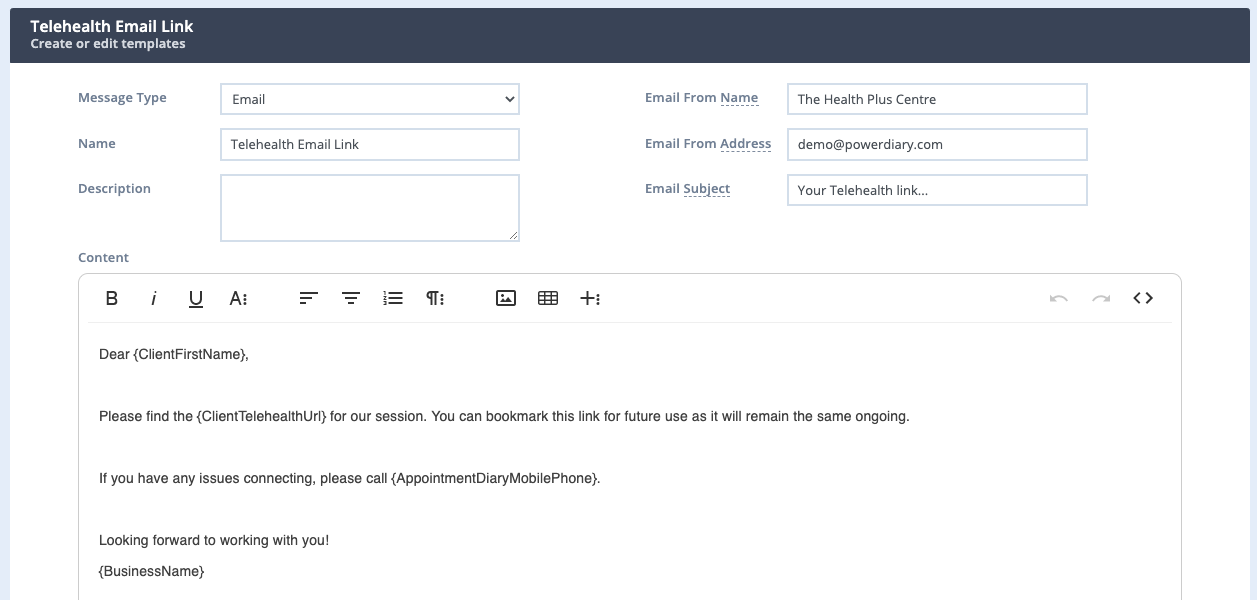
3. They receive the link from you via email or SMS;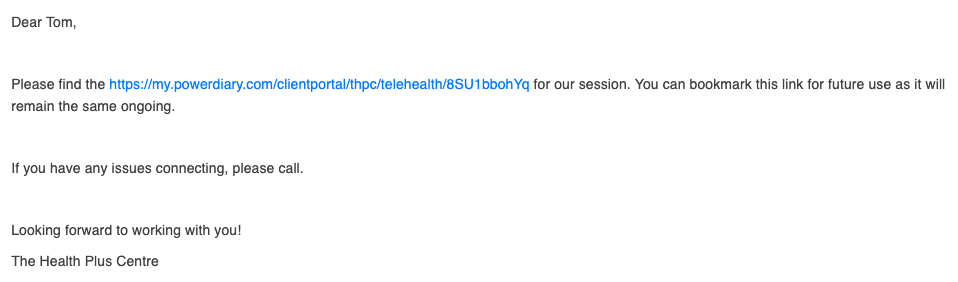
4. At the time of the appointment, your client needs to click on this link which will open in their web browser. The link contains the key to access their room, so no additional logins are needed.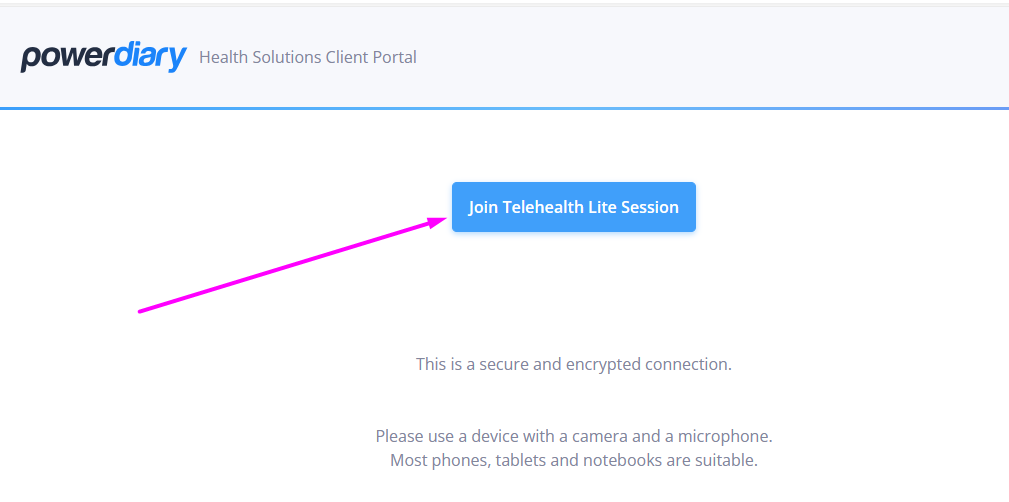
5. When they are ready to start the session, they click on the "Start Telehealth Lite Session" button.
Important
Please note that most mobile devices will not allow you to be on a normal phone call and start a Telehealth Lite session at the same time. If you attempt this you may see this message. 'Camera microphone is blocked'. You'll need to end your normal call and then reattempt to connect to your Telehealth Lite call
- If you are interested in allowing more than two participants, or having more features in your video call please see our Telehealth Plus+ option.
- For a comparison between our Telehealth Lite and Telehealth Plus+ options please review our article here.