
Learn five methods to email invoices/receipts directly to payees in Power Diary, plus automation tips and viewing email history.
You can email invoices/receipts directly to your clients. Emailed invoices/receipts are sent to your client as a PDF. Here are five methods of emailing invoices/receipts:
In this article:
- Method 1 - Quick Send From the Appointment:
- Method 2 - From the Appointment Panel
- Method 3 - From the Edit Invoice Screen
- Method 4 - From the Client's Profile
- Method 5 - Using Unpaid Invoices Automation
- Viewing History of Sent Invoice Emails
Method 1 - Quick Send From the Appointment
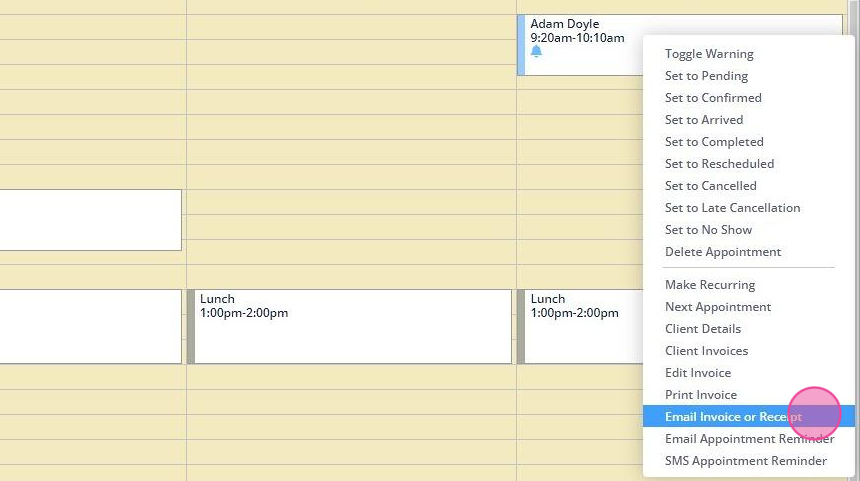
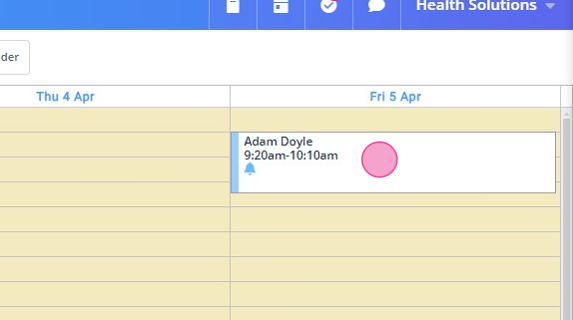
1. Right click the appointment.
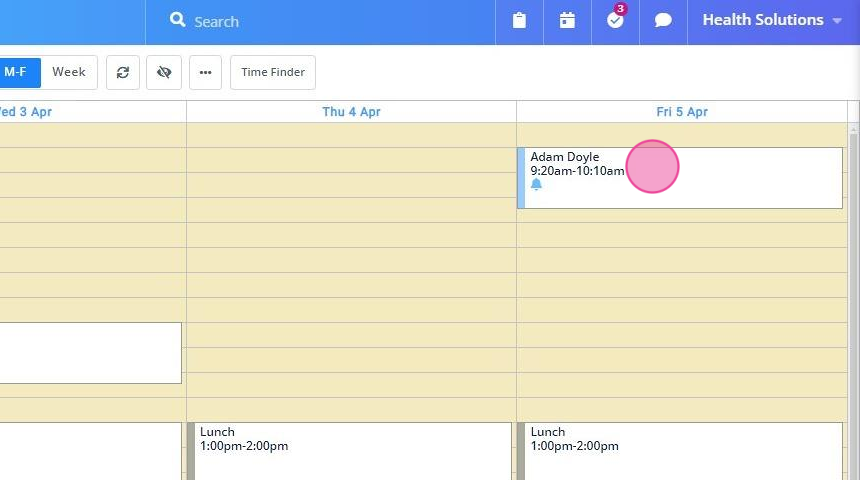
2. Select 'Email Invoice or Receipt'
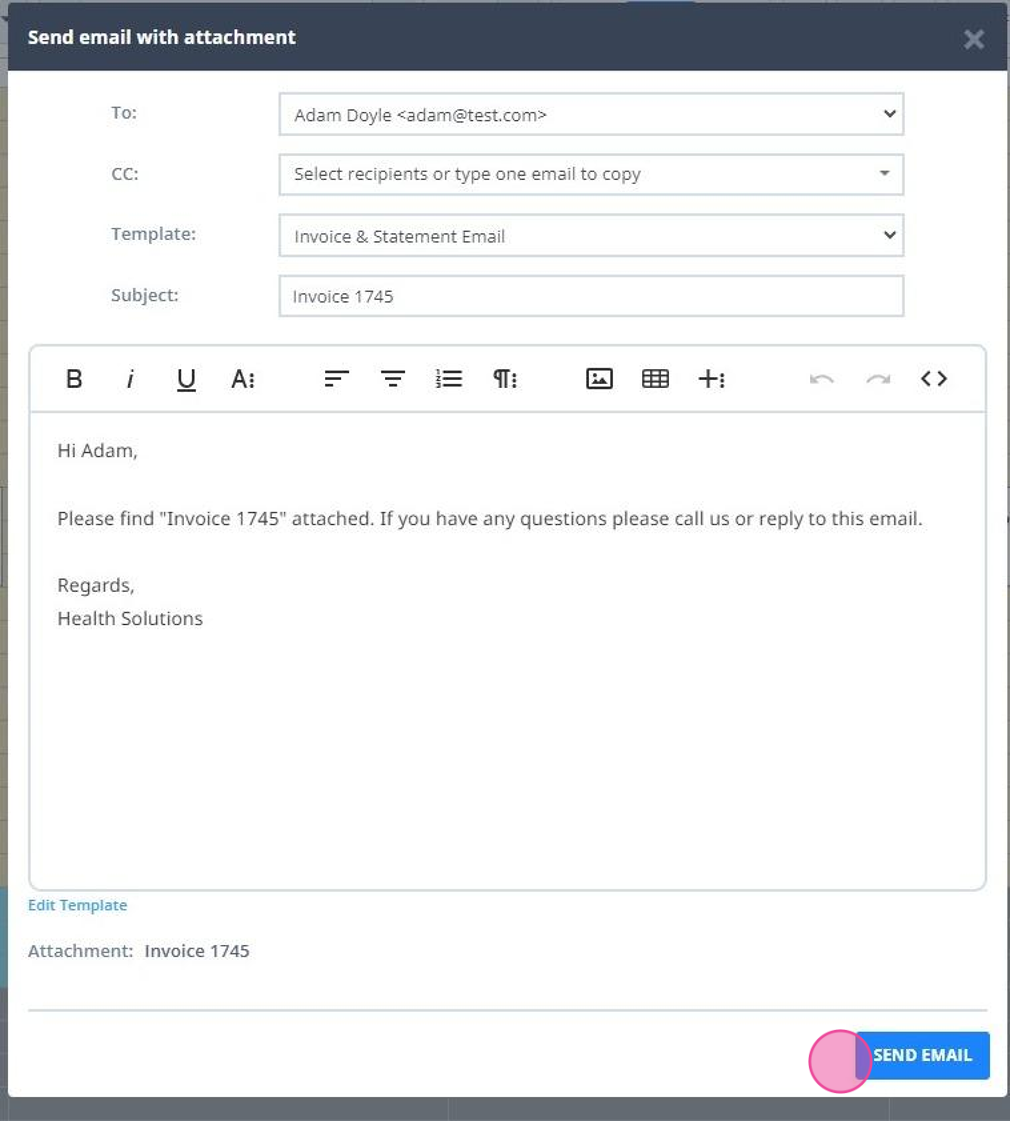
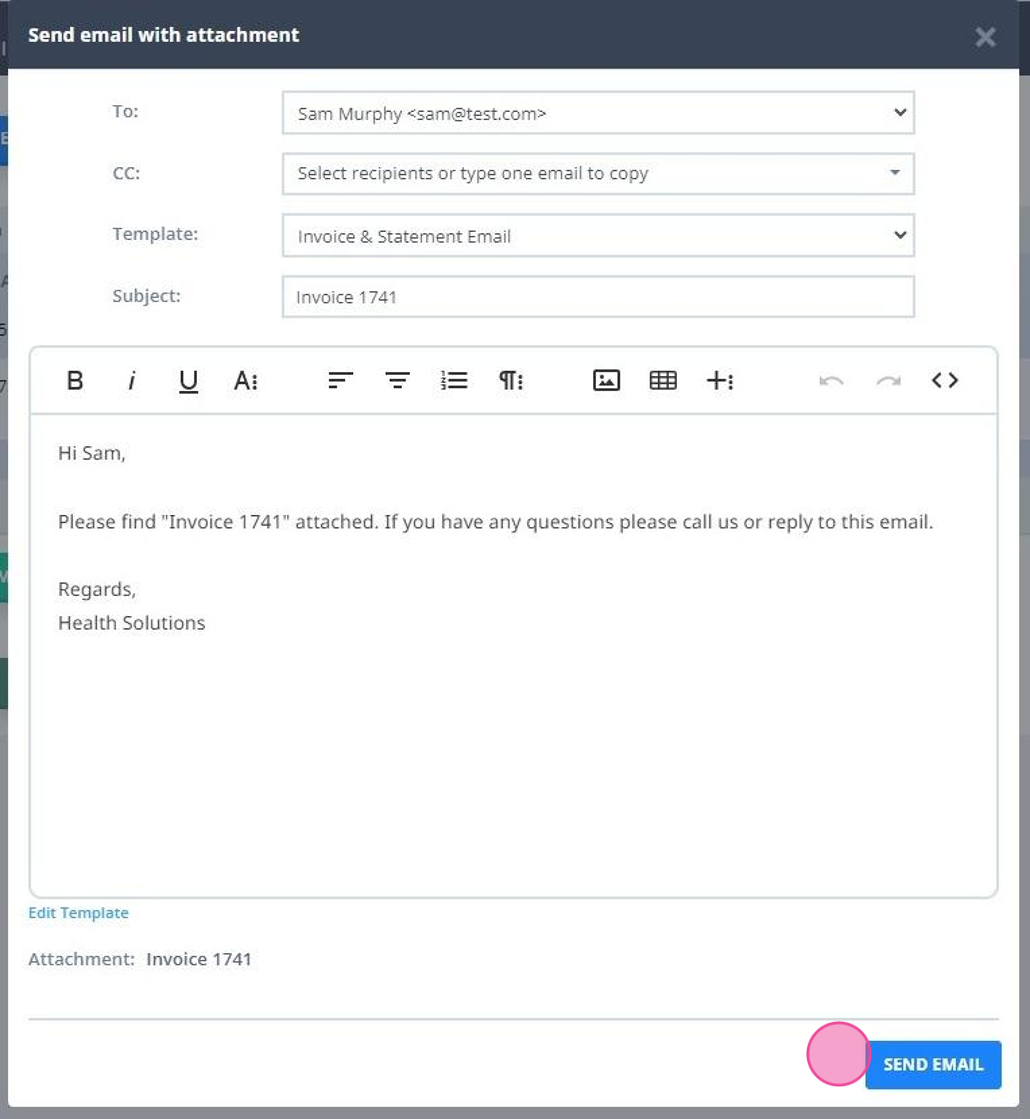
3. Click 'Send Email'
Method 2 - From the Appointment Panel
1. Left click the appointment to open its booking panel.
2. On the panel, click the 'Email Invoice' envelope icon in the Invoice section.
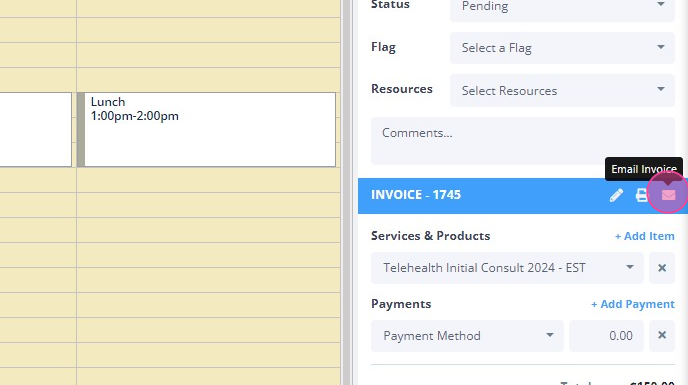
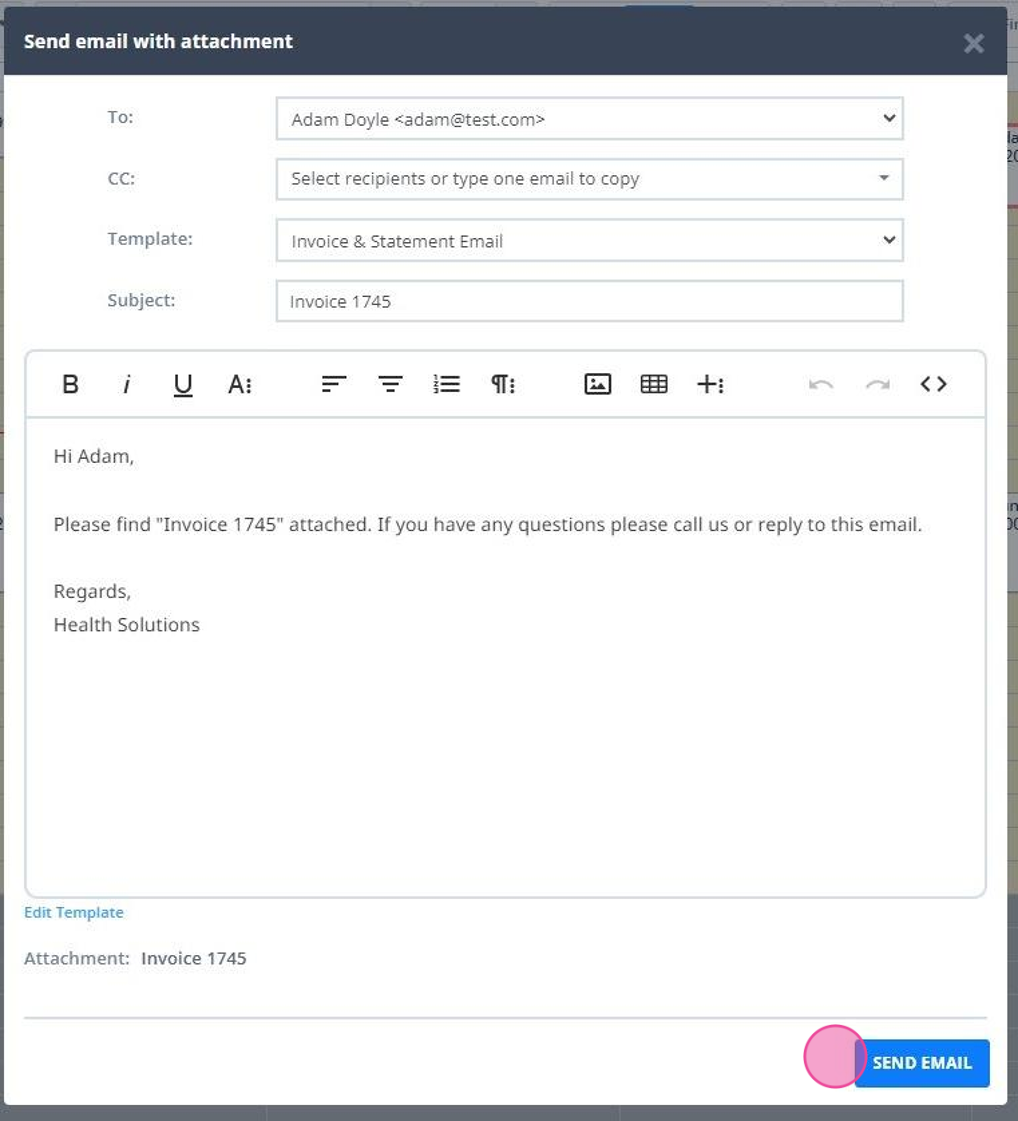
3. Review and send the email with attached invoice/receipt.
Method 3 - From the Edit Invoice Screen:
1. Right click the appointment.
2. Select ' Edit Invoice'
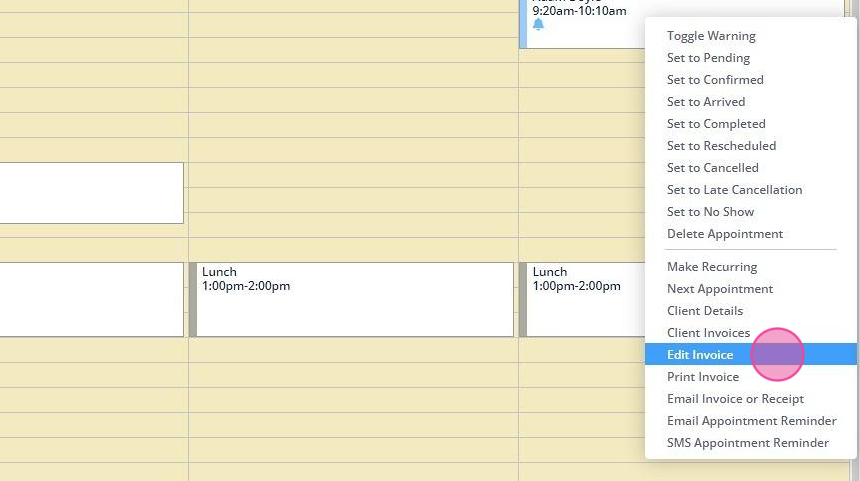
3. Make necessary adjustments.
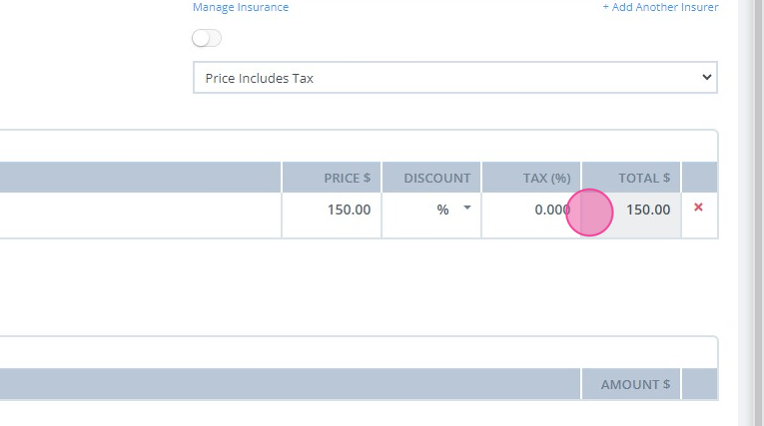
4. Save the changes.
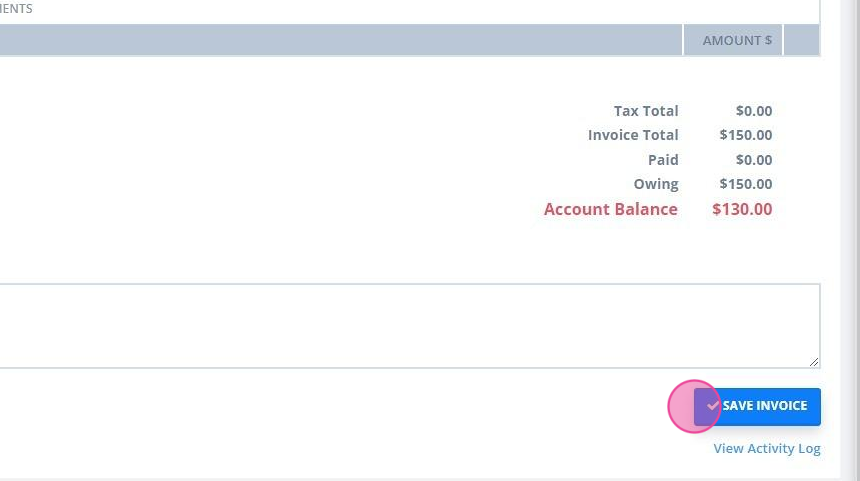
5. Click ' EMAIL' button at the top-right

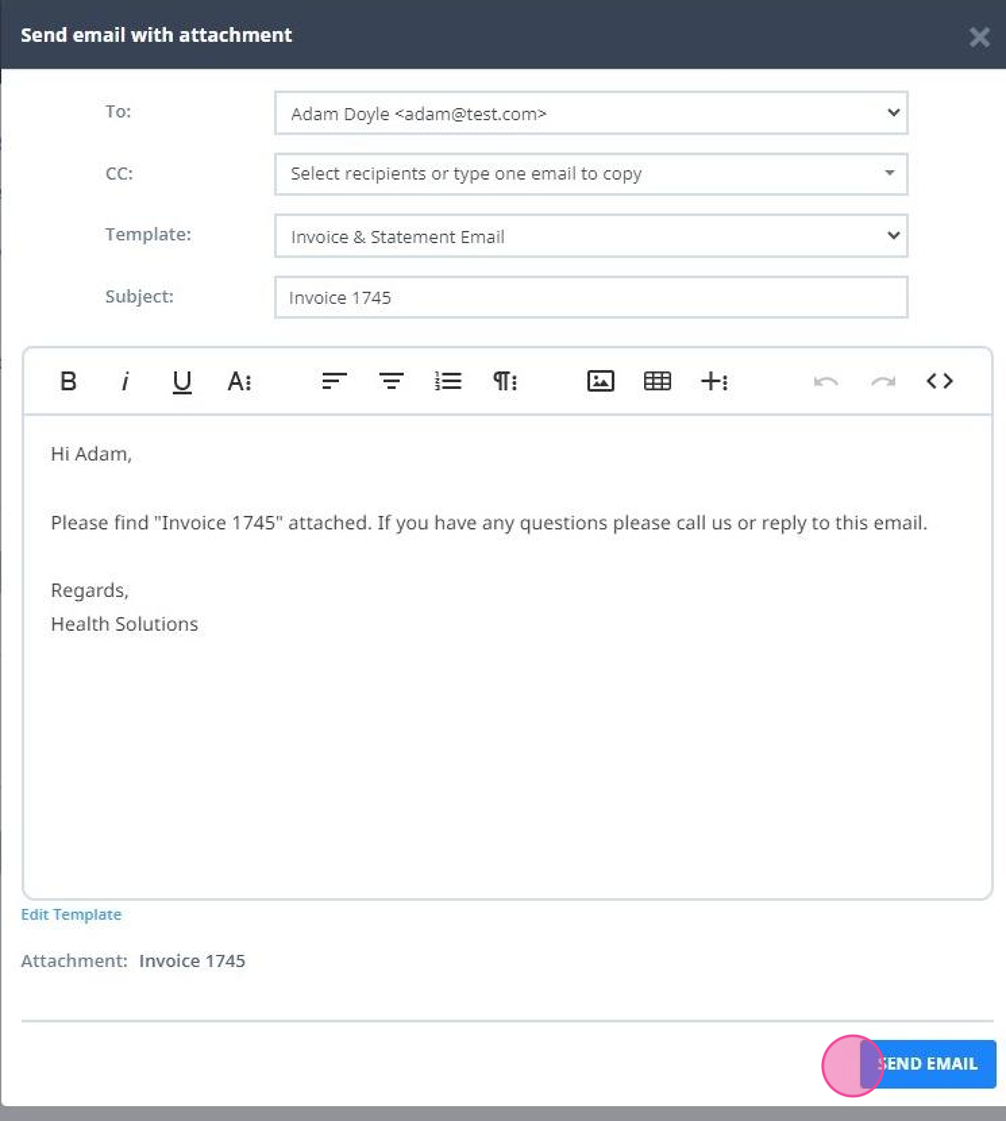
6. Send generated email with attached invoice/receipt.
Method 4 - From the Client's Profile:
- Go to the client's profile > Billing > Invoices .

2. Click Actions > "Email" next to an invoice/receipt you would like to email.
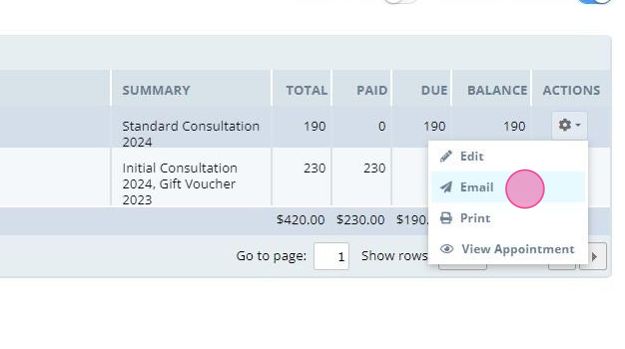
3. Click 'Send Email' under the generated email.
Method 5 - Using Unpaid Invoices Automation
Invoicing automation enables you to automatically email outstanding invoices to your payees.
- Go to Settings → Configuration → Automations
- Click on the '+ Add Automation' button at the top of the page
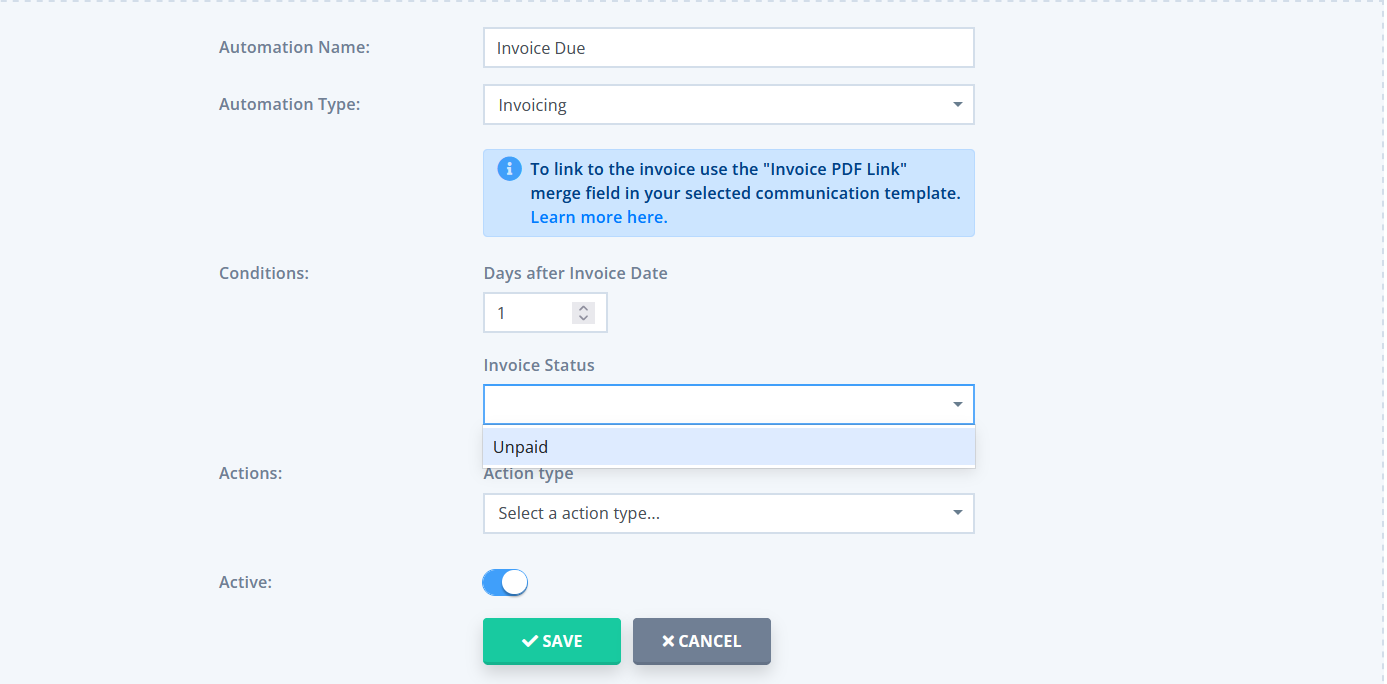
- Enter the name of the Automation
- Select the Automation type 'Invoicing'.
- Set the Conditions for this automation. All conditions must be met for an automation to be triggered. The following conditions can be set:
- Days After Invoice Date - this is when the automation will be
- Invoice status ('Unpaid')
- In the 'Actions' dropdown, select the Action which defines what the automation will do. Either select an automated email or SMS to be sent or have a task created.
- Once the 'Actions' are selected, the 'Template' dropdown will appear. Click on it to select the message template that will be used for this automation.
- You can add another action by clicking the '+AND' button and selecting an action then template. You can add as many additional actions as needed.
- Save the changes to finish creating the Automation.
- Once the Automation is created, it will be triggered for all invoices that meet the criteria you set up, including invoices that existed before you enabled the automation.
Where To View History of Sent Invoice Emails
- The resulting email:
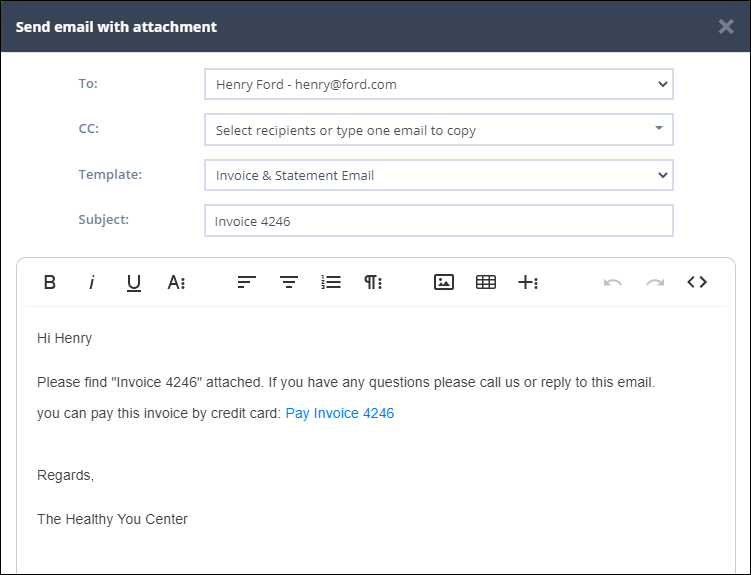
The content for this email comes from the " Invoice & Statement Email" template which you can edit by going to Tools > Communication > Templates. Here, you can choose whether to include the payment link and otherwise edit the content. Here's what they see when paying an invoice on your Portal: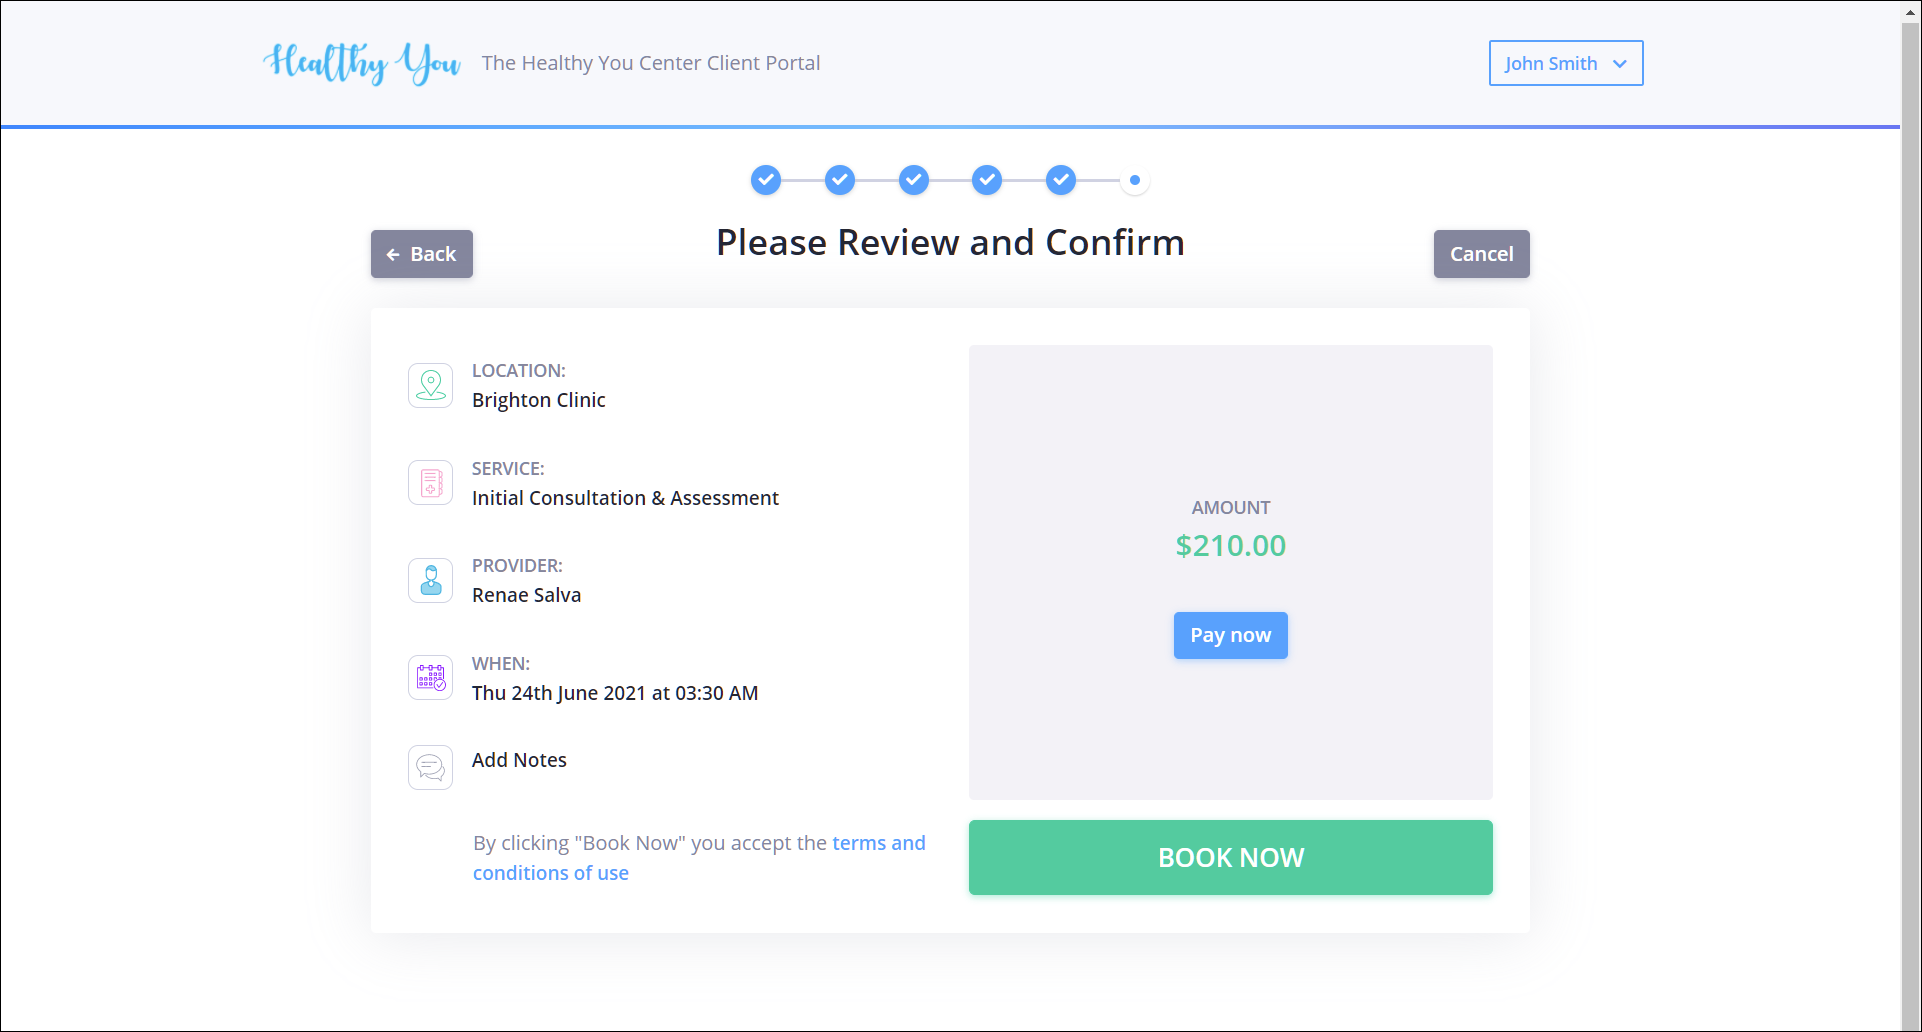
- When an invoice is emailed, a record of a sent email is saved in the Payee Profile > Communication > Activity. In cases where an invoice was paid not by the client, you would need to look for the saved copy of the sent email in the actual payee (Contact or Third Party) profile.