Add, edit, and manage services in Power Diary for efficient appointment booking and invoicing.
You can add as many services to your Power Diary account as you need. These services are attached to your appointments and are generally used for invoicing.
Watch The Video:
Read The Article:
In this article:
How to Add a New Service
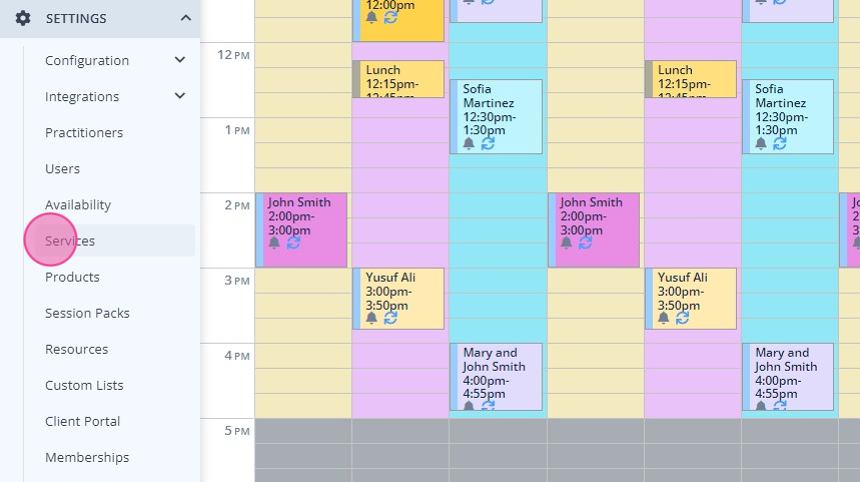
1. On the main menu sidebar, navigate to Settings >Services.
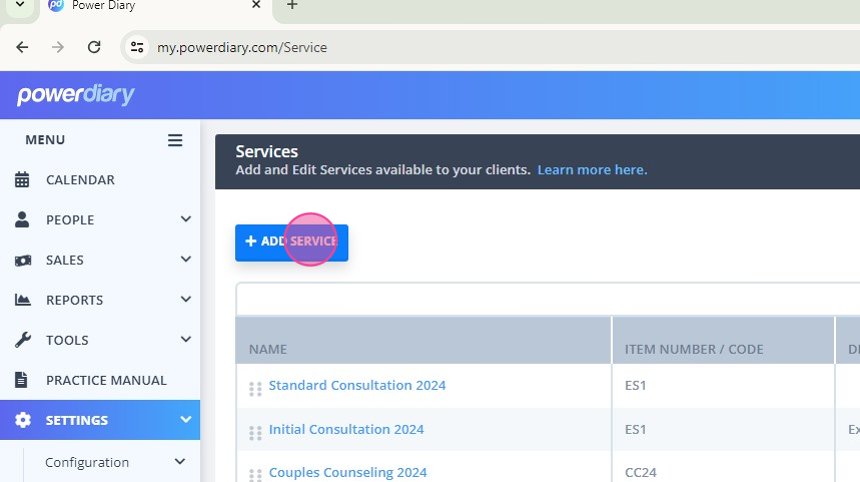
2. Click '+Add Service'
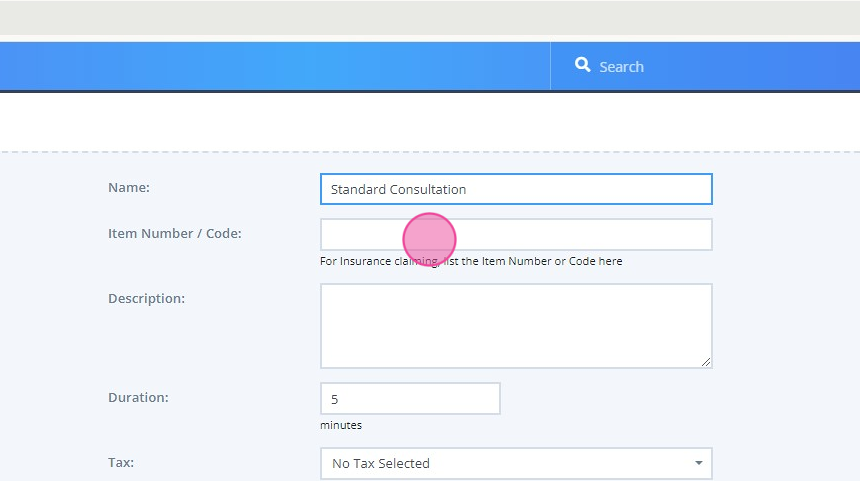
3. Fill out the form.
Here's what each field in the form above is for:
Name: this is the title of the service that you will see in drop-down lists and on invoices.
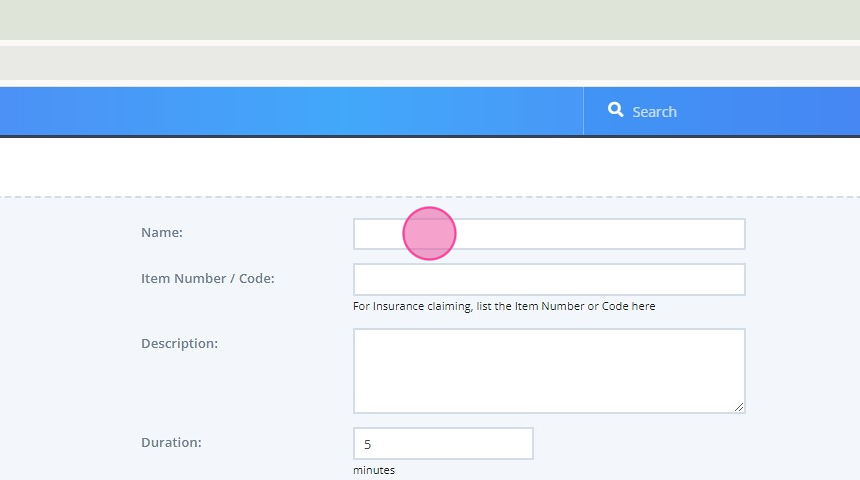
Item Number/Code: this is used to record a short piece of text to be used as a reference. This is an optional field. Please note that if submitting Medicare AU or DVA AU claims, this field should be used to record the relevant service code.
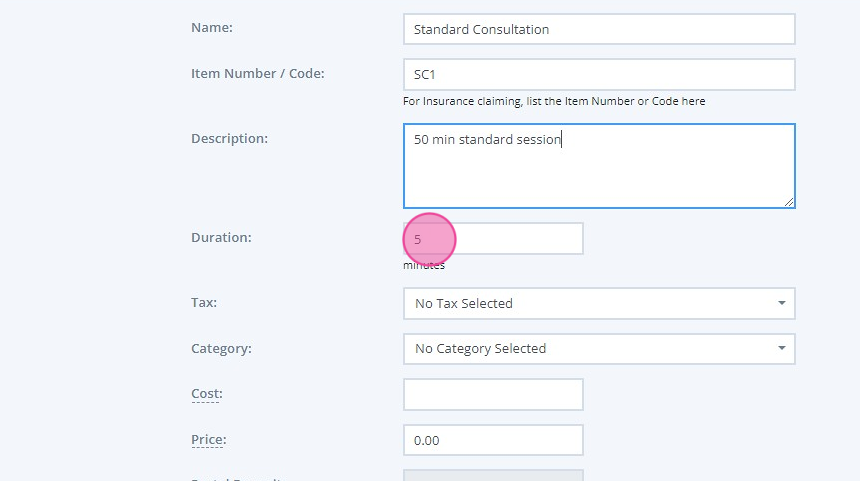
Description: this is used to record a description of your service. This information will also appear on any invoices for that the service attached.

Duration: used to record the duration of the service in minutes. This is also used to automatically set the length of new appointments booked with the service attached.
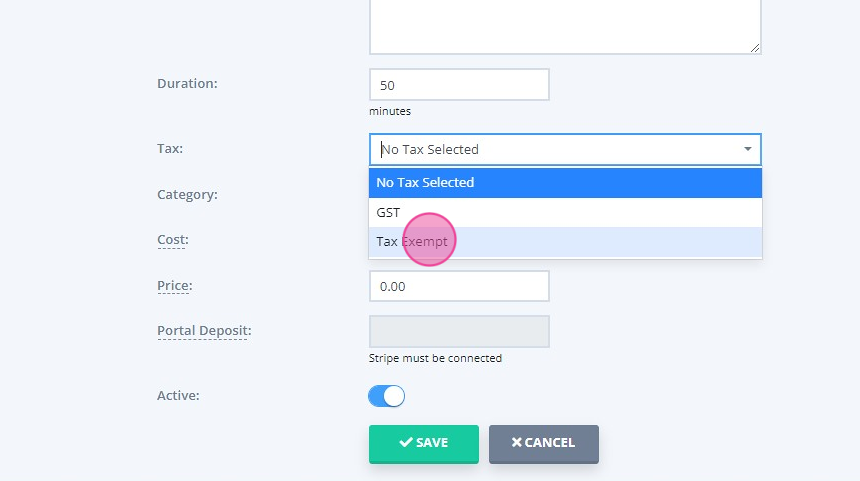
Tax: use this field to record whether or not tax applies to the service. The tax percentage can be set in Settings > Custom Lists > Tax Rates
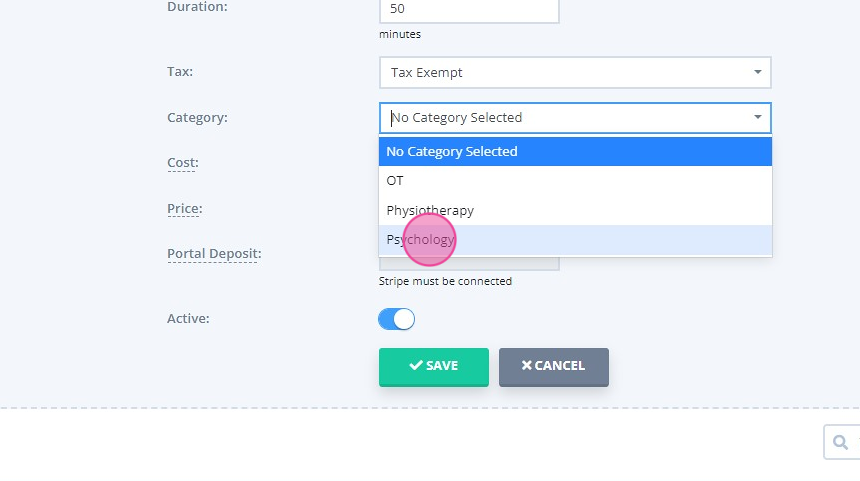
Category: if you have multiple services, you can divide them into a category. To add a new category, go to Settings > Custom Lists > Saleable Categories. (Clients booking online through the Booking Portal will be able to filter by Category - therefore only relevant if you are going to allow your clients to book appointments via the booking portal)
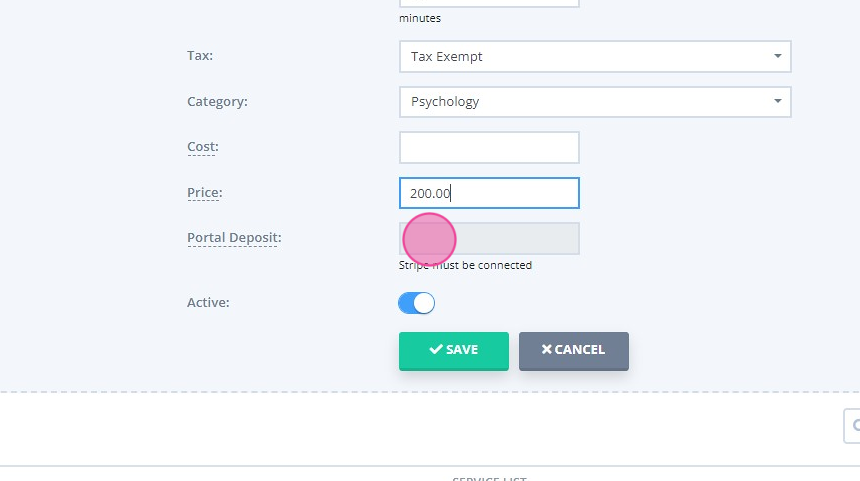
Price: use this field to record the price of your service, ensuring that any tax is included in the figure (such as GST). This will appear on invoices where this service is attached, and will also show on the client portal if you're taking payments from clients.
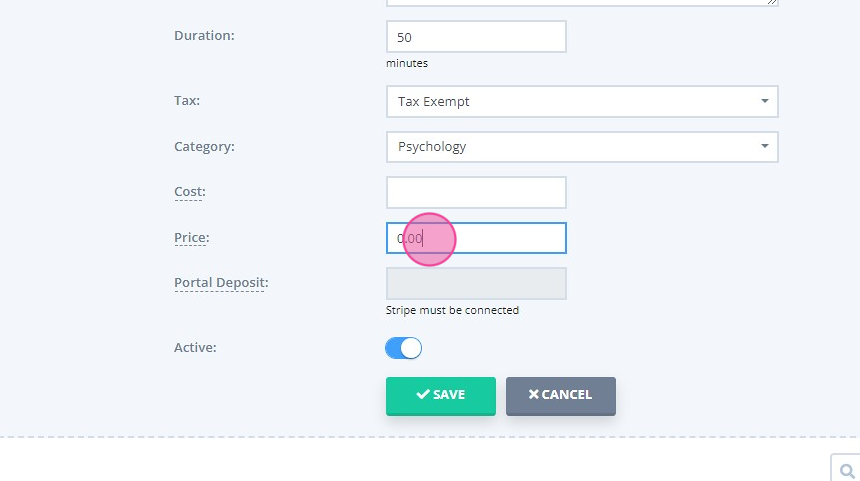
Portal Deposit: if some amount is set up here, clients will be required to pay it when booking this service online via the Client Portal. You must connect to Stripe to be able to use this feature.
12. Active: turn this switch off if you no longer wish to use this Service Template. This change will apply to future invoices only.
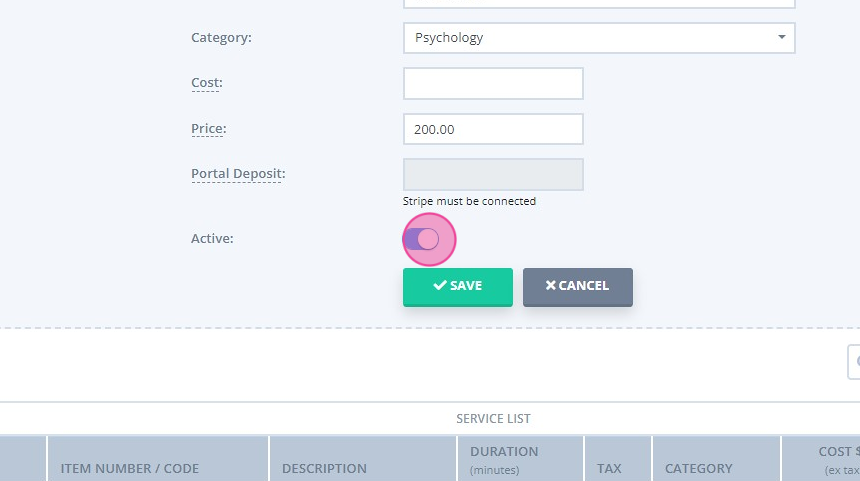
13. Click 'Save' when ready.

How To Edit an Existing Service
You can change the details of the service(s) you’ve added to your Power Diary account. Here’s how:
1. Using the main menu sidebar, navigate to Settings > Services.
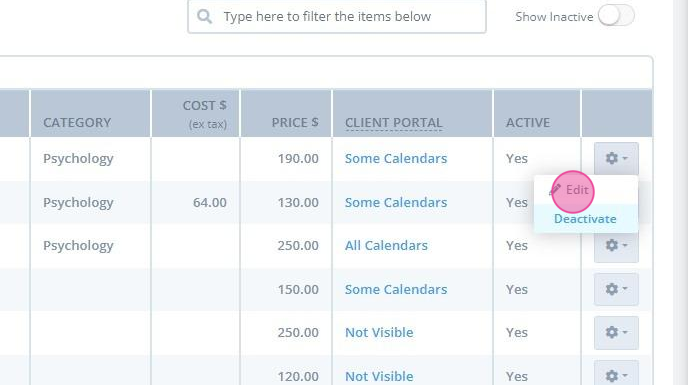
2. Click the gear icon on the far right side of the service whose details you’d like to change.
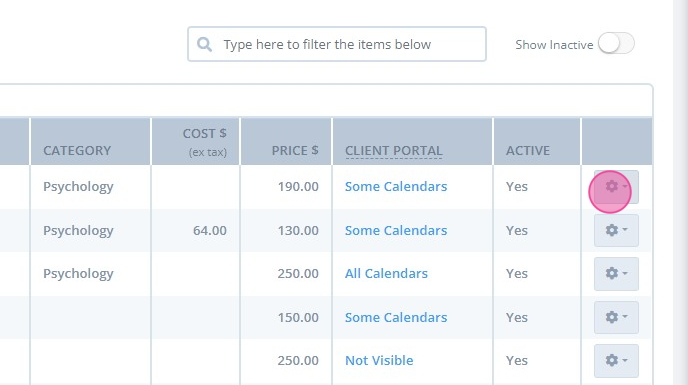
3. Click ' Edit'
How To Deactivate/Activate a Service
- You can deactivate a service in your Power Diary account. Here’s how:
1. Using the left-hand menu on Power Diary, navigate to Settings > Services.
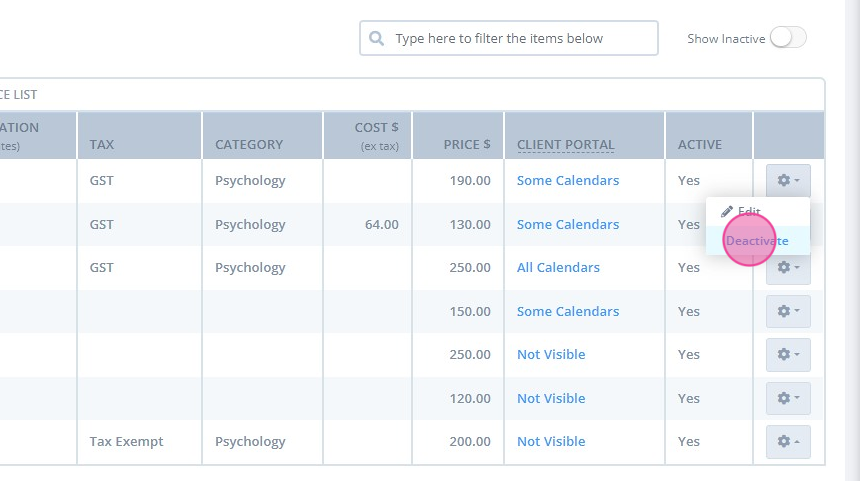
2. Click the gear icon on the far right side of the service you’d like to disable and click ' Deactivate'.
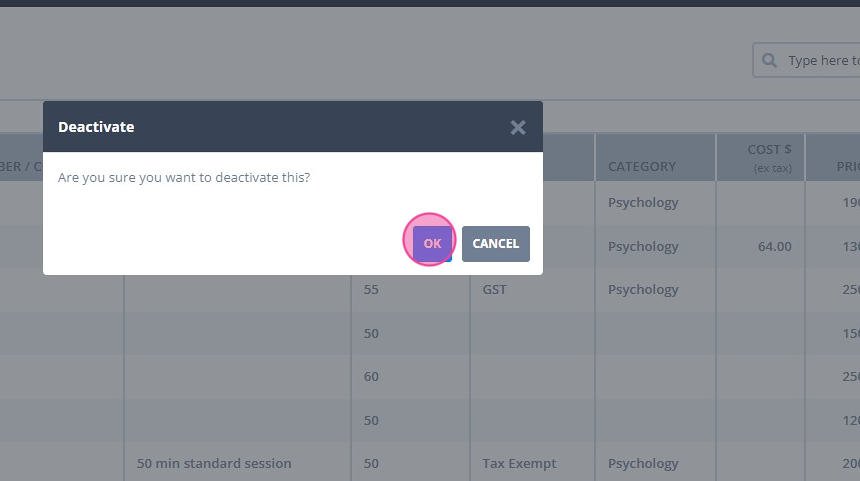
3. Click 'OK' to confirm.
- Once a service is deactivated, it won’t show up in the Services List inside appointments, invoices and even the Client Portal. But you can reactivate a deactivated service. Here’s how:
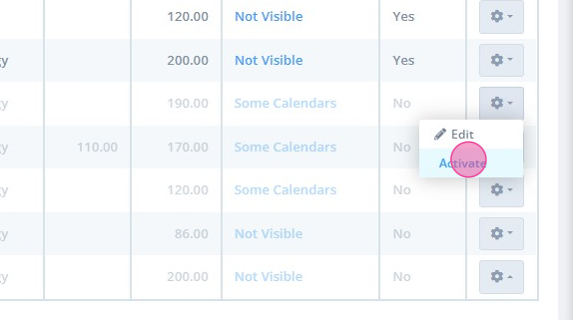
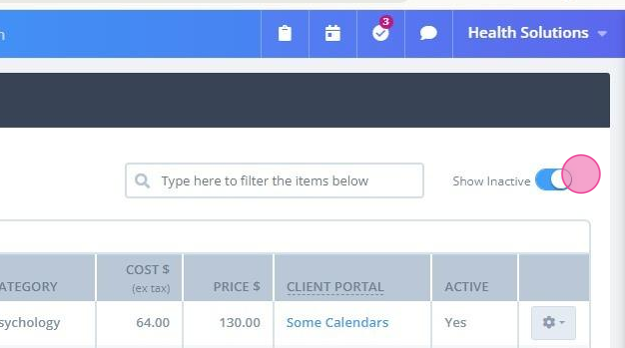
1. Toggle the 'Show Inactive' switch on the top-right corner of the Services page. This will show you a greyed-out list of deactivated services.
2. Click on the gear icon on the far right corner of the service you’d like to re-enable.

3. Click ' Activate'