Learn how to add, allocate, and reallocate client and insurer payments in Power Diary. Manage bulk payments and apply partial payments with ease.
Power Diary allows you to record bulk payments, prepayments, or allocate partial payments within a payment plan. Besides, accidents may happen when invoicing or receiving payments from clients. That’s why we cater for the ease of allocating such payments and re-allocating payments made by clients from one invoice to another.
In this article:
- How to Add a New Client Payment to an Invoice
- How to Unallocate Payments from an Invoice
- How to Allocate an Existing Payment to an Invoice
- Applying a Bulk Payment to Multiple Invoices
How to Add a New Client Payment to an Invoice
Adding a new payment to an invoice is easy. Here’s how:
- If you haven’t already, create an appointment with your client in your Power Diary calendar.
- Click on the appointment you just created to open the Appointments Panel. Scroll to the bottom until you see the Invoice section. Here, simply choose a Service/Product or Session Pack you’d like to add to your invoice. To add multiple services/products click the +Add Item button.
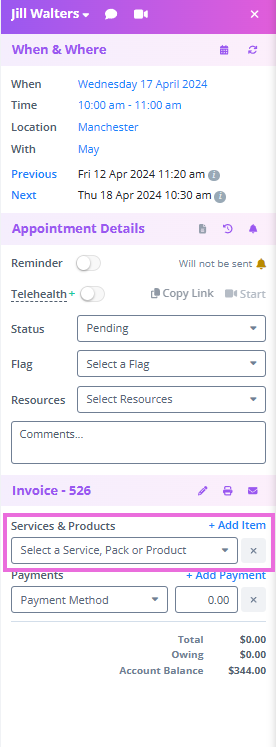
- Click on the +Add Payment button and choose your desired payment method. The full amount of the Service/Product will automatically apply, then click Save. You can add multiple payments to an invoice using this method.
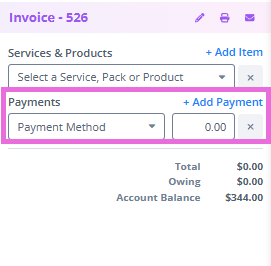
Hint 💡
If you’d like to process payments through Stripe, go set it up by going to Settings → Payments → Stripe on your Power Diary dashboard.
That’s it. By following these three steps, Power Diary will automatically create an invoice and add one or more payments. To see what the invoice looks like, click on the Printer icon to view/download it as a PDF.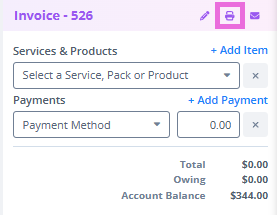
If you want, you can also add payments by clicking on the pencil icon on the Invoice section of a particular appointment.
On the Edit Invoice page, scroll down until you see a +Add Payment button and add your desired payments to your client’s invoice.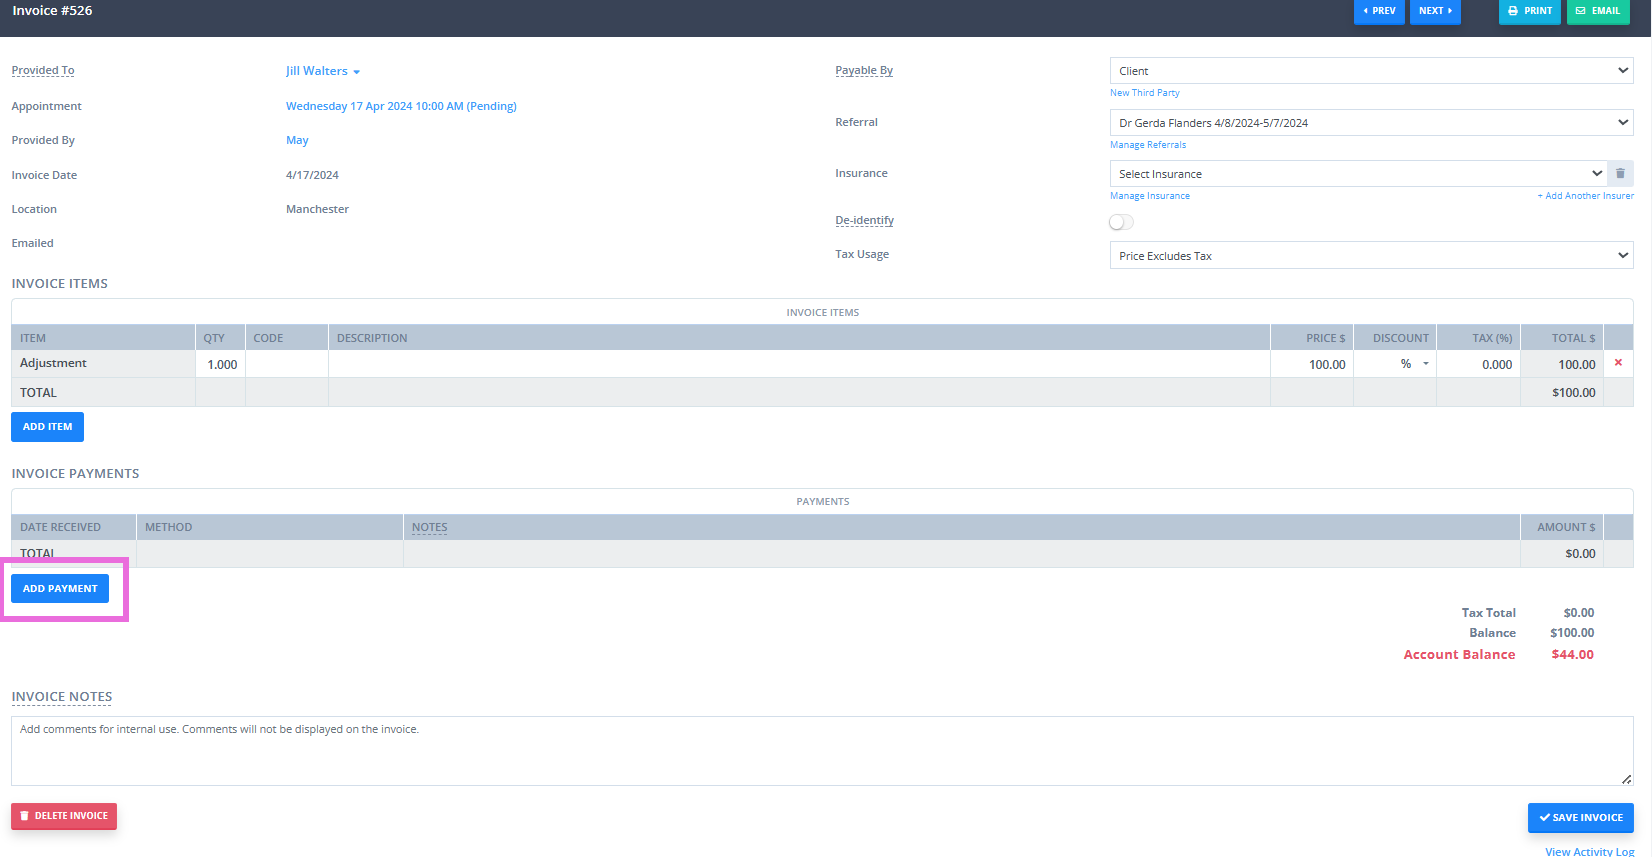
How to Unallocate Payments from an Invoice
Occasionally, you may encounter instances where you need to unallocate payments from an existing invoice - and reallocate it to another one. For example, suppose a client accidentally overpaid for their first appointment. In this case, you might want to reallocate part of the payment from the first appointment invoice to the second appointment.
Here’s how to do that:
1. Navigate to the client's profile → Billing → Payments, ensuring the payment is within the date range.
2. Click on the date in blue text for the payment in question, or click on the gear icon and then Edit Payment.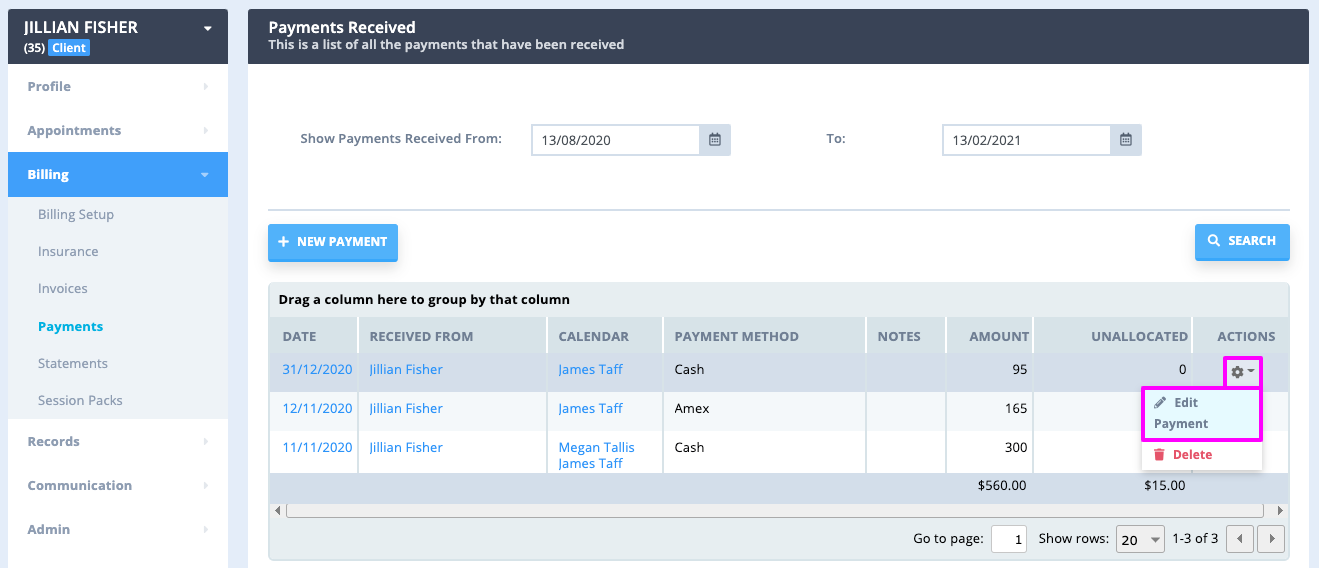
3. You'll be presented with a table of invoices for each session of that client, where you can untick and choose another invoice to put the payment toward.

How to Allocate an Existing Payment to an Invoice
Once you unallocate payments from an invoice, you can reallocate it to another invoice. Here’s how:
- Create an invoice by following the steps laid out in the first section i.e. How to allocate Payments to an Invoice.
- Click on the appointment you’d like to pay. When the Appointments Panel opens up, scroll down and click on the Pencil icon on the Invoice section.
- The Edit Invoice page will open up. Scroll to the bottom until you see the Invoice Payments section.
- Click on the Add Payment button and select Use Existing Payment. Click on the unallocated payment to use this for the Service total.
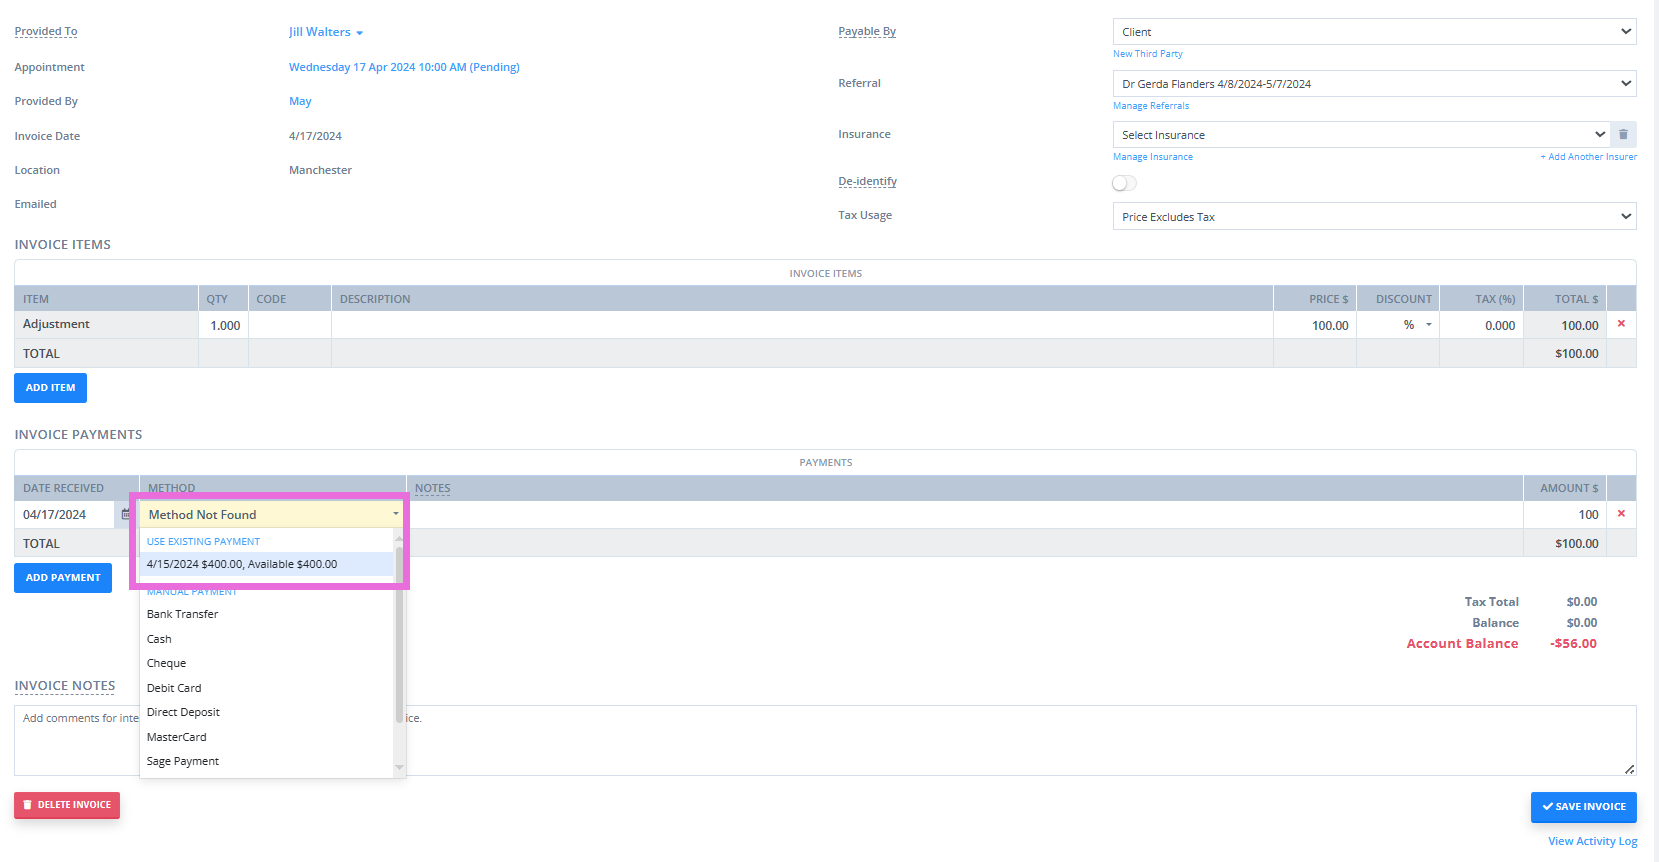
If you change your mind about allocating a payment to an invoice, you can easily remove it. Just click on the appointment to open the side panel. Scroll down till you see the Invoice section and click the bin icon next to the payment to delete it.
How to Apply a Bulk Payment to Multiple Invoices
You can quickly apply a single payment to multiple invoices. This is useful if, for example, you had multiple invoices outstanding, and the client made one payment for the total amount. This is how:
1. Go to Sales → New Payment. Enter the name of the relevant Client (or Third Party), which will take you to their Payments page.
2. Enter the Payment Date, Method and Amount and click Save.
3. The client’s outstanding invoices will show. Tick the Invoices you’d like to pay and click Save.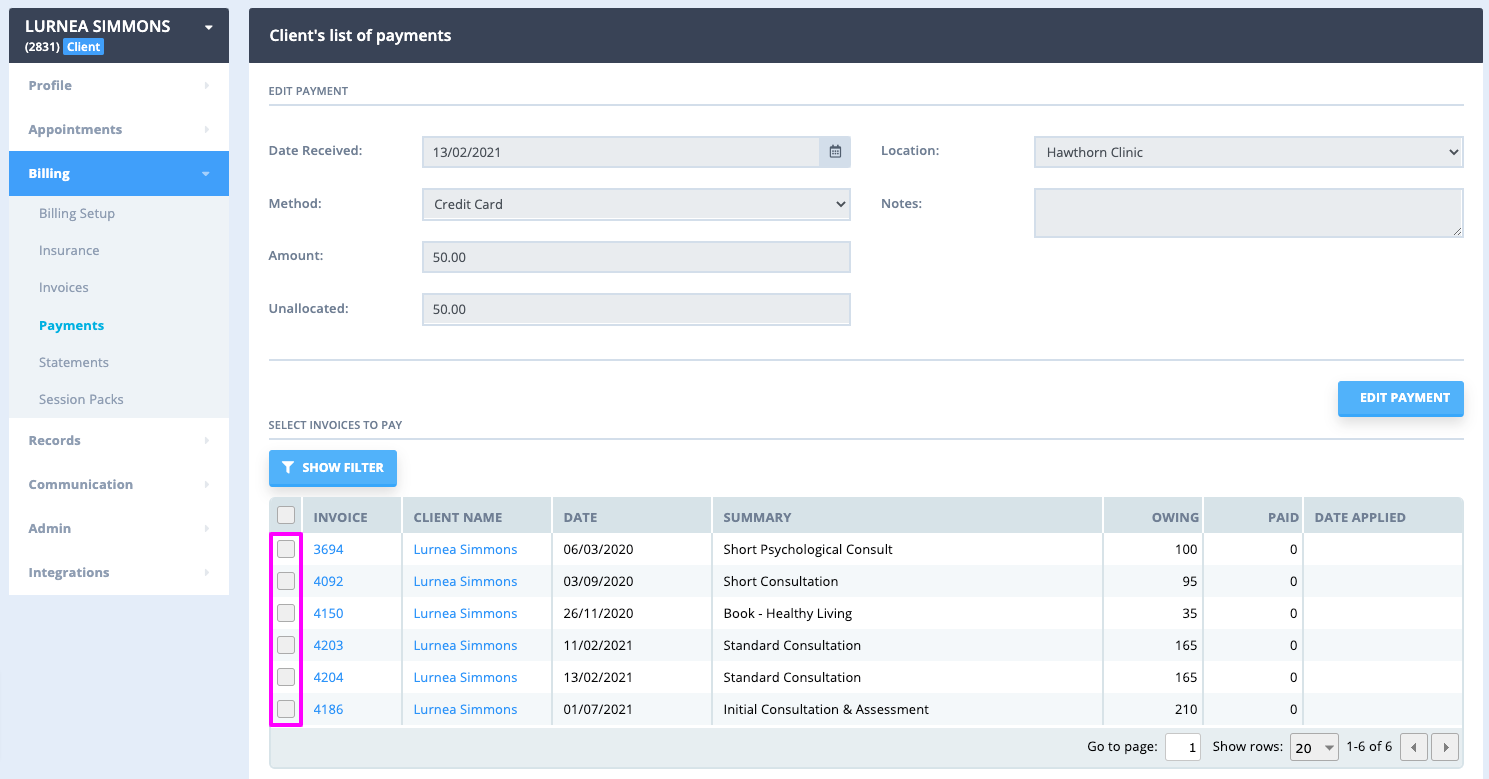
Done! The payment will be applied across the invoices you selected.
