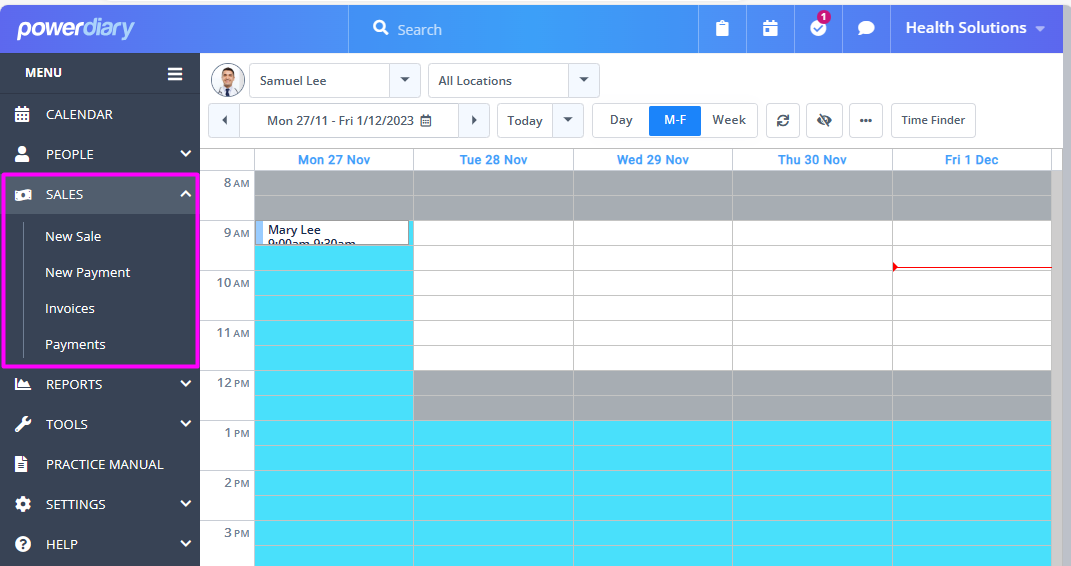
The Sales Menu
The Sales Menu feature in Power Diary is a dashboard allowing users to record new sales and new payments, and generate reports of recorded payments and invoices based on multiple criteria. Read on to learn more about this useful feature.
In this article:
How to Record a New Sale
The Sales > New Sale feature allows to create new invoices that are not linked with client appointments. This is how you will use this feature:
- On the main menu on the left side, click on Sales > New Sale;
- In the 'Services and Products Provided To' field search for the client's name;
- Use the 'Sold By' dropdown to select the practitioner who made this sale;
- Use the 'Insurance' dropdown to select the relevant insurance, or remove the insurance field if this sale is not covered;
- The 'Who Will Pay This Invoice?' dropdown allows to select the payee for this sale. If the payee is a third party and they have not been recorded in your Power Diary account yet, use the available hyperlink that will help you to add the new third party profile.
- Finally, use the 'Location' dropdown to select the location where the sale was made.
- Click on the 'Create Invoice' button to create the invoice. This will open the invoice edit page where you will be able to add item lines for the sale items, record a payment, and make any other necessary updates.

How to Record a New Payment
The Sales > New Payment menu allows you to quickly make a record of a payment you are processing for the client or other payees.
- On the main menu on the left side, select Sales > New Payment;
- In the pop-up window, look up the client who is paying;

- The Client Profile > Billing > Payments > New Payment page will open;
- On this page, you can select Date of Payment, Payment Method, Amount Paid, Location and make a note about this payment. You will be able to initiate integrated payments (Stripe and Tyro (AUS only)).
- Save the entered details.

- A list of unpaid client invoices will open below the payment details. Select any invoices that you will pay with this amount, and save the changes.


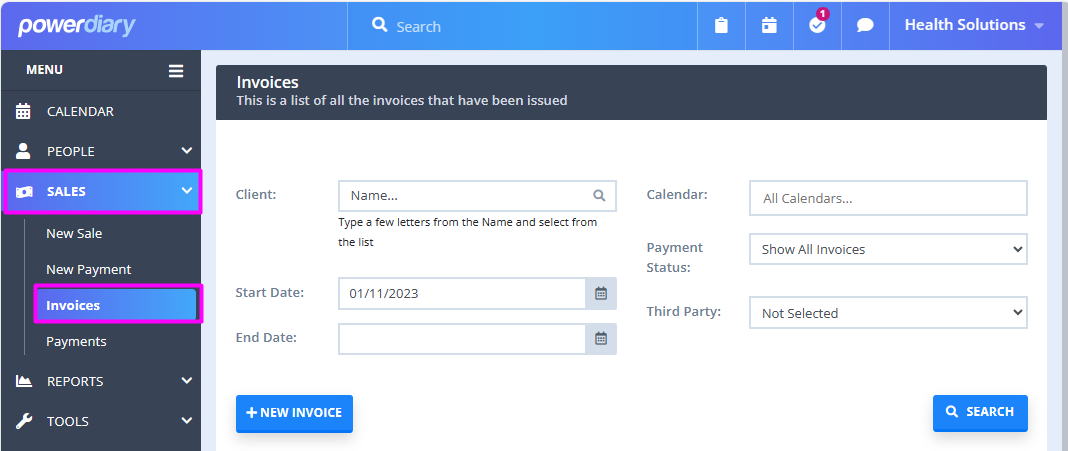
How to Run Invoices Report
The Sales > Invoices feature will help you generate a list of invoices, based on client name, invoice date, provider's calendar, invoice payment status and third party payee. You can also create a new invoice that is not linked with an appointment. To generate a list of invoices,
- Go to Sales > Invoices;
- Use the available filter fields to set up the criteria for the list you'd like to generate;
- Hit the 'Search' button to run the list.
The generated report will include the following columns with data: invoice number, payable by, invoice date, client name, calendar, appointment date and time, date emailed, summary (items sold), total amount billed, service location, date paid, amount due, actions menu (to edit, email or print an invoice) and invoice notes.
-
- Use the 'Choose Columns' button under the report to add or remove the columns as needed.
- The 'Save Layout' button will help you keep the selected columns for future reports.
- You can group the generated report by any column for more convenient data viewing.
- This report can be exported to print, Excel or PDF formats.


How to Run Payments Report
The Sales > Payments feature will help you generate a list of payments, based on payments date and provider's calendar, and include or exclude prepayments. You can also create a new payment on this page. To generate a list of payments,
- Go to Sales > Payments;
- Use the available filter fields to set up the criteria for the list you'd like to generate;
- Hit the 'Search' button to run the list.
- The generated report will include the following columns with data: date of payment, received from (payee), provider's calendar, location, payment method, payment notes, amount paid, amount unallocated, and actions menu to edit or delete a payment.
-
- You can group the generated report by any column for more convenient data viewing.
- This report can be exported to print, Excel or PDF formats.

