Creating and Managing Communication Templates
This article will show you how to create communication templates. By creating a communication template, you can automate certain types of communication with your clients. For example, by creating a ‘Welcome New Clients’ email template, you won’t have to manually type in an email welcoming your new clients. You can simply select the pre-written template, and send it in one click.
Hint:
Your Power Diary account comes pre-loaded with commonly used communication templates. Go to Tools > Communication > Templates to see the templates, and customise them as per your requirements instead of creating one from scratch.
In this article:
- Creating Your Own Communication Template
- Editing and Cloning Your Communication Templates
- Adding Merge Fields To Your Communication Templates
- Managing Active and Inactive Communication Templates
Creating Your Own Communication Template
There are three types of templates you can create:
- SMS
- Letter
To create a new template, please follow these steps:
- Go to Tools > Communication > Templates.

- Click the + New Template button at the top-left.

- Choose your Message Type.

- Enter the Name of your template, along with its Description so you know what it’s about. If you’re creating an email template, you will also need to enter the From Email Name, From Email Address, and the Email Subject.

- Now type in your desired text in the Content box. Use the Toolbar buttons to format the text and add images, tables, links, and files to the content of the template.


Click Save.
Editing and Cloning Your Communication Templates
You are able to edit an existing template, or clone it to create a new template with the same settings and content, for further adjustment. Here is how:
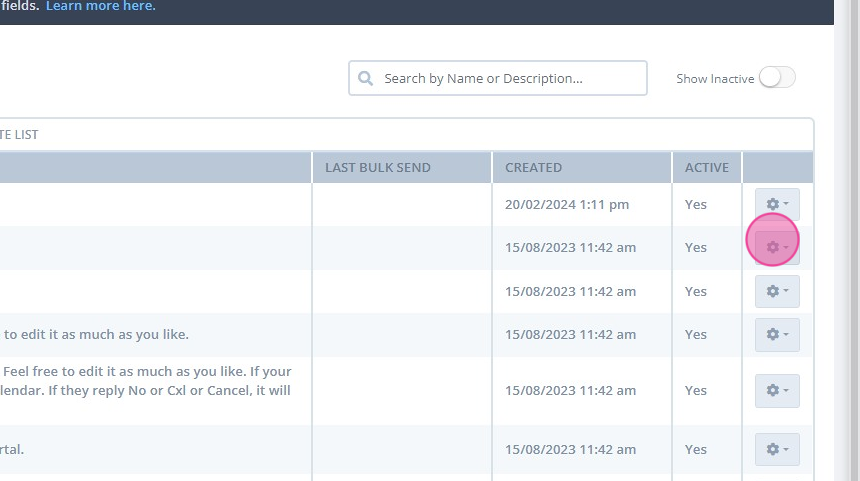
1. In Tools > Communication > Templates, locate the template you need to edit or clone.

2. Click on the gear icon in the last column.
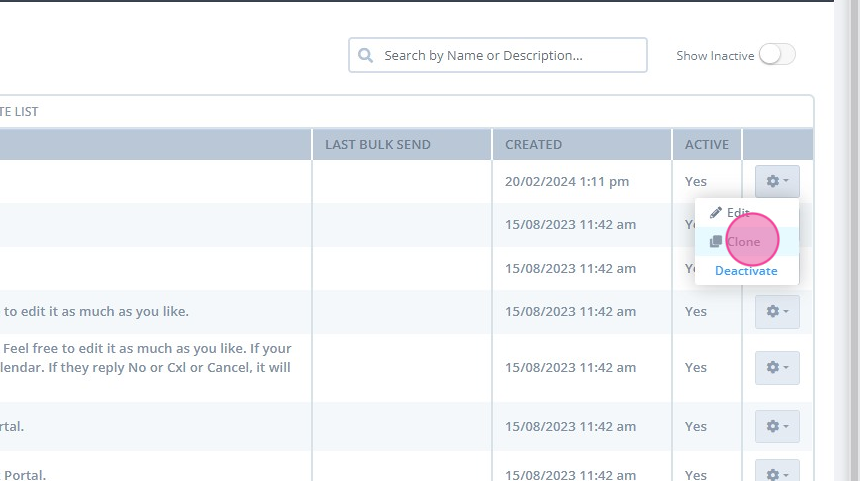
3. Select Edit to open this template settings and edit it, or

4. Select Clone to create an identical copy of this template for further adjustment.
Adding Merge Fields To Your Communication Templates
Merge fields is a powerful feature that lets you automatically add custom information to your templates. Here’s what a merge field looks like:
{ClientFirstName}
If you add this to your template, this merge field will automatically detect the client’s name, and replace itself with it. Let’s take this template as an example:
Hello {ClientFirstName},
This is a courtesy email to confirm your appointment.
When you send this template to a client named ‘John’, here’s what it will look like:
Hello John,This is a courtesy email to confirm your appointment.
Note:
Merge fields will only work when inserted in a template located in Tools > Communication > Templates. They won’t work if you paste them directly into the actual email you plan to send.
To add merge fields to your templates, follow these steps:
- Go to Tools > Communication > Templates.
- Open an existing template or create a new one.
- Click on the Merge Fields button on the bottom-left corner of the text editor.

- Scroll the list to find the merge field of your choice. Move your mouse to the code and you’ll see the Copy option appear.

- Copy/paste the code into your template in the exact location where you want the text to appear.


Click Save.
- Use the available merge fields feature to add online form merge fields to your communication templates:
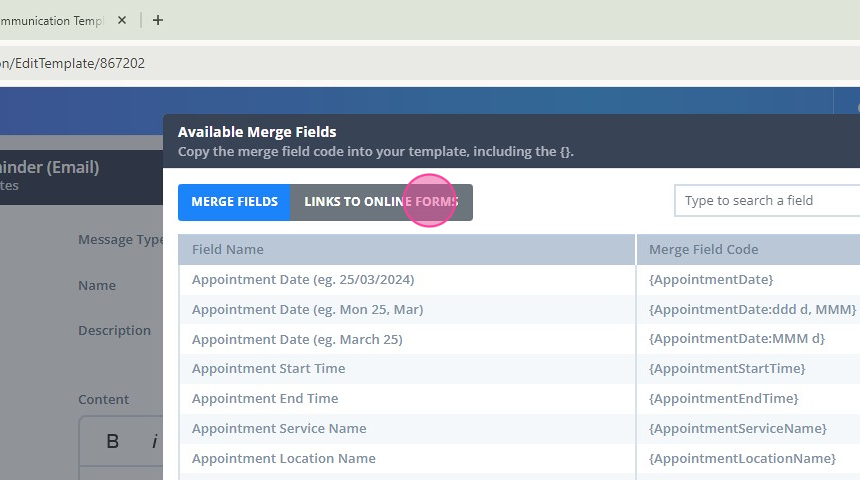
Find the necessary form link and copy it to paste to the communication template:


Note💡
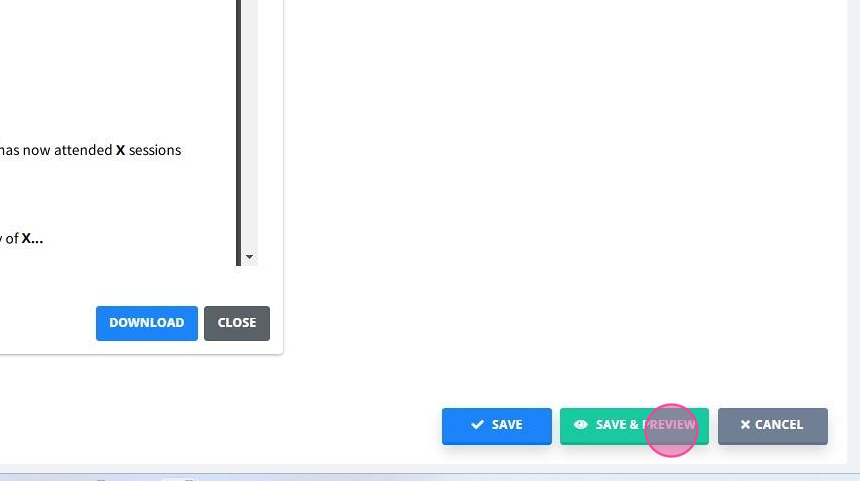
When working on Letter templates, use the 'Preview Template' feature to see how the letter will appear as a PDF document. Just click on the Save & Preview button at the bottom-right of the template setup page:
Managing Active and Inactive Communication Templates
- Power Diary allows you to hide unused templates by making them inactive.
- In Tools > Communication > Templates, click on the gear icon next to a template you wish to make inactive.

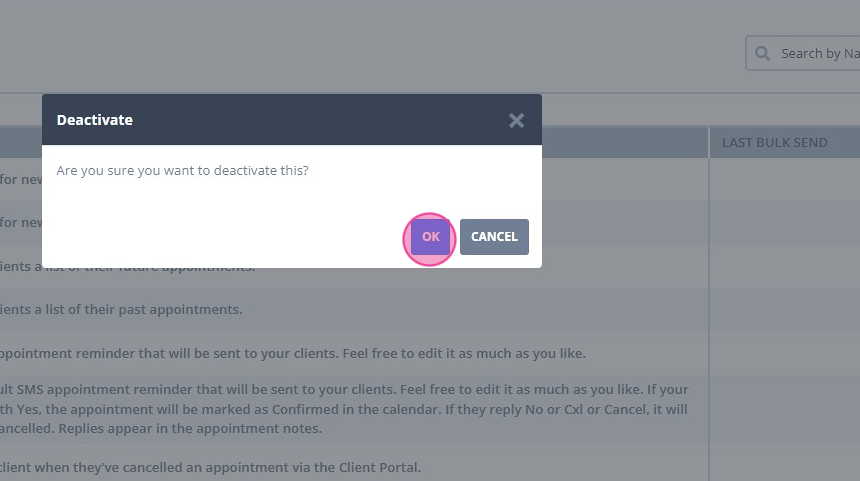
- Select Deactivate and confirm the action.


This will make the template inactive and you will not see it in the list of your templates on this page, or when selecting a communication template when creating an SMS, email or letter.
- Should you wish to start using an inactive template again,
- go to Tools > Communication > Templates,
- turn on the Show Inactive switch at the top-right,

- Click on the gear icon next to a template you wish to make active,

- select Activate.


