Adding And Managing Clients In Waitlist
If your Power Diary calendar is filled with appointments and you can’t take on another client, you can add additional clients to your Power Diary Waitlist.
This way, once you get free space in your schedule or the new week starts, you can first add clients from your waitlist - and then take on new appointments, thereby providing much fairer services to your customers.
In this article:
How to Add a Client to Your Waitlist
Here’s how you can quickly add a client to your Power Diary waitlist. Use the Search by Client Name bar to quickly check if the client is already on the Waitlist.
If you find the form confusing, here’s a quick explanation of how to fill the form properly:
1. Using the left-hand menu on Power Diary, navigate to PEOPLE > Waitlist.

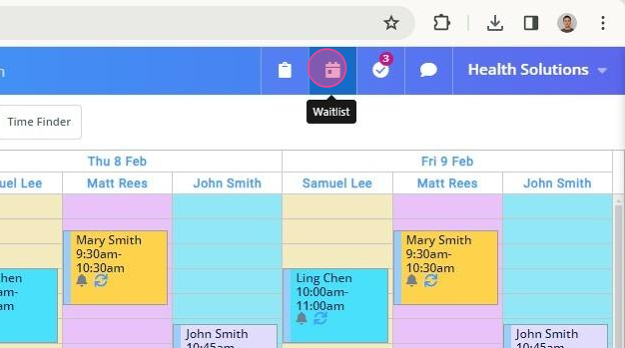
2. The waitlist will open. Click '+ Add To Waitlist' to add a client to it.

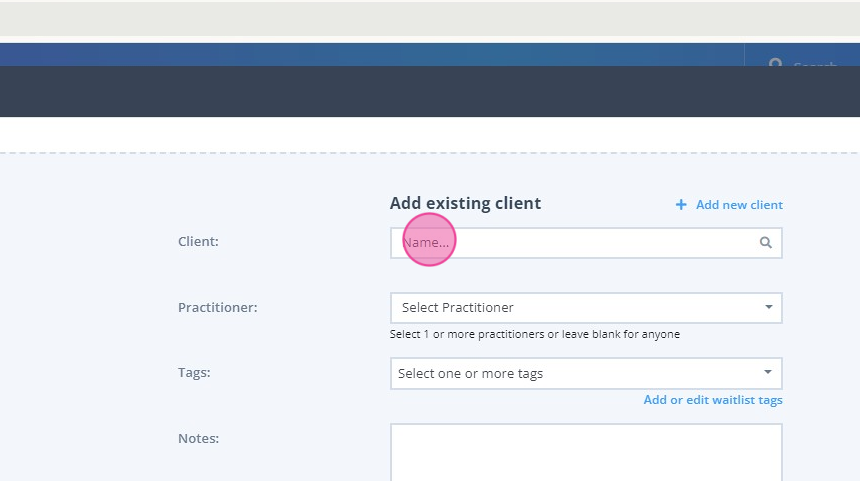
3. You’ll see a form appear which will allow you to enter the details of your client.

1. Client: This is where you will select the client you want to add to your waitlist.
- If this is an existing client in your Power Diary account, look them up by entering their name in the Client search field.
- To add a prospective client to your Waitlist, you will need to add them as a new client by clicking on the Add a new client hyperlink. This will open a form that will allow you to enter clients personal and contact details, and will generate a new client profile for them in your Power Diary account:

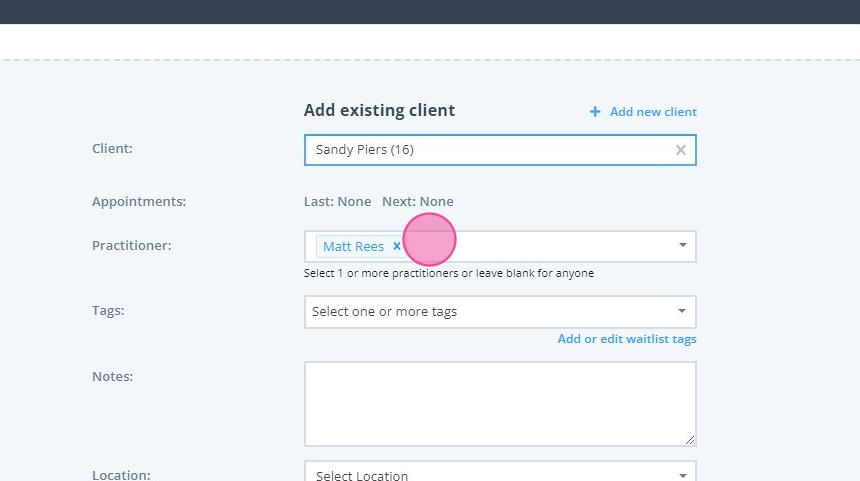
 2. Practitioner: If there are multiple practitioners in your clinic - each with their own calendar in your Power Diary account, this is where you can assign the client to them. This setting is particularly useful if the client requests, or was being treated by a specific clinician in your clinic.
3. Tags: Add one or more of your custom Waitlist tags here, to classify, group or identify your clients.
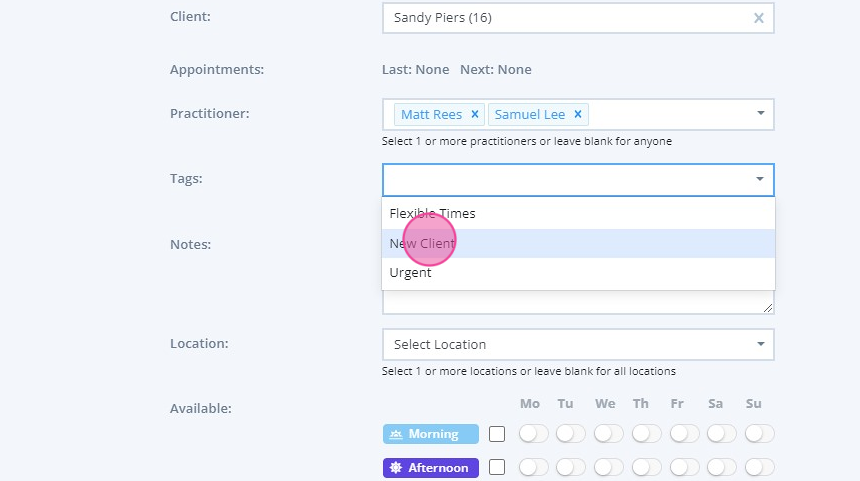
4. Notes: If there is any special information you’d like to add about this client and their reason for making an appointment with you, this is the place where you’ll add it.
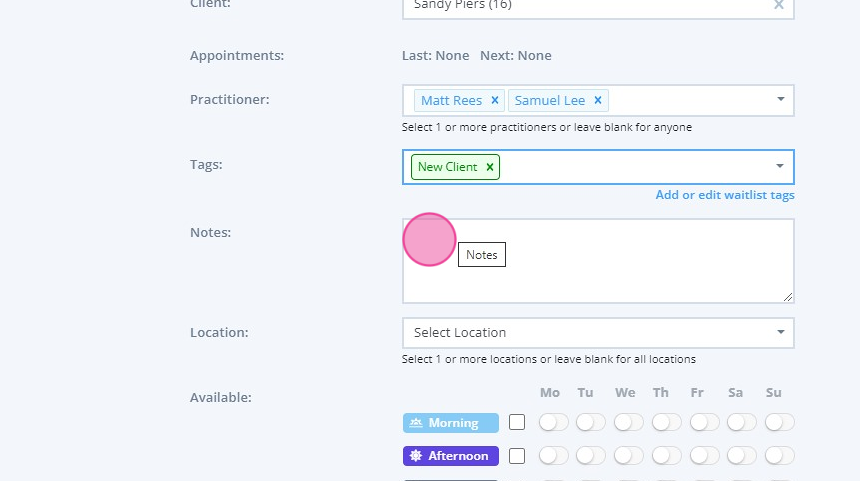
5. Location: If your clinic has multiple branches in multiple locations, this is where you’ll select the specific clinic location your client has to visit. It is possible to select none or more than one Location to each client on the Waitlist.

6. Available: This setting will let you set the availability of the client, so you can schedule your next appointment with them at a time that suits both your clinic and them. Check the box next to each time of day to select the Mon-Fri availability in one click.
Morning: 12am-12pm
Afternoon: 12pm-6pm
Evening: 6pm-12am
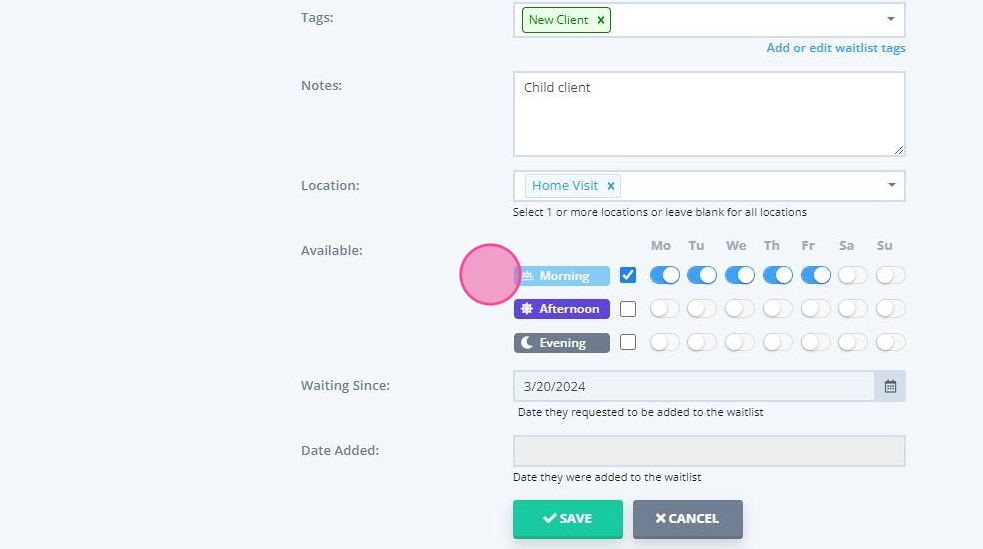
7. Waiting Since: Gives you the ability to select when a client requested to be added to the Waitlist. The days waiting on the waitlist grid will be calculated based on this date.

8. Date Added: Once you create the waitlist for the client, this is where you’ll see when you actually added them to your waitlist in the future.
After filling this form, click on the Save button. You’ll see that your client will have been added to bottom your waitlist, while the older entries will move to the top.
Note💡
When an appointment is cancelled or rescheduled by a practitioner on the main calendar screen, the system will look up for matching Waitlist clients using their Waitlist preferred Practitioner(s), Location(s) and Availability. An automatic notification will pop up, offering you to send an SMS to the matched Waitlist clients to let them know about the new opening in the calendar.
If you do not wish to see this automatic popup window, you can disable this functionality in Settings > Configuration > Calendar Display: Show Waitlist Matches when Cancelling Appointment
How to Organize Your Waitlist
You can organize your waitlist by adding or removing the columns and moving clients up/down the list to change their order of appearance.
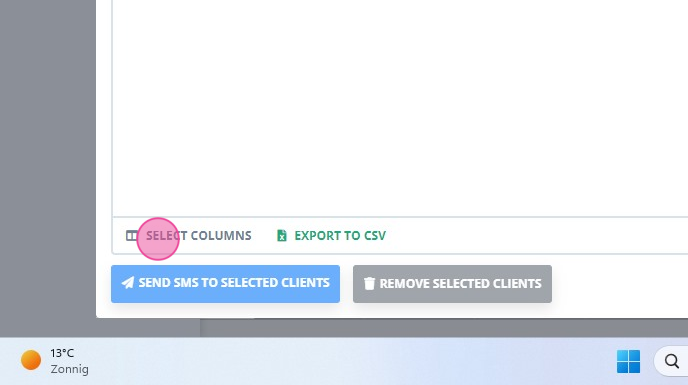
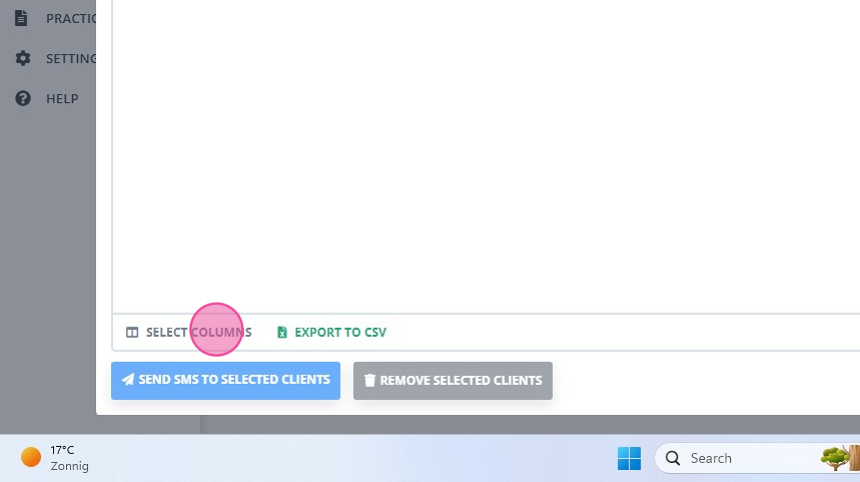
- To add or remove available columns, click on the Select Columns on the left under your list of clients. Tick the columns you would like to be included in the Waitlist view, and select Apply.


Hint
To change clients' position on the Waitlist, click and drag the arrows next to a client’s name up or down.
How to Search for Clients in Your Waitlist
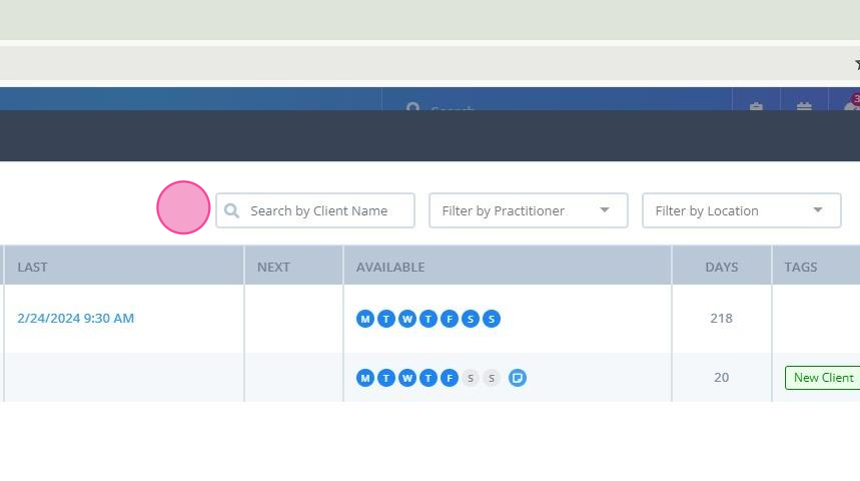
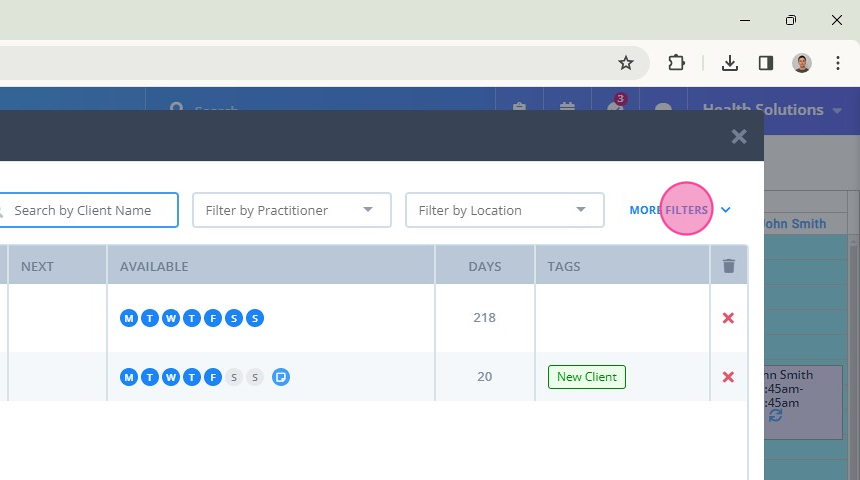
1. When you open People > Waitlist, you will see the Search by Client Name box and a selection of filters at the top-right.
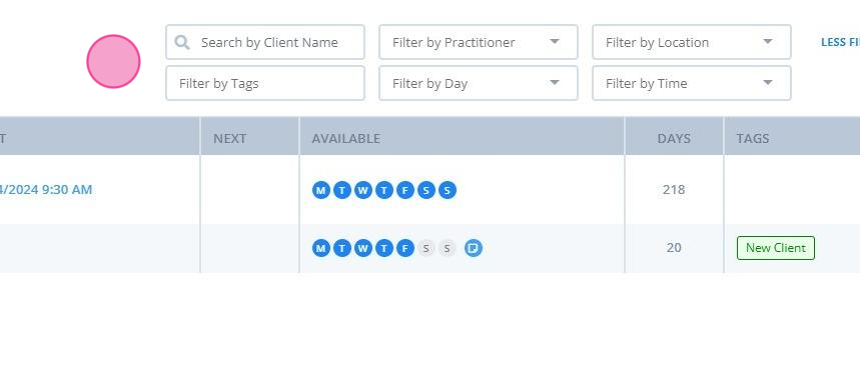
Click More Filters to see all available filtering options:
Click 'Less Filters' to close the full selection of filters:

2. The available filtering options are:
- Filter by Practitioner
- Filter by Location
- Filter by Tags
- Filter by Day available
- Filter by Time of the day available
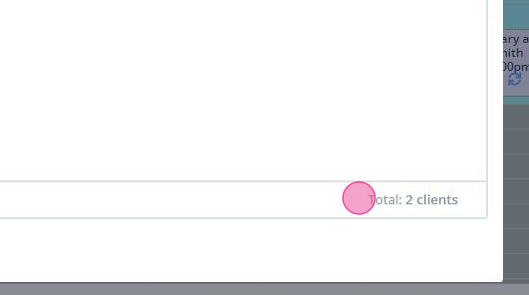
3. You may use any combination of the available filters to generate a list of the waitlist clients in accordance with the selected specifics. There will be a total client count of the generated list, at the right side of the Waitlist footer:
How to Send Client(s) a Message Through Your Waitlist
Important
A dedicated Toll-Free Number (TFN) is required to send/receive SMS messages in the USA, Canada, Puerto Rico, Bahamas, Jamaica, Costa Rica, and Barbados. For more details, please click here.
If you want, you can send a text message to a single client or multiple clients on your waitlist. Here’s how:
- To send a message to one client or a group of clients,
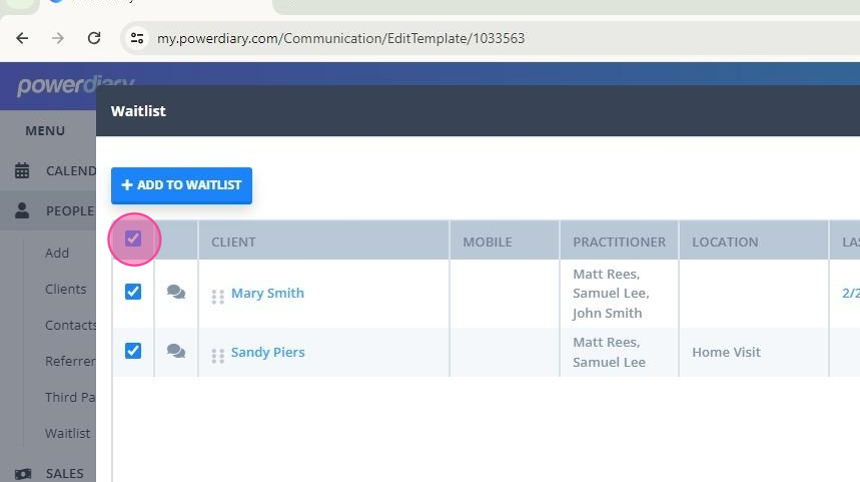
1. Select the client(s) to whom you’d like to send a text message by clicking the checkbox next to their names,

or select all clients on the list by checking the checkbox at the top.
2. Scroll down and select an existing SMS template or type in your message in the field labelled Send SMS to selected clients.

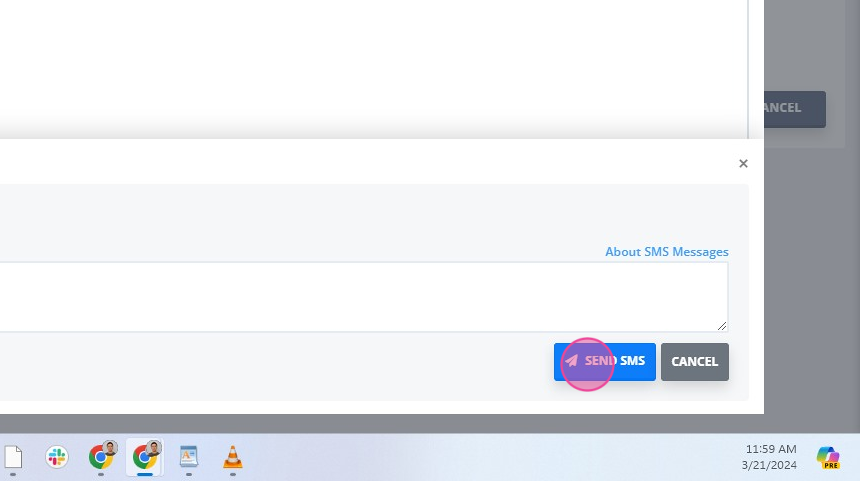
3. After inserting or typing your message, click on the Send SMS button. This will send a text message to the clients you selected.
- To send a message to a specific client, and check the messaging history of a client on the Waitlist without leaving the Waitlist screen,
1. Click on the speech bubble icon in front of the client's name.
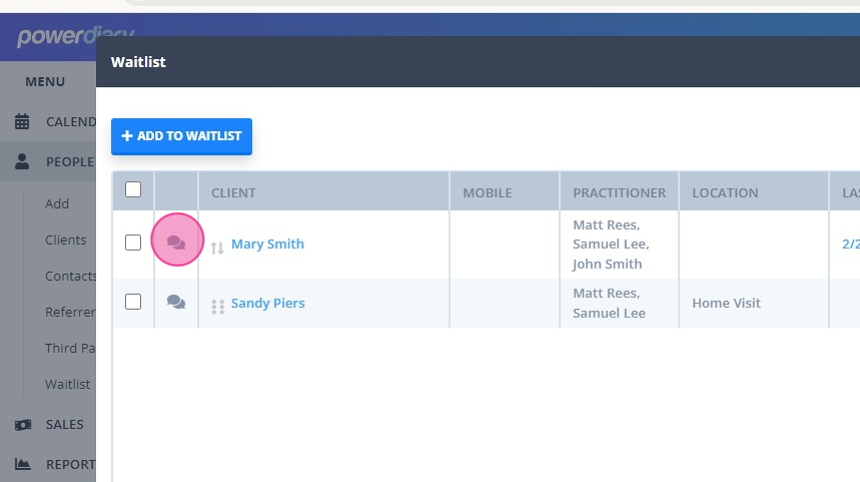
2. This will bring up the messaging panel on the right
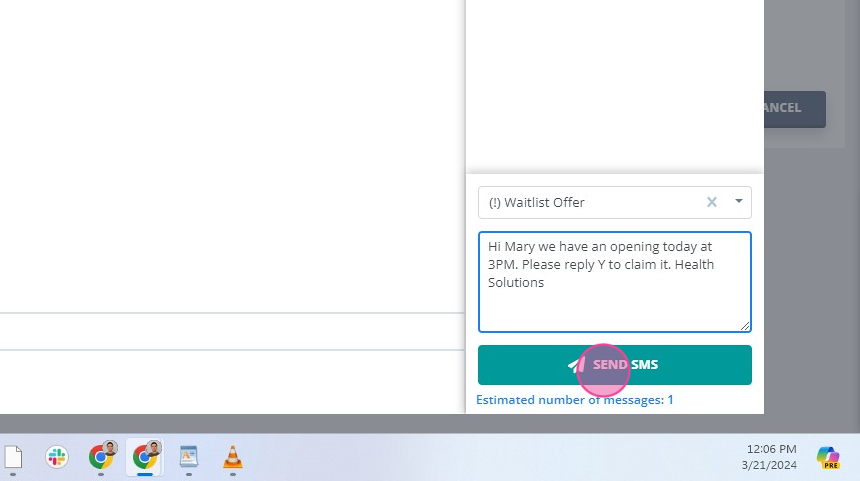
3. You can send a message to this client by typing it in or selecting an available SMS template:
Hint 💡
If you regularly send certain types of text messages to clients in your waiting list, you can create a template and use it instead to quickly send the message.
Here’s how:
1. Go to Tools > Communication > Templates and create a template.
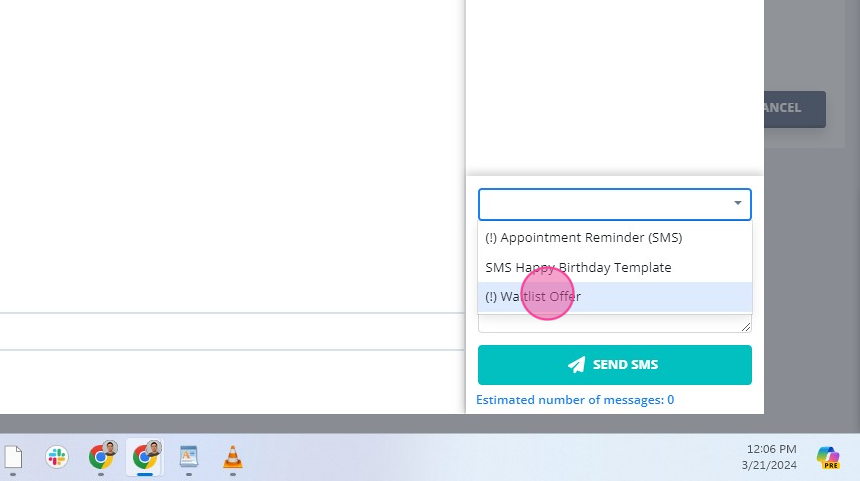
2. After creating a template, open your Waitlist and scroll down to the bottom. There, you’ll find a field to Select a template. Click on it.
3. A drop-down menu will appear from which you can quickly select your preferred SMS template.

How to Remove Clients from Your Waitlist
When a client received an appointment they were waiting for, they can be removed from the Waitlist. It is possible to remove clients one by one, or in bulk.
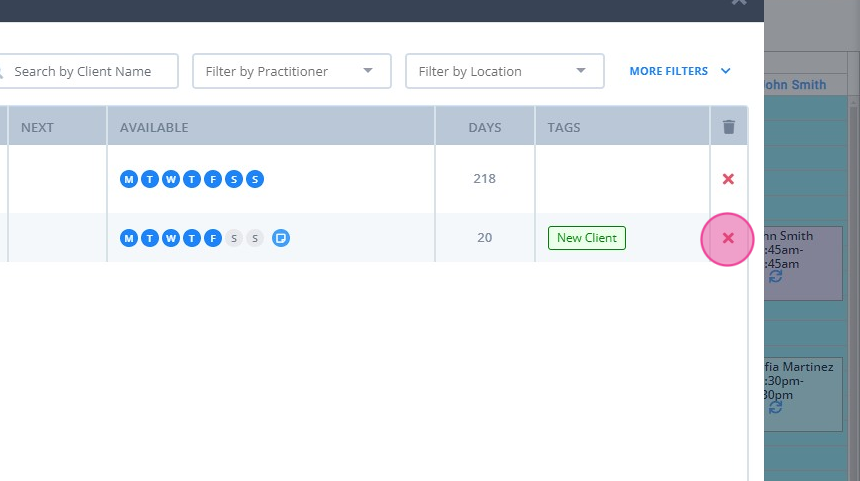
- To remove one client, click on the red X to the right of the client entry.
- If there was a note saved on the Waitlist for this client, tick the box to have the note automatically saved in the Client Profile > Admin > Admin Notes.
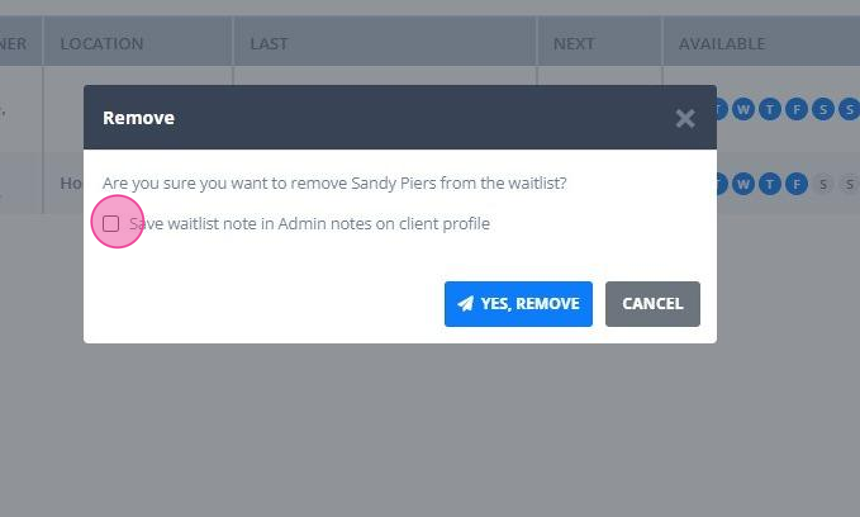
- Select the Yes, Remove button to have the client removed from the Waitlist.
 4. To remove more than one client in one go, check the boxes in front of client names.
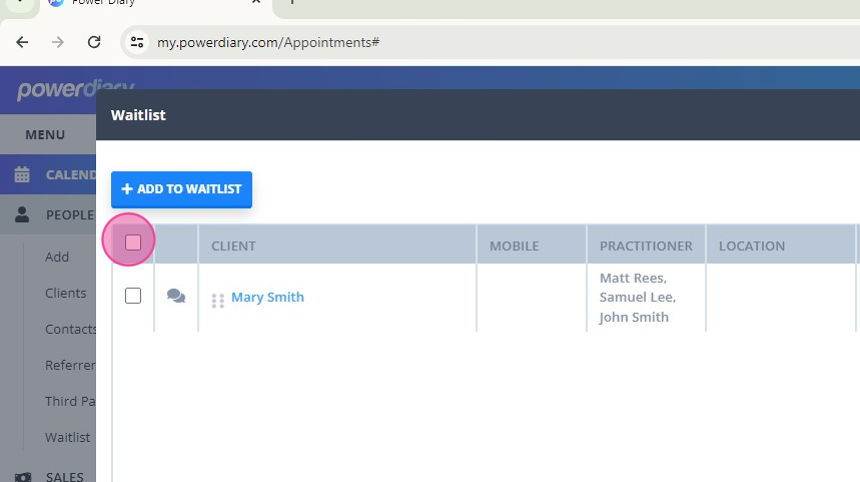
5. Click 'Remove Selected Clients' button. Confirm the action to have the clients removed from the Waitlist.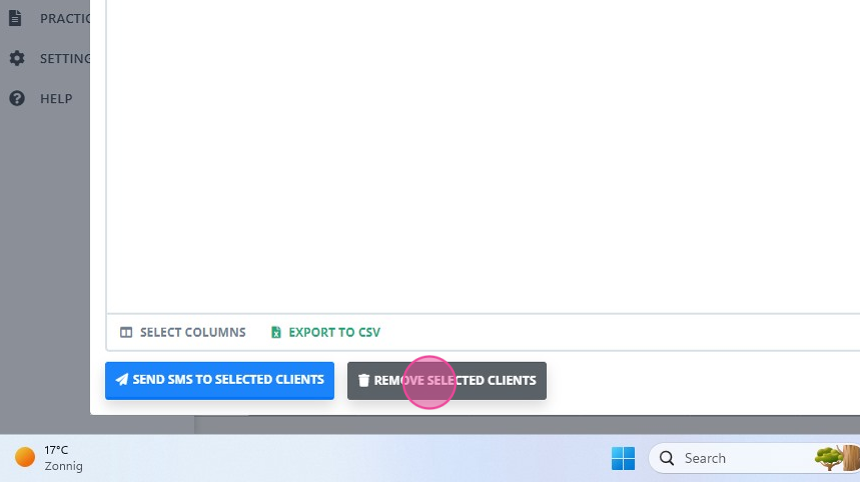


 4. To remove more than one client in one go, check the boxes in front of client names.

Note💡
The Waitlist note will be saved in Client Profile > Admin > Admin Notes when the client is removed from the Waitlist and you checked the box when confirming the client removal:

How to Export Your Waitlist
If you need to have a copy of your Waitlist in a file, you can use the Export to CSV function.
- Navigate to People > Waitlist;
- Use the Select Columns feature to select which of all the available columns you would like to include to the exported file:
-
Apply your choice of columns:

Click the Export to CSV button.
 The spreadsheet with the data you selected will be exported in the .csv file format to your device. You will be able to print the exported spreadsheet using the inbuilt print feature of the CSV file.


 The spreadsheet with the data you selected will be exported in the .csv file format to your device. You will be able to print the exported spreadsheet using the inbuilt print feature of the CSV file.