Using Speech to Text to Record Session Notes
In the fast-paced environment of healthcare, clinicians often find themselves at the crossroads of thorough record-keeping and time management. Speech-to-text technology presents a solution that bridges this divide, offering a seamless way to transcribe clinical session notes quickly and effectively. With the advent of sophisticated software professionals now have the power to convert their spoken words into written text on-the-go, enhancing productivity without compromising on detail or accuracy. The integration of speech recognition capabilities into the default operating systems of Windows, Mac, iOS, and Android has made this technology more accessible than ever. By leveraging these tools, healthcare providers can focus more on patient care and less on the administrative burdens of documentation.
In this article, we will tell you how you can use your devices Speech to Text function to record your client notes straight into Power Diary! Find the section relevant to your device below to get started.
Windows
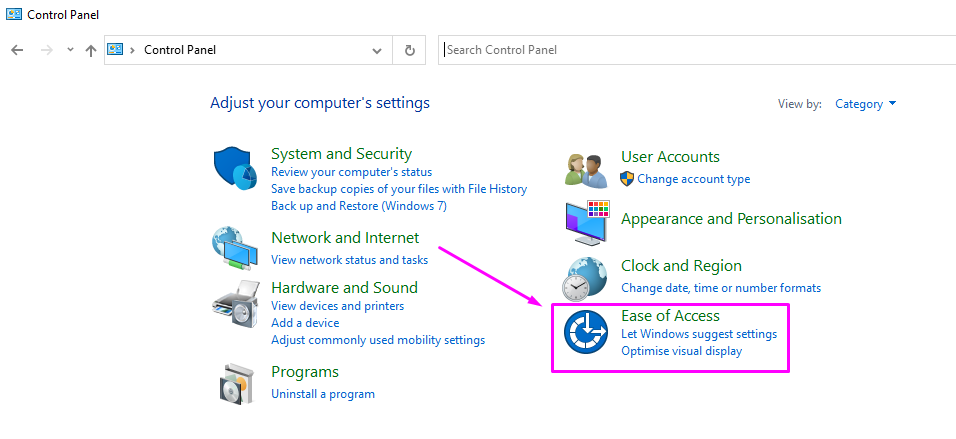
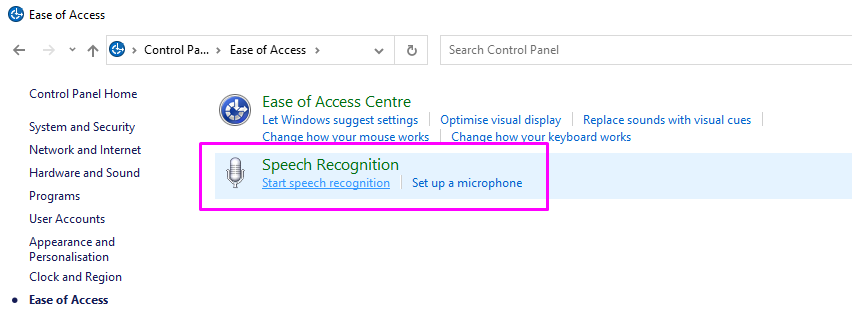
Go to the Control Panel and then select Ease of Access > Speech Recognition. You will then be able to select the microphone you wish to use and configure your speech recognition settings. You can find a list of speech recognition commands in the Microsoft support article here.
Important
Privacy note: To ensure that your voice data is not sent to Microsoft, go to Settings > Privacy > Speech, Inking and Typing and make sure that Speech Services and Typing Suggestions is turned off.
Mac
- On your Mac, choose Apple menu > System Settings, then click Keyboard in the sidebar. (You may need to scroll down.)
- Go to Dictation on the right, then turn it on. If a prompt appears, click Enable. There is a list of speech to text commands in the Apple support article here.


Important
Privacy note: If you’re asked if you want to improve Siri and Dictation do one of the following:
- Share audio recordings: Click Share Audio Recordings to allow Apple to store audio of your Siri and Dictation interactions from your Mac. Apple may review a sample of stored audio.
- Don’t share audio recordings: Click Not Now.
- For more information about using Mac Dictation feature, see this article.
3. In Power Diary on your Mac, place the insertion point in a note field where you want the dictated text to appear. Press the Microphone key if available in the row of function keys, use the Dictation keyboard shortcut, or choose Edit > Start Dictation. Press and release the Microphone key to start Dictation.
iPhone/iPad
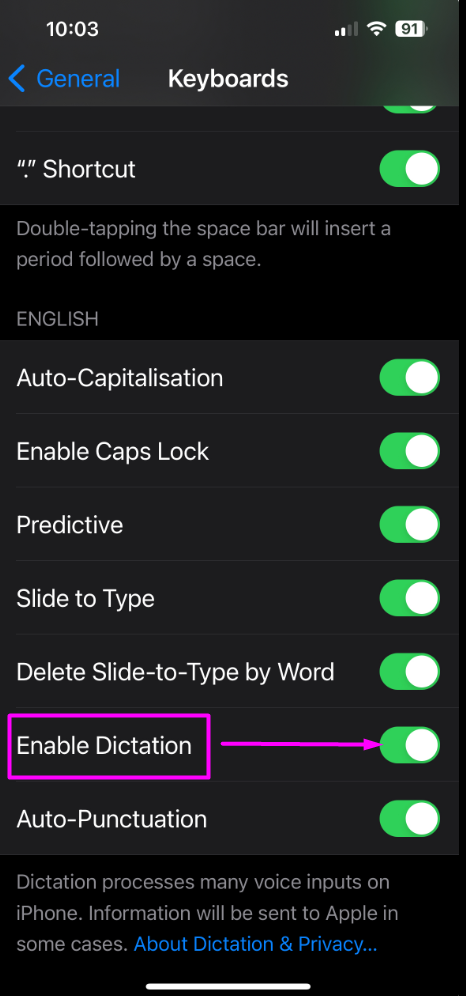
1. You will need to ensure that dictation is enabled on your device. To do this go to Settings > General > Keyboard > Enable Dictation.
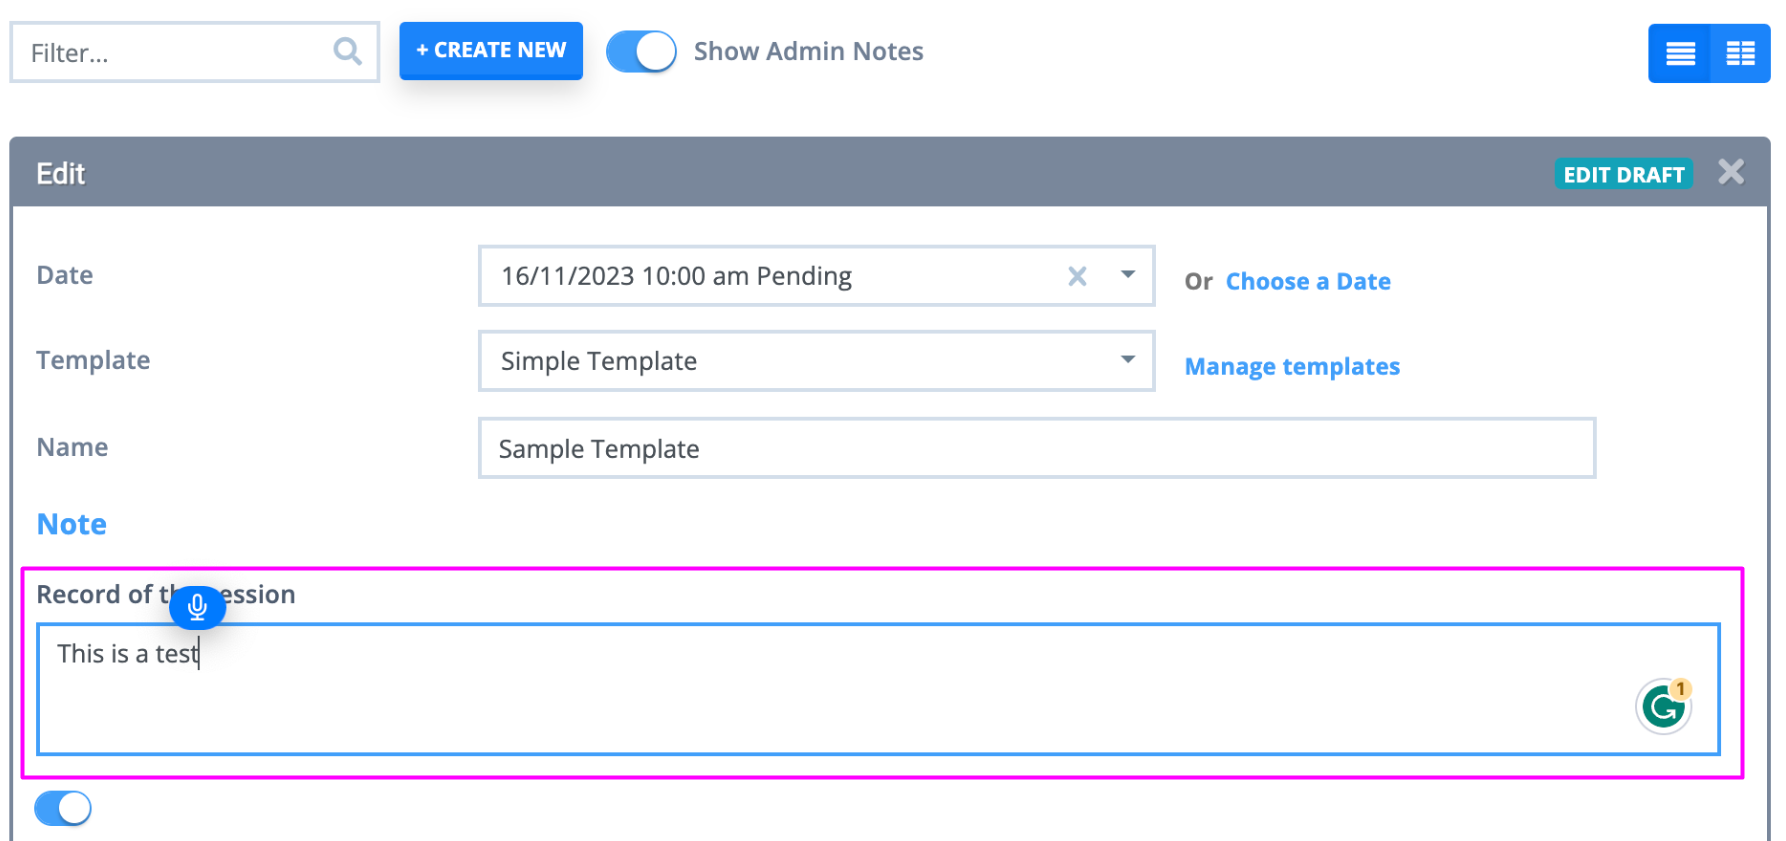
2. Once this is turned on go to the notes in Power Diary and tap the field as if you were about to write the notes. On the keyboard, tap the icon and begin speaking. The text will appear on the screen as you speak.

Android
- Go to Settings > Languages and Input > Text to Speech Output. Select 'Gboard' as the keyboard if it is not already selected. If you do not have Gboard you will need to download it from Google Play.
- Once you have done this you can then open Power Diary and navigate to the client's profile and click Records > Notes and tap the field to enter text. You can then tap the microphone icon to initiate speech recording.
- Please note that when dictating your client notes, it is your own device's speech to text technology that is being used and therefore errors may occur.


Note💡
While all of the above options allow you to dictate your notes directly into your Power Diary, you may decide to choose some professional software like Dragon Anywhere to record your notes into the app of your choice. Such apps allow you to download your transcribed notes in a file format, which can then be uploaded in Power Diary in client profiles > Records > Files, or as attachments to notes in Records > Notes.